

January 5, 2023


There aren’t many subjects I enjoy photographing as much as fall colors. Timing a trip perfectly, arriving during peak color, and spending countless hours scouting and photographing different compositions never gets old. In this article, I want to share some lessons I’ve learned over the years to make the most out of your fall color trips. I’ve used these tips not just for personal trips but to plan workshops with paying clients who expect to see peak colors during the entire trip.
There is no more important tip than doing your research ahead of time. Booking a plane ticket to Colorado for a few days in September because you heard that’s when fall colors happen is a roll of the dice. Peak color is not a perfect science, and the dates can and will change, not just from location to location but from year to year within those locations as well.
There are a few areas around the United States that are known for fall colors. Places like the Colorado Rockies, the Northeast states like Maine or Massachusetts, the Smoky Mountains, or the Ozarks, to name a few. Most of these areas will have some sort of online resource with information on fall colors, historic timelines, and predictions for the upcoming year.
The MainFoliage.com website is one of the best examples I’ve found. They provide a map of the state separated into regions. This map is updated weekly, and the regions are color-coded based on the reported colors in those regions.
SmokyMountains.com has an incredible map of the entire United States with county-by-county predictions for peak color. Just use the slider at the bottom to scroll through the months of September to November and watch the colors begin to change. By doing this, you’ll also notice that fall colors typically follow a pattern throughout the season; the colors begin up north and work their way south, but they also begin at higher elevations and work their way down towards sea level.
Some areas aren’t going to be quite so easy, though. I haven’t been able to find a single, incredible resource for the Ozarks. So instead of using just one site, I’ll typically be scouring many different sites, blogs, forums, and groups.
Peak color usually lasts for around a week but can be longer or shorter depending on several factors. Sometimes, peak color will be cut short by hard freezes, storms, or high winds. If it’s an unusually dry year with little rainfall, peak color may come later than expected and only last a few days. All of these factors will play into the best time to plan a visit, so gathering as much information as possible from local resources is vital.

The best mindset for fall color photography is to think regionally, not locally. Don’t target Estes Park; target the Colorado Rockies. Don’t target Bar Harbor; target the east coast of Maine. Don’t target Jasper, Arkansas; target the Ozarks.
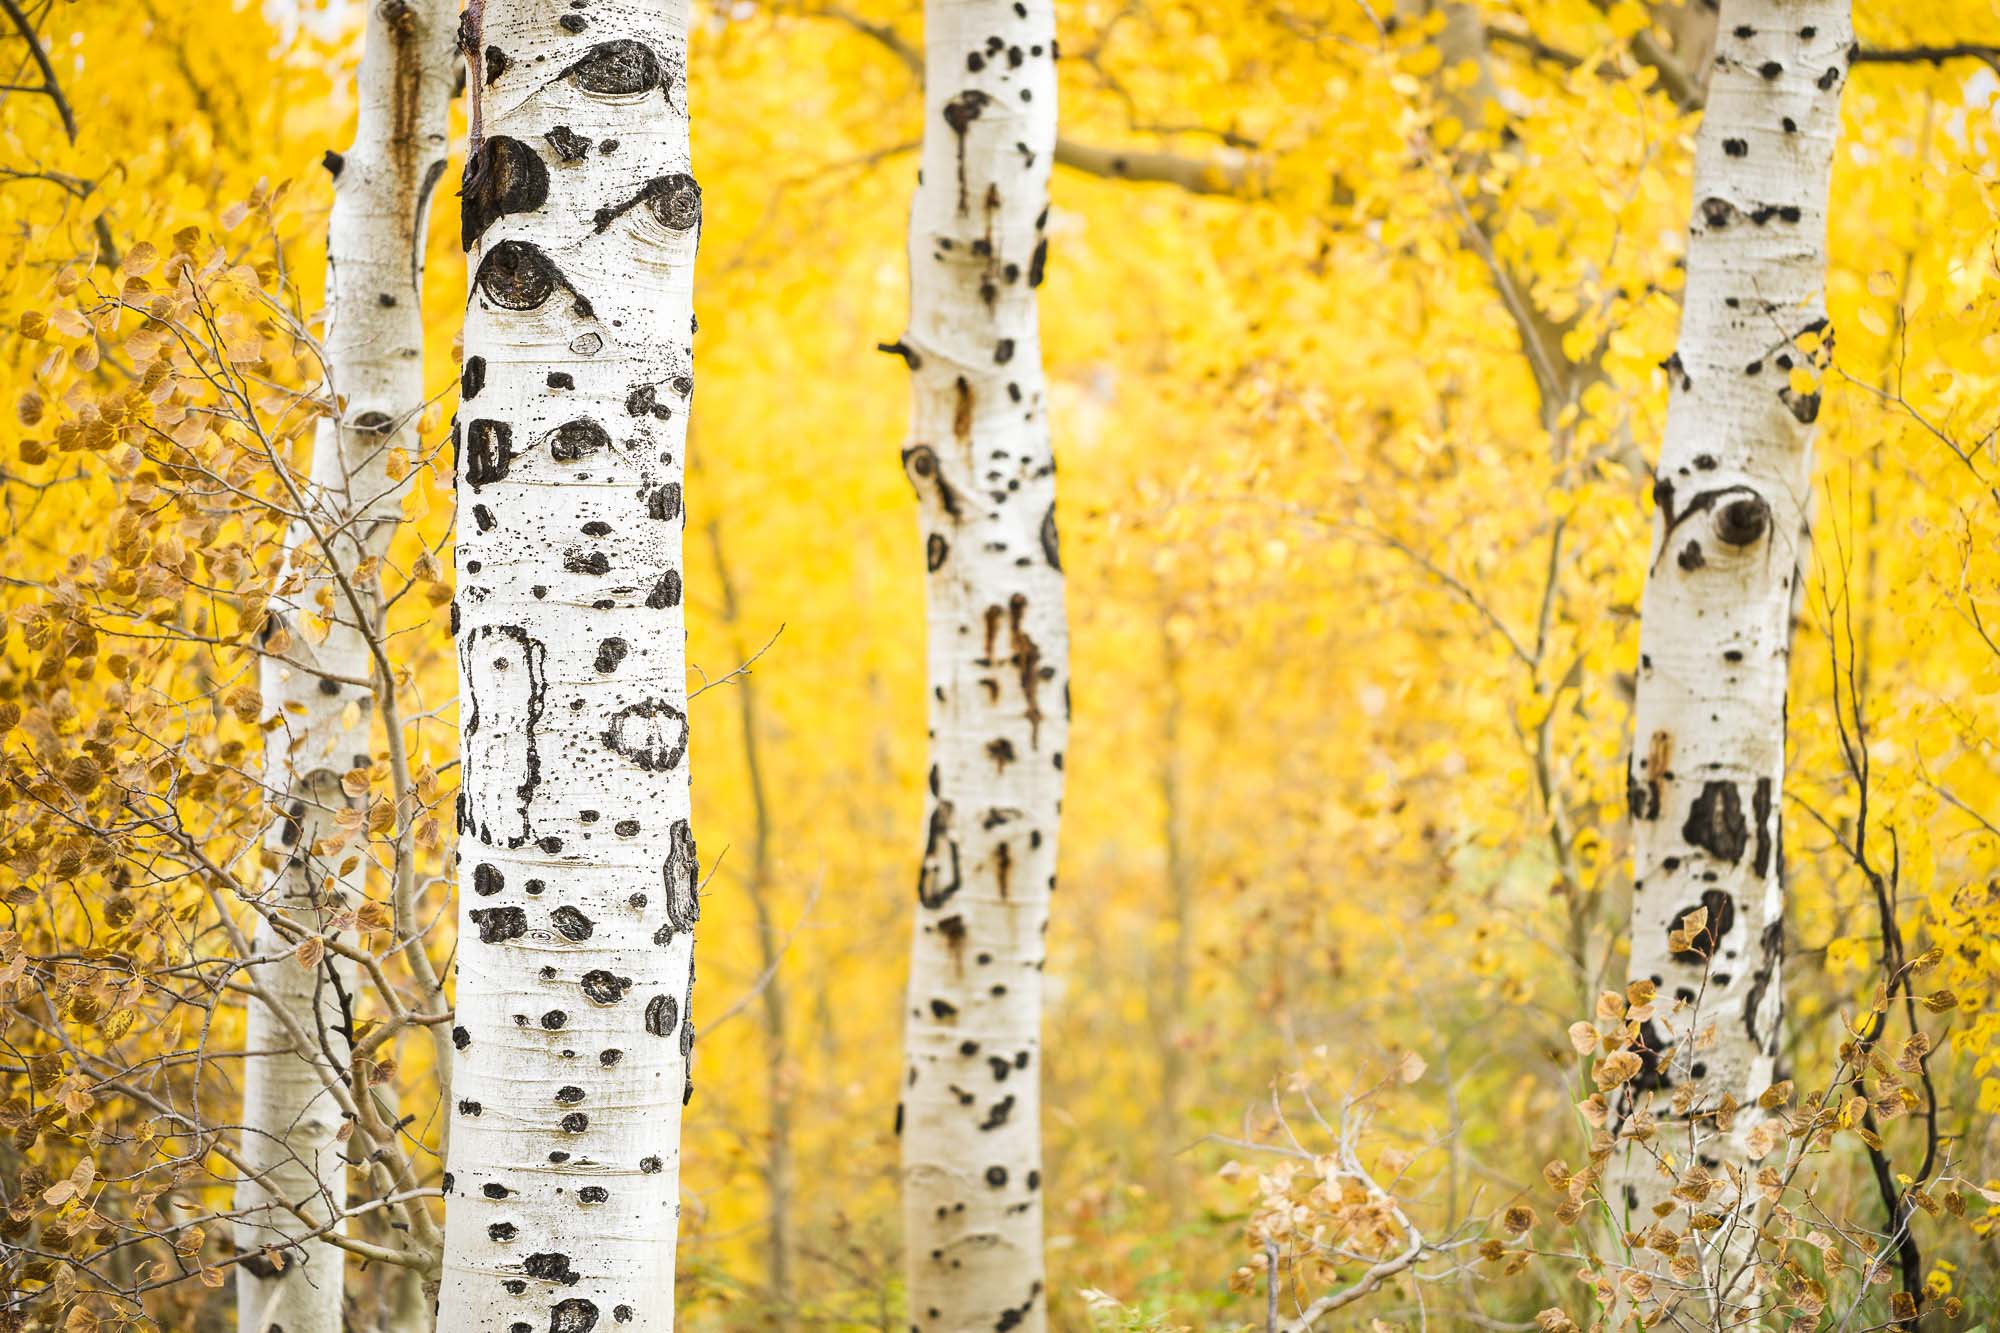
Yes, this means you’ll be spending a lot more time driving, hiking, and exploring, but that’s what makes photographing fall colors so rewarding. Most of my favorite images weren’t taken at well-known locations, but at places I found off the beaten path, miles away from other photographers.
Just like landscapes, the best time to photograph fall colors is during the morning and evening hours when the sun is low, and the light is soft. That doesn’t mean you can’t get good images during the day, but it will mostly depend on conditions. On an overcast day, you can shoot to your heart's content from sunrise to sunset, but on most sunny days, I use the daylight hours to scout locations and create a game plan for the coming evening and the following morning.

I touched on this before, but I can’t stress enough the importance of getting off the beaten path. There are some places that are world-renowned fall color destinations, like Maroon Bells in Colorado. If you absolutely must photograph Maroon Bells, have at it, but just realize you’ll be sharing that spot with hundreds of other photographers, and you’ll all be taking the same picture that countless others have.
Again, I’m not saying you should never go to busy locations. I’ve gone to plenty of spots where I’ve been shoulder-to-shoulder with other photographers, and sometimes it’s fun to just say you’ve seen it with your own eye. Still, once you’ve got your shot, I highly recommend getting far away from the crowds and finding compositions of your own through exploration and your own creativity.

Over the years of teaching students and leading workshops, one of the most common “aha” moments I’ve passed on to my students is the realization that sunsets and sunrises are not subjects but backdrops FOR a subject.
What do I mean by this? Well, take the most incredible sunset sky you’ve ever seen and imagine taking a picture of just the sky. Do you think if you posted that image on social media or hung it in a gallery that anyone would stop and take notice? I would argue no because we’ve all SEEN incredible sunsets and sunrises. Now take that same sunset sky, and frame it with an equally incredible foreground like waves crashing against a rocky coastline or an impressive mountain range. See the difference?
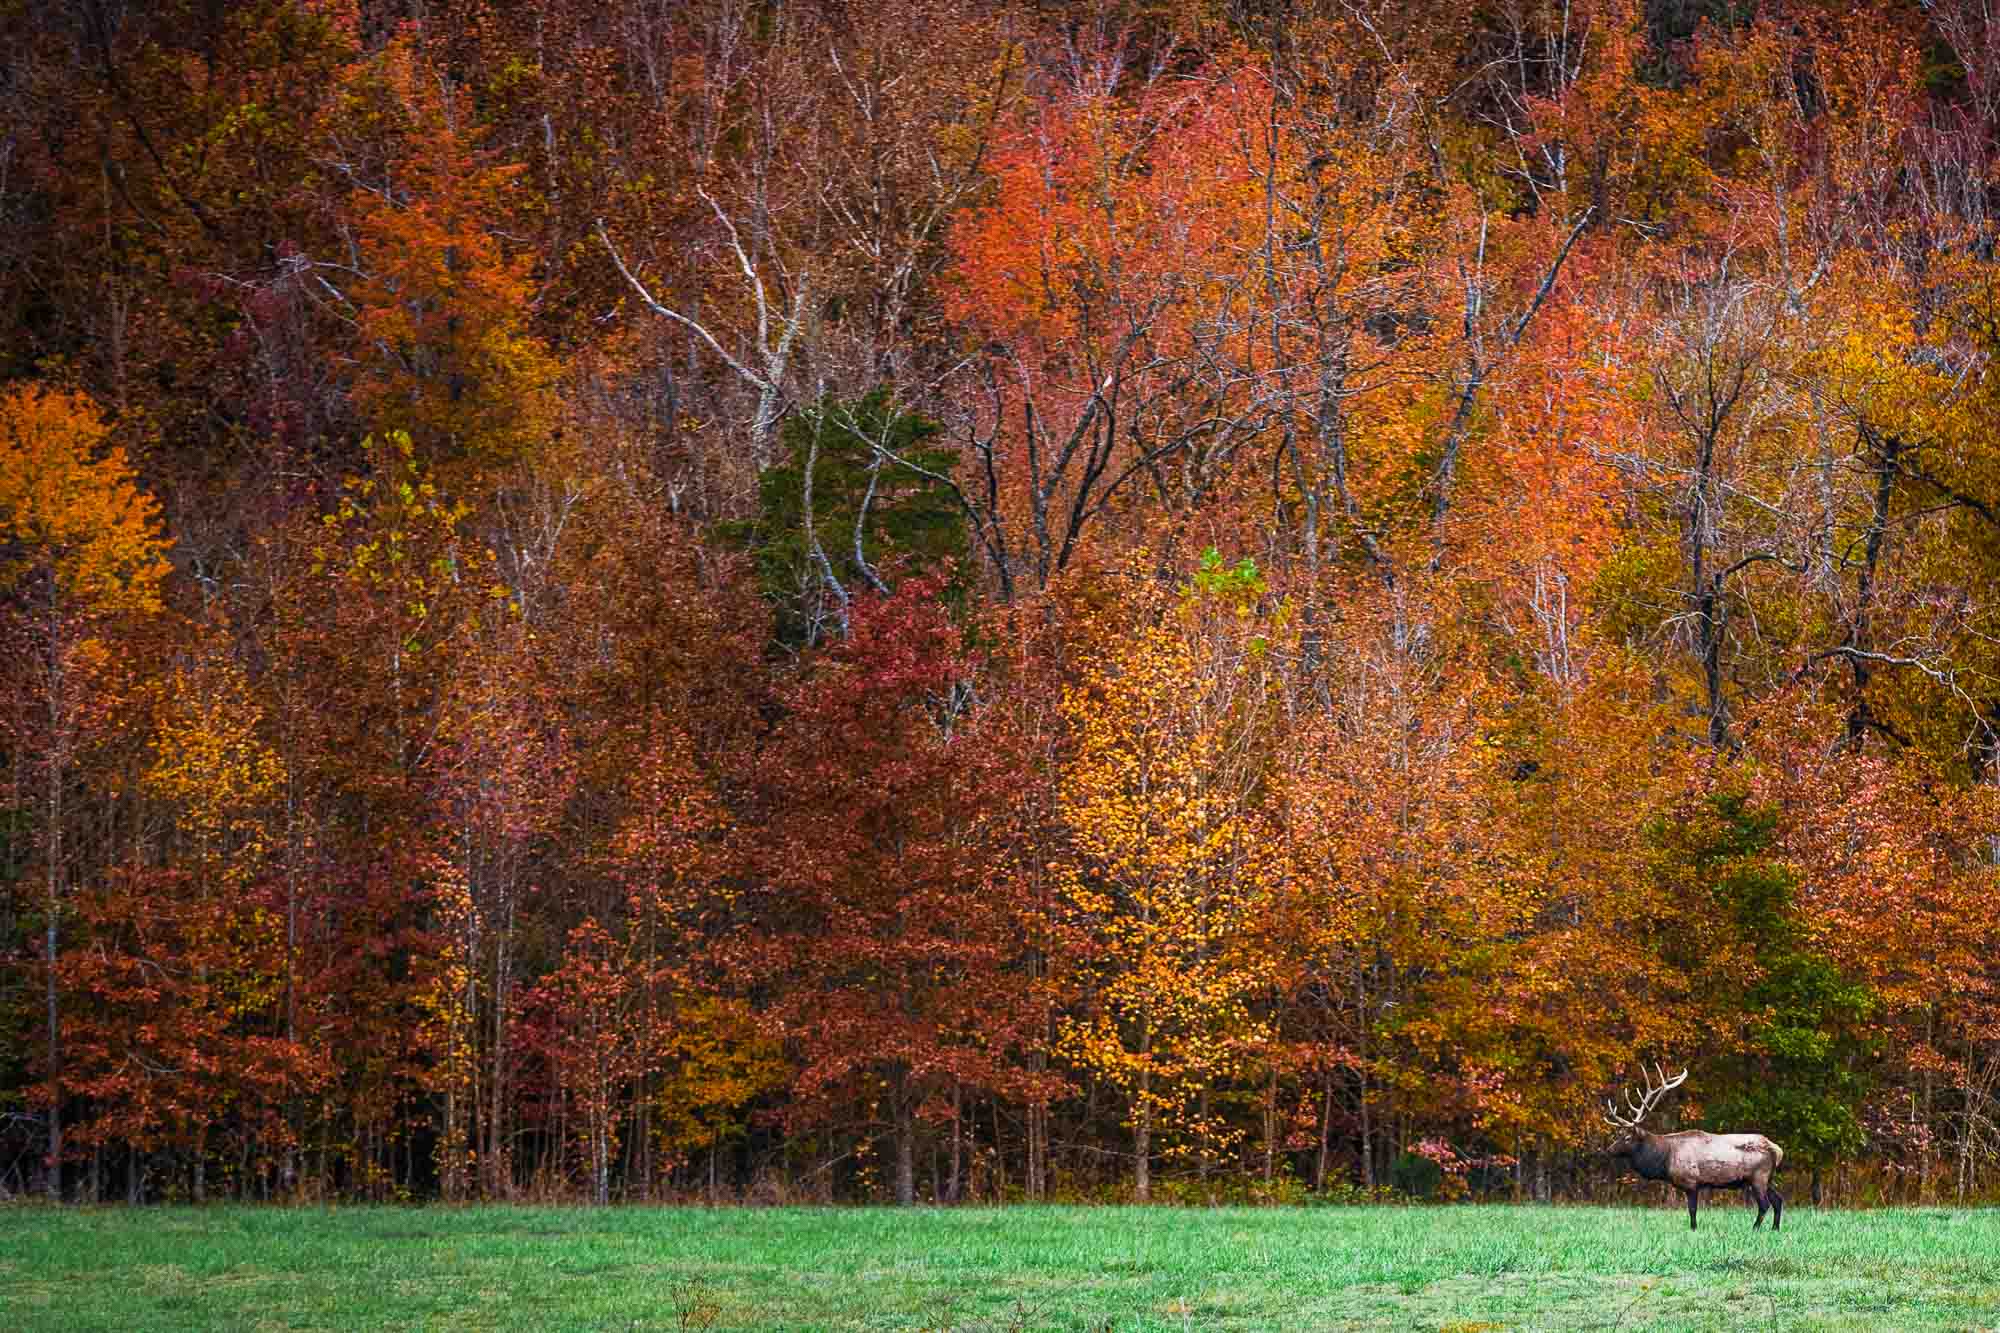
It's the same with fall colors. Whenever I can, I try to create compositions where fall foliage isn’t the main subject but simply a compliment to some other subject within the frame. This could be a winding path, a mountain, a river, a bridge, or just about anything else.
Wherever you plan on going for fall colors this year, I hope these tips will help you make the most of your time. If you have other tips that have helped you in the past, be sure to leave a comment below and let us know. Or just let us know where you’re going! And once you get back with your images, be sure to run them through the brand-new Topaz Photo AI to make them look their best! Here’s a quick video where I run an image through Adobe Photoshop and Topaz Photo AI, and get some incredible results with very little effort.

© 2005 - 2024 Topaz Labs. All rights reserved.

