January 12, 2023

A photo editing workflow is a process you follow that involves both corrective and stylistic changes that you apply to your images. This process of correcting and stylizing your photos is achieved by using at least one, but typically several, applications. The goal is to manipulate the photo in such a way that it allows you to express your creative vision for it. I’ve always expressed photo editing workflows in three ways:
A good photo editing workflow should grow and shrink in terms of the apps and tools required in order to meet your individual needs. In other words, it’s important to not let yourself get too set in any one particular way of editing and to be open-minded about incorporating new solutions.
I can promise you that the photographer I was a decade ago is very different than the photographer I am today, especially when referring to my post-processing workflow. As my aesthetic tastes and preferences have changed, so has the software I’ve used with my photos. I’ve allowed my workflow to evolve with my changing taste by adding new software to the mix, as well as removing obsolete apps. This practice has also allowed me to streamline my workflow to be even more efficient.
While photo application juggernauts like Adobe Lightroom and Photoshop will always have a firm place in my photo editing workflow, I’ve learned to seek out purpose-driven applications that can achieve specific tasks far better than the former software. For example, while I can achieve some sort of noise reduction using Lightroom, I’ve found that using a purpose-driven application like DeNoise AI, whose sole purpose is to deliver remarkable noise reduction, provides me with far superior results.
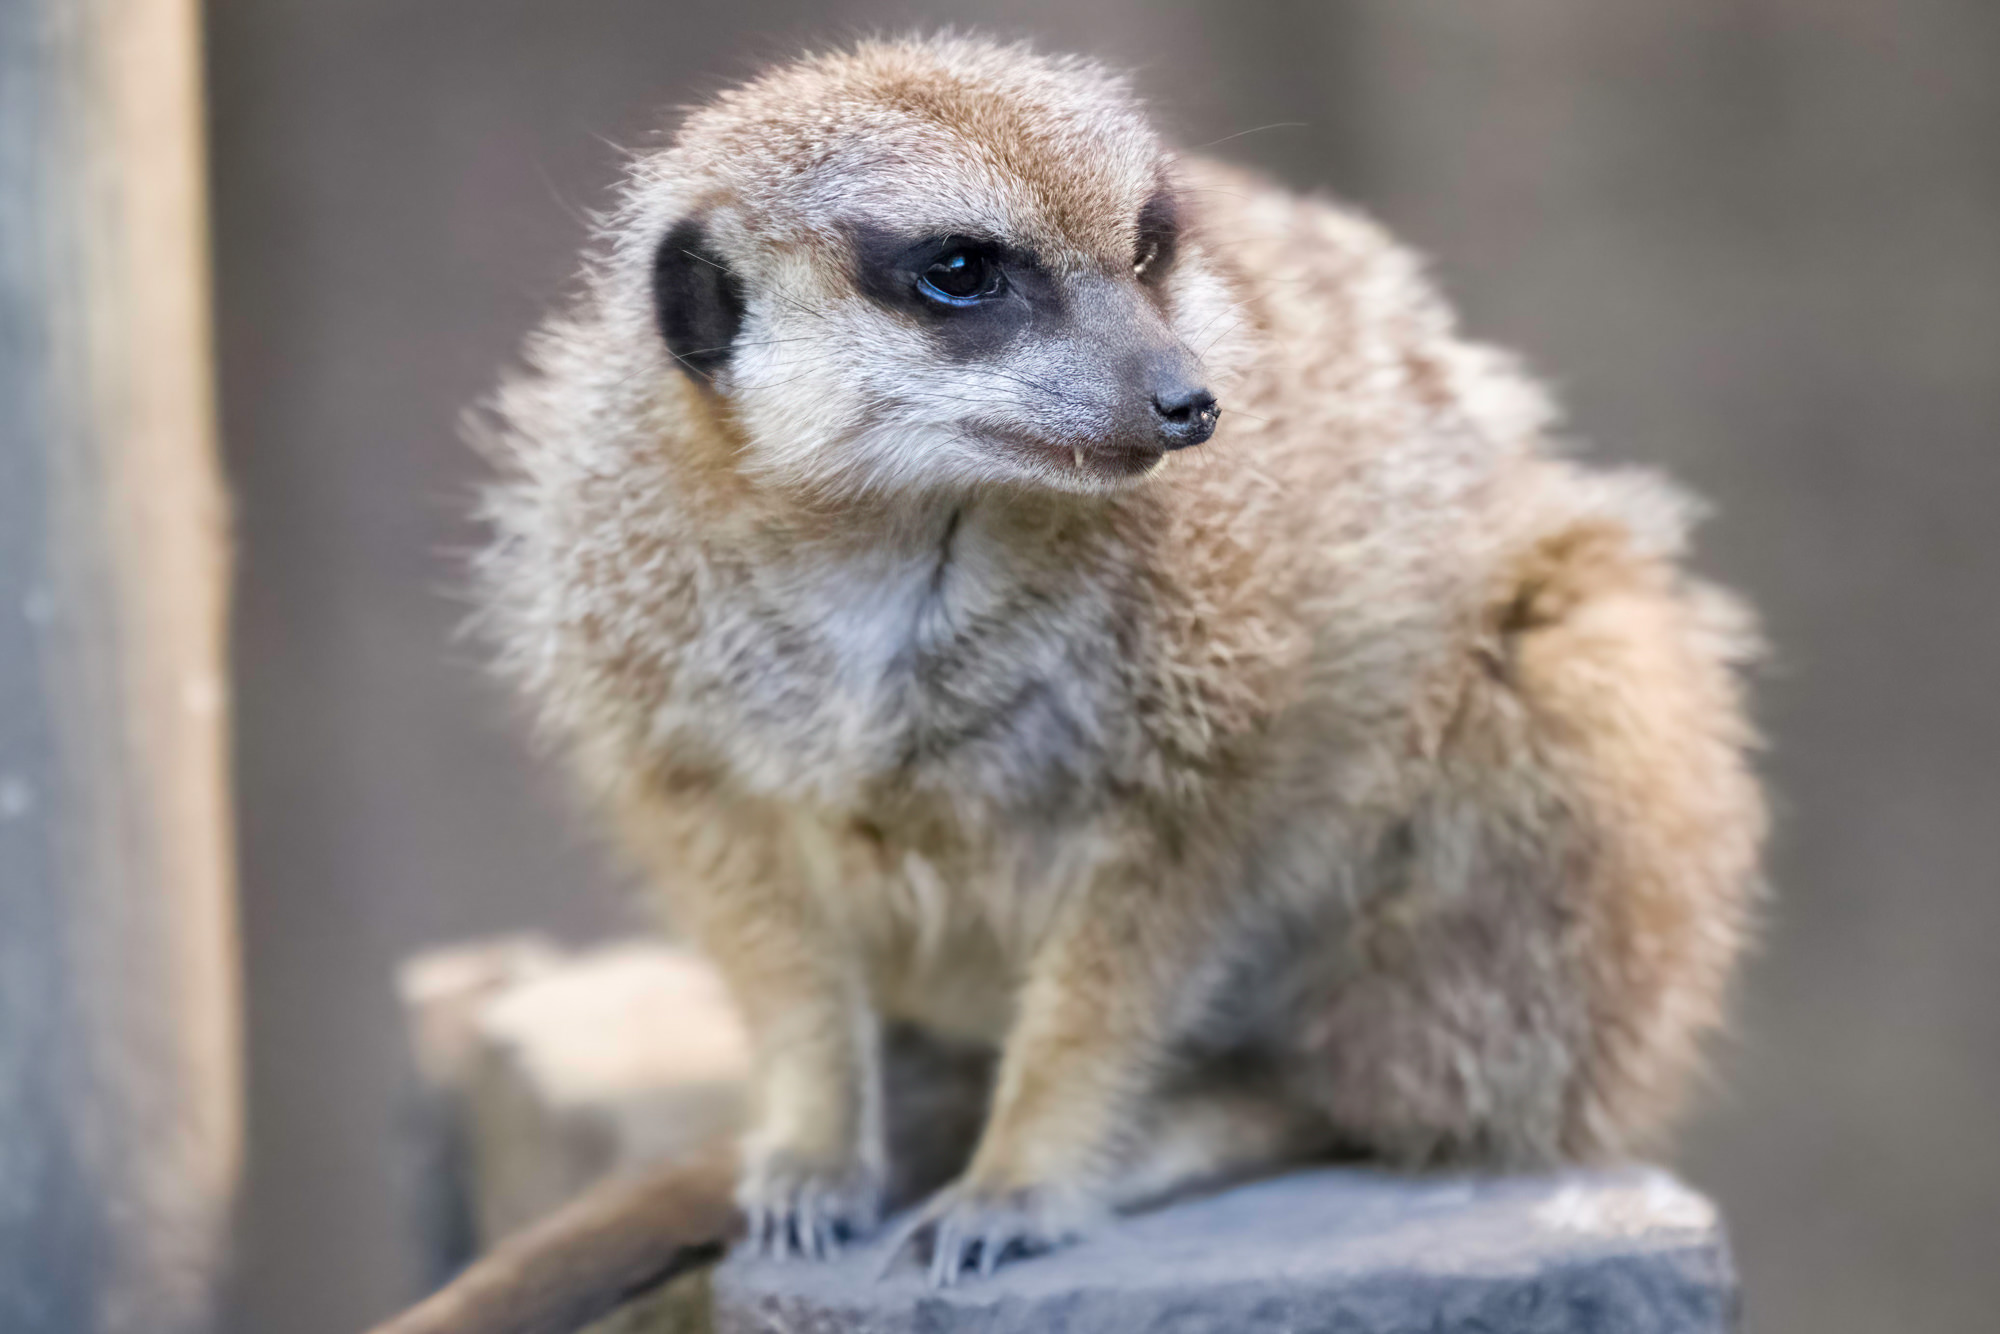
Now that you have a better idea of how I envision a functional photo editing workflow, I’d like to walk you through how I use three of our purpose-driven applications—DeNoise AI, Sharpen AI, and Gigapixel AI—to refine this photo of a meerkat taken by my colleague, Hillary Fox. First, I’ll share a video showing you exactly how I use all three of our Image Quality bundle apps. Next, I’ll share the same workflow and present illustrate images and comparisons for you to review. At the end of the post, you’ll be able to download free trials for all three of our applications.
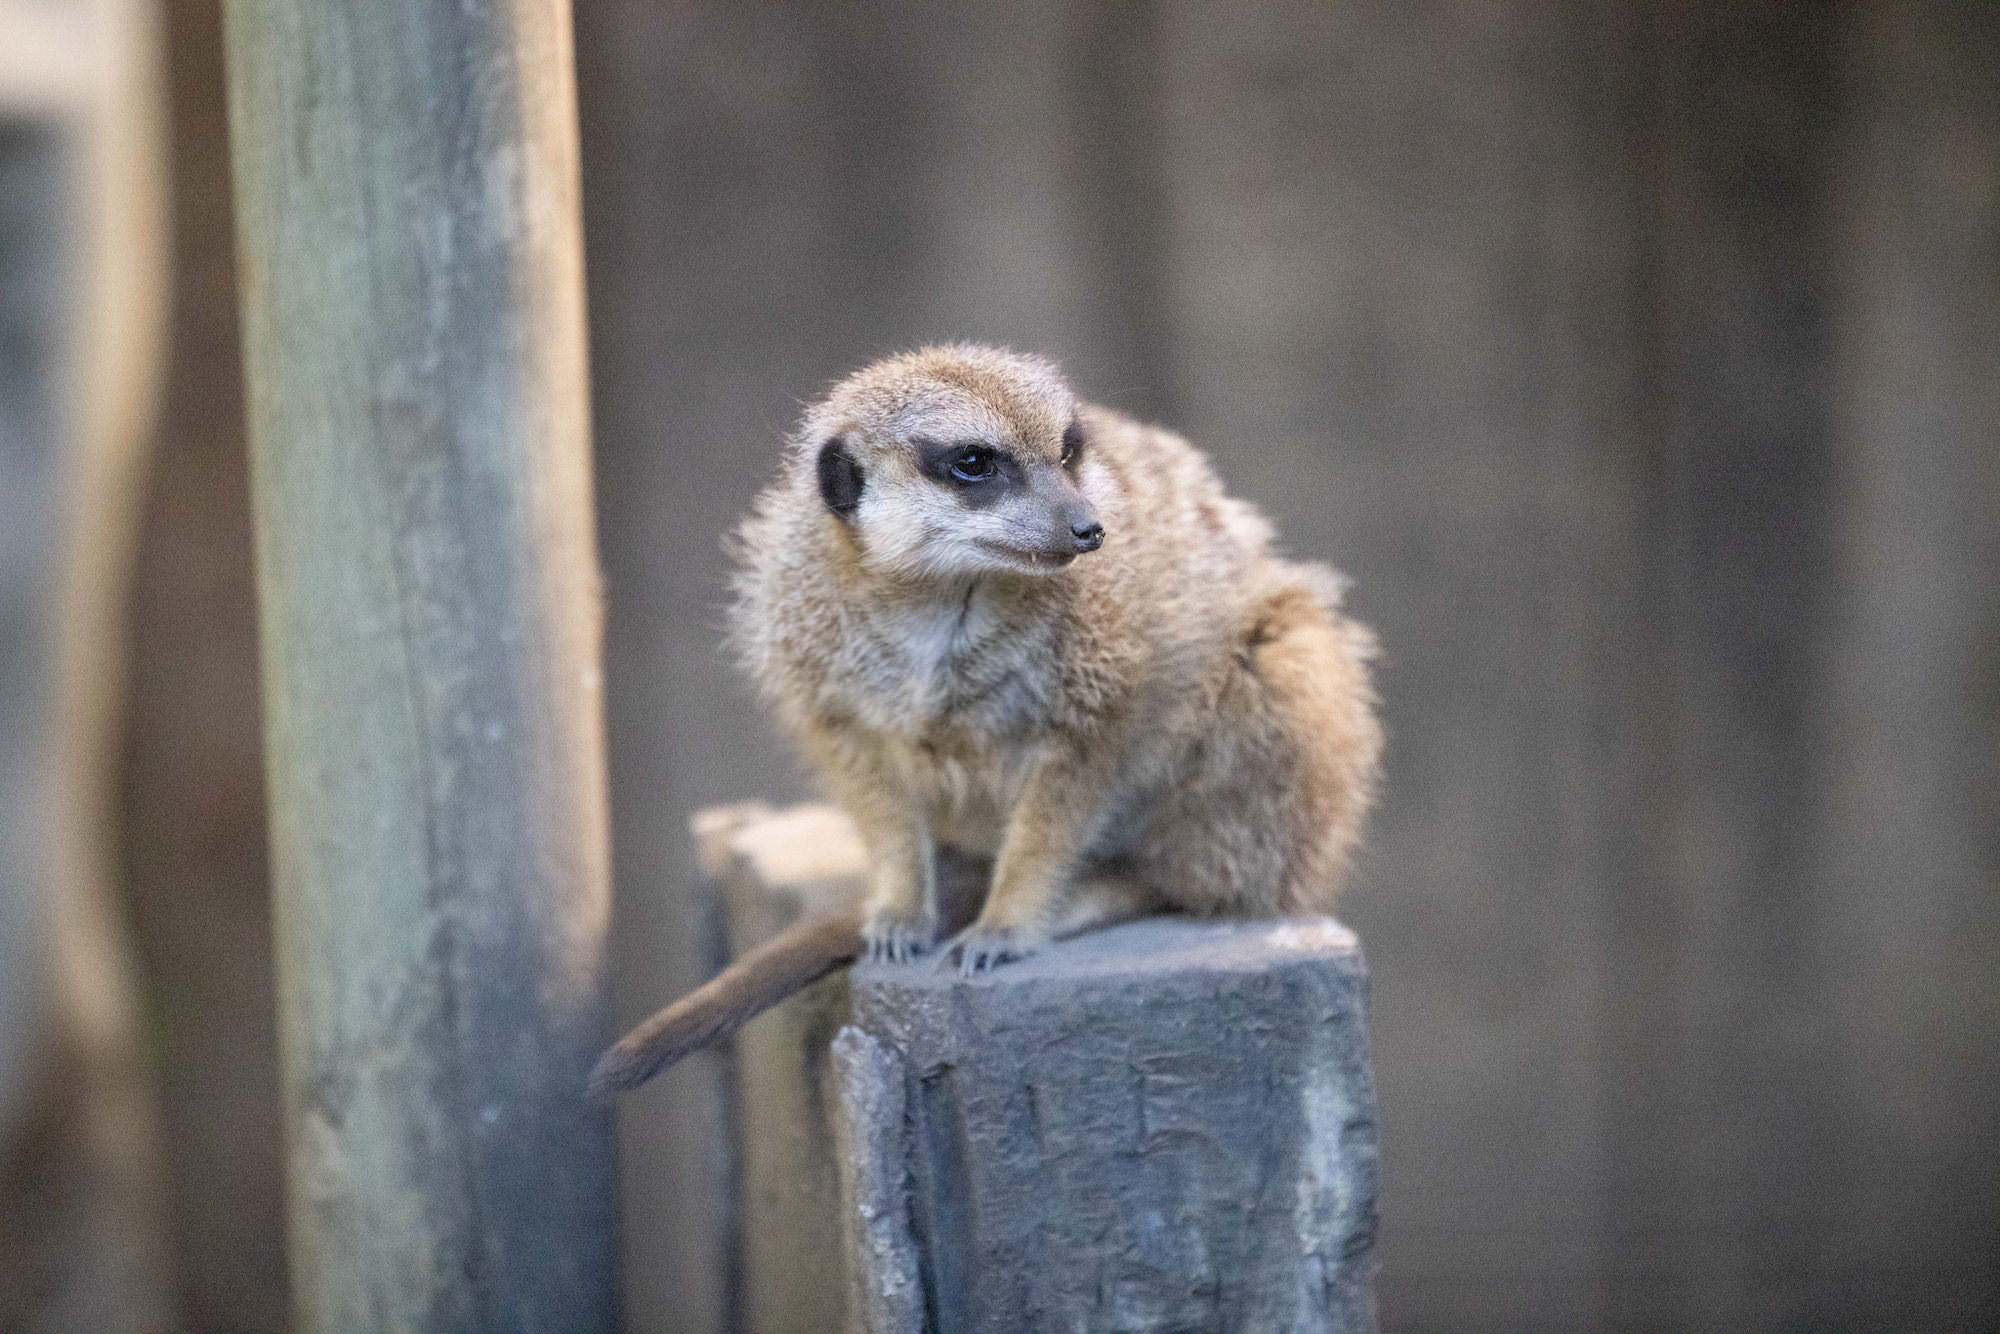
As you can see, the original image suffers from excessive noise due to shooting at a high ISO. This is a common reality for many wildlife photographers, as it’s often the case that there isn’t enough available light to both set a fast shutter speed and a low ISO. My attempt to apply noise reduction using Adobe Lightroom left a lot to be desired. While Lightroom did manage to reduce the noise, it did so at the expense of important edge detail. Also, the background area now suffers from distracting compression artifacts. This is especially easy to see when you compare it with the same photo processed using DeNoise AI’s new RAW model, which analyzes RAW image data to provide even better results. Be sure to check out this article I wrote all about the DeNoise AI RAW model.

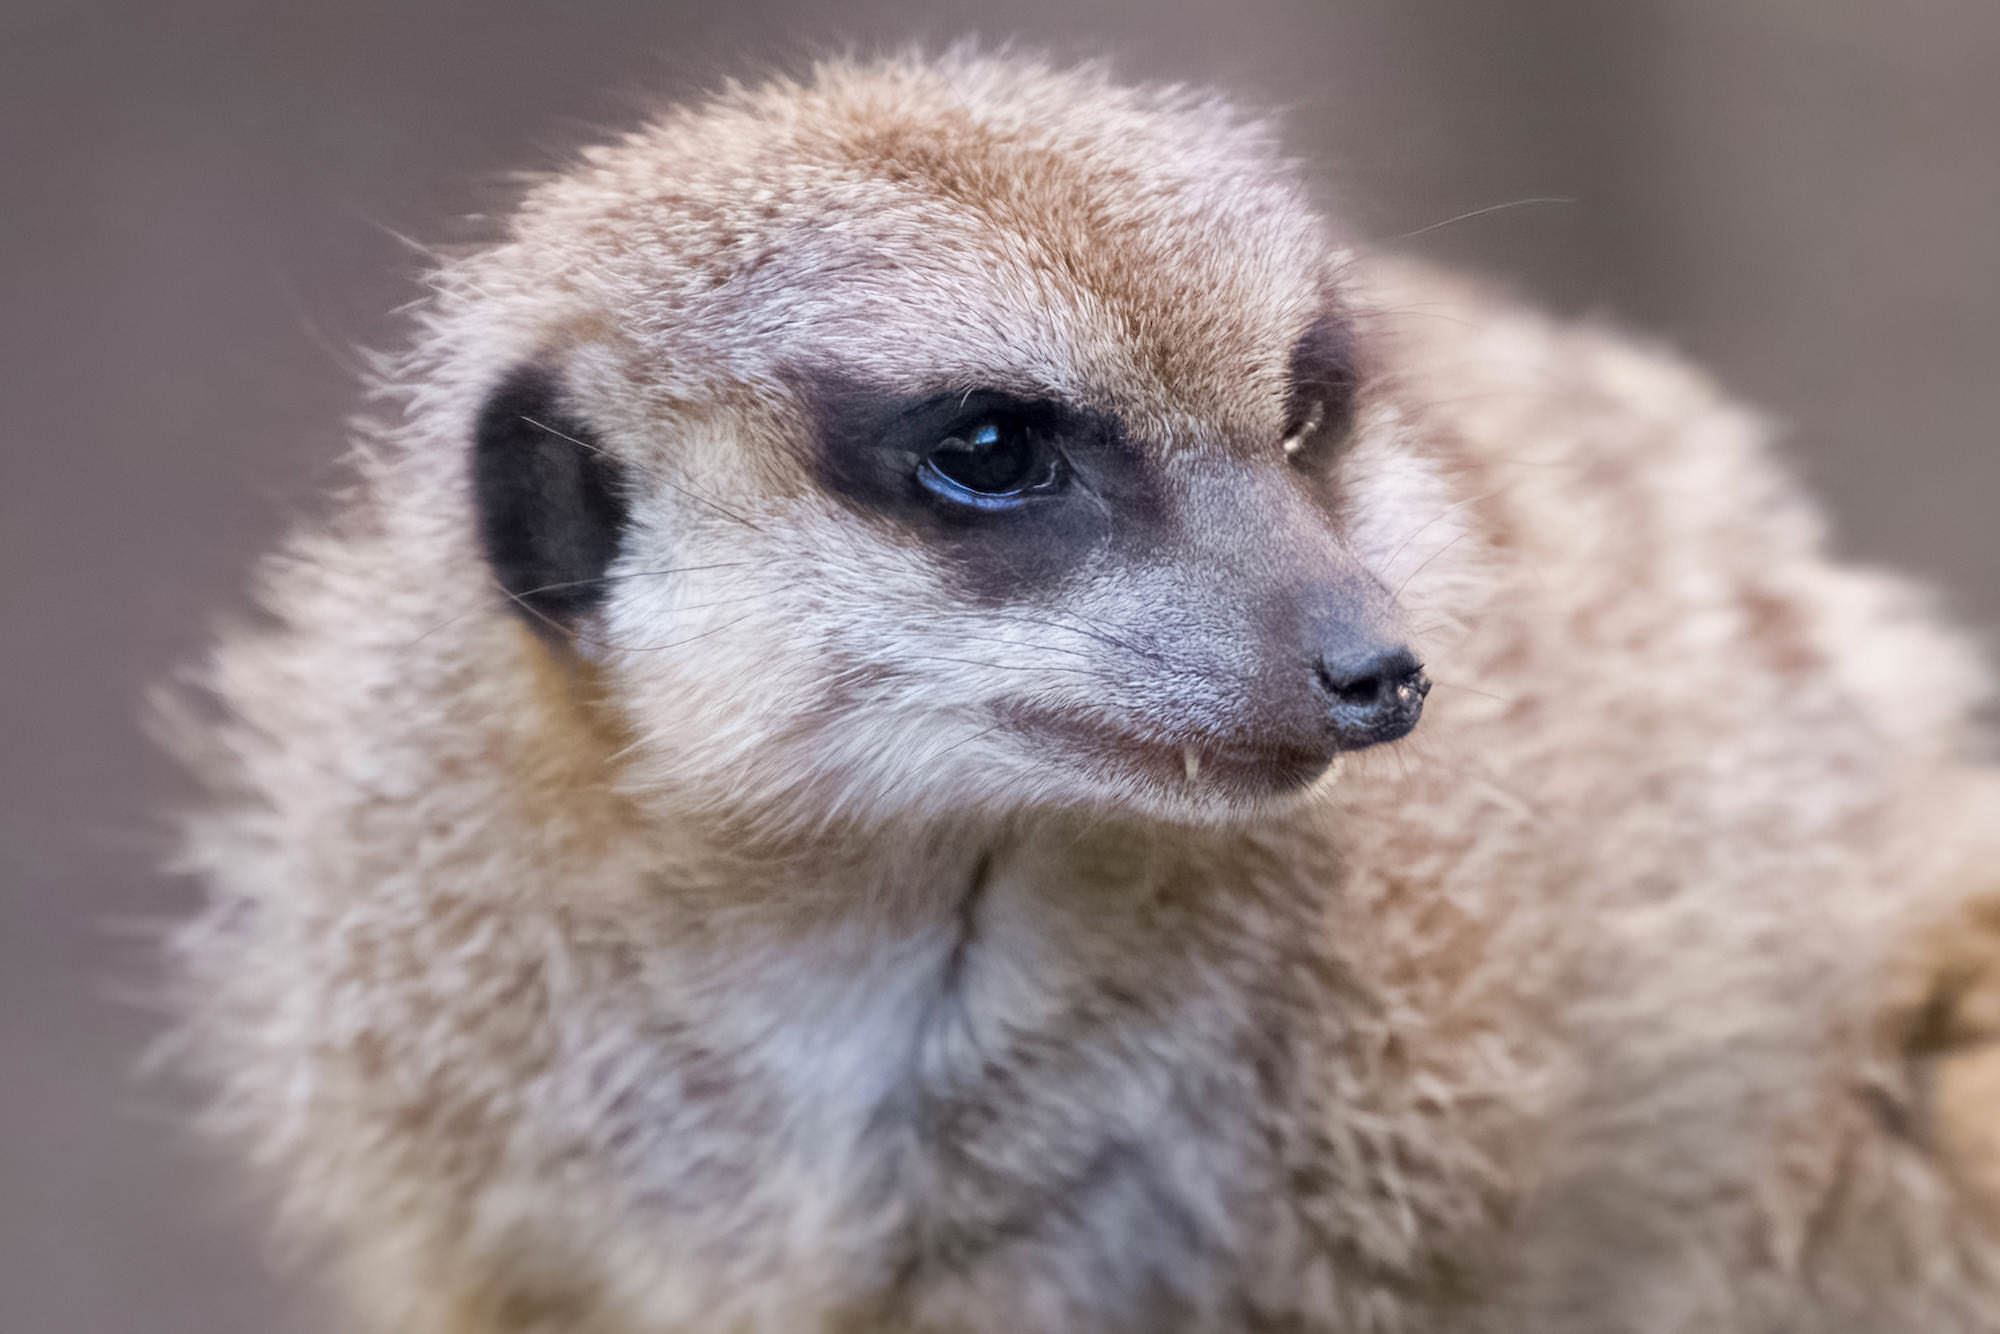
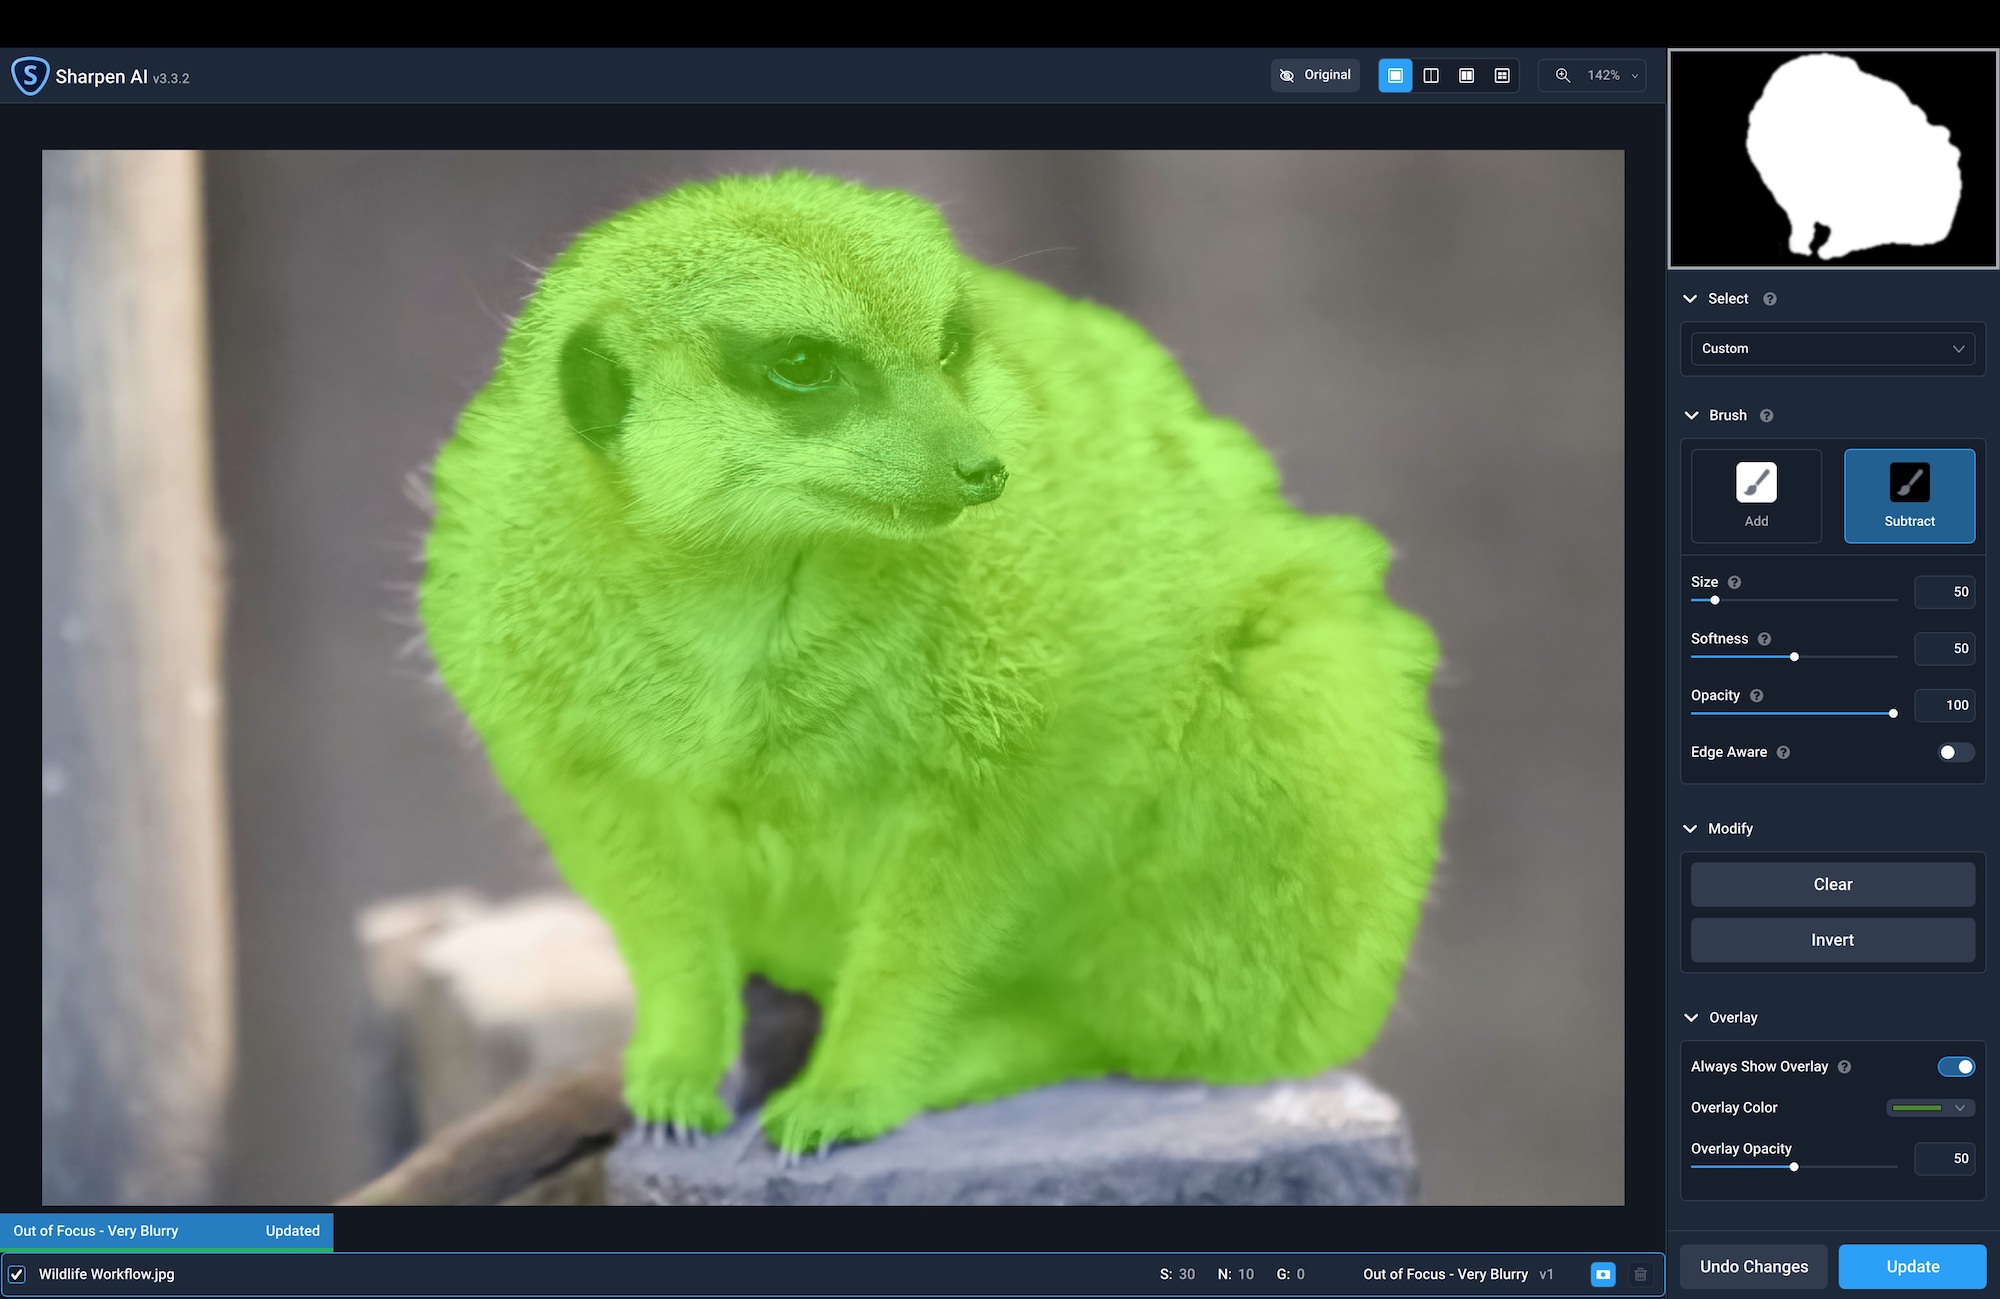
Once I mitigated the noise in the photo, I was free to apply some color and tone corrections, including adjusting exposure and setting a correct white balance. I also opted to crop the photo so that the meerkat filled the bulk of the frame. The next step in my workflow involved using Sharpen AI to apply targeted sharpening, especially around the meerkat’s head, since that is where the primary focus was established. Fortunately, Sharpen AI’s new Auto Subject detection made it very easy to quickly isolate exactly where sharpening should be applied.
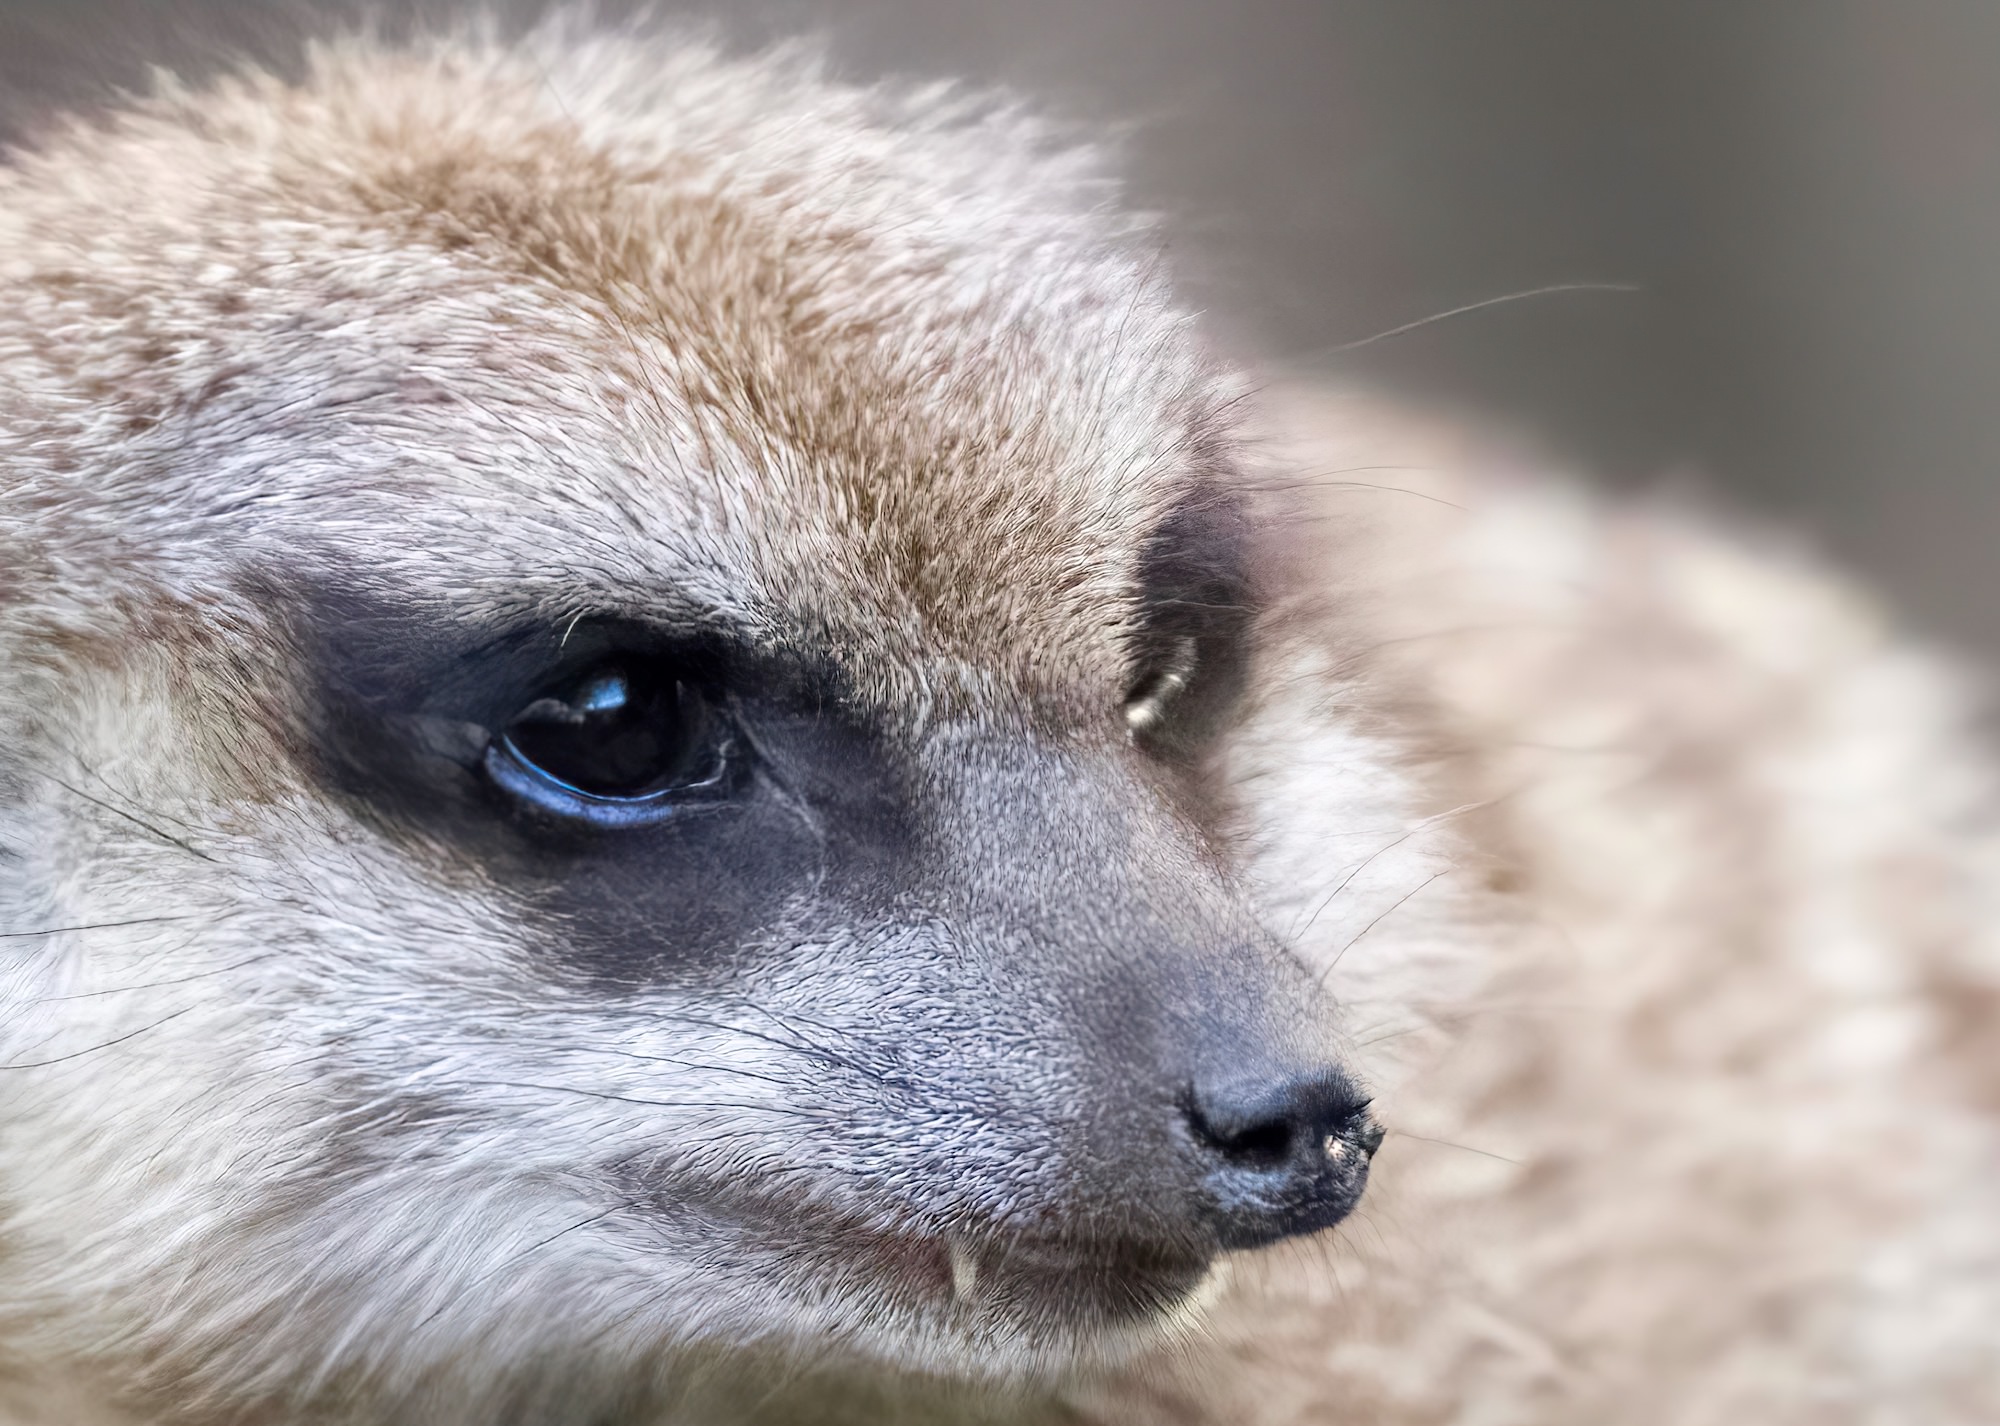
In the previous section, I mentioned that I heavily cropped the photo to bring focus to the meerkat. The unfortunate byproduct of the crop is that it reduced the image resolution from 44.8-megapixels to 11.5-megapixels. Normally, this resolution should suffice for most social media sharing purposes, but it can fall short if you’re planning on printing it, for example. Fortunately, Gigapixel AI has powerful models designed to increase image resolution by up to 600% while enhancing image quality. In this example, I compared the same 600% upscale using Adobe Photoshop and Gigapixel AI. Notice how much smoother the out of focus areas are in the Gigapixel AI version, as well as the improved detail retention.

Visit our product pages for DeNoise AI, Sharpen AI, and Gigapixel AI and click on the "Try for Free" button to download free trials that never expire.

© 2005 - 2024 Topaz Labs. All rights reserved.