


Article outline
- Introduction
- Video: Backyard birding can improve your photography
- Practice shooting techniques
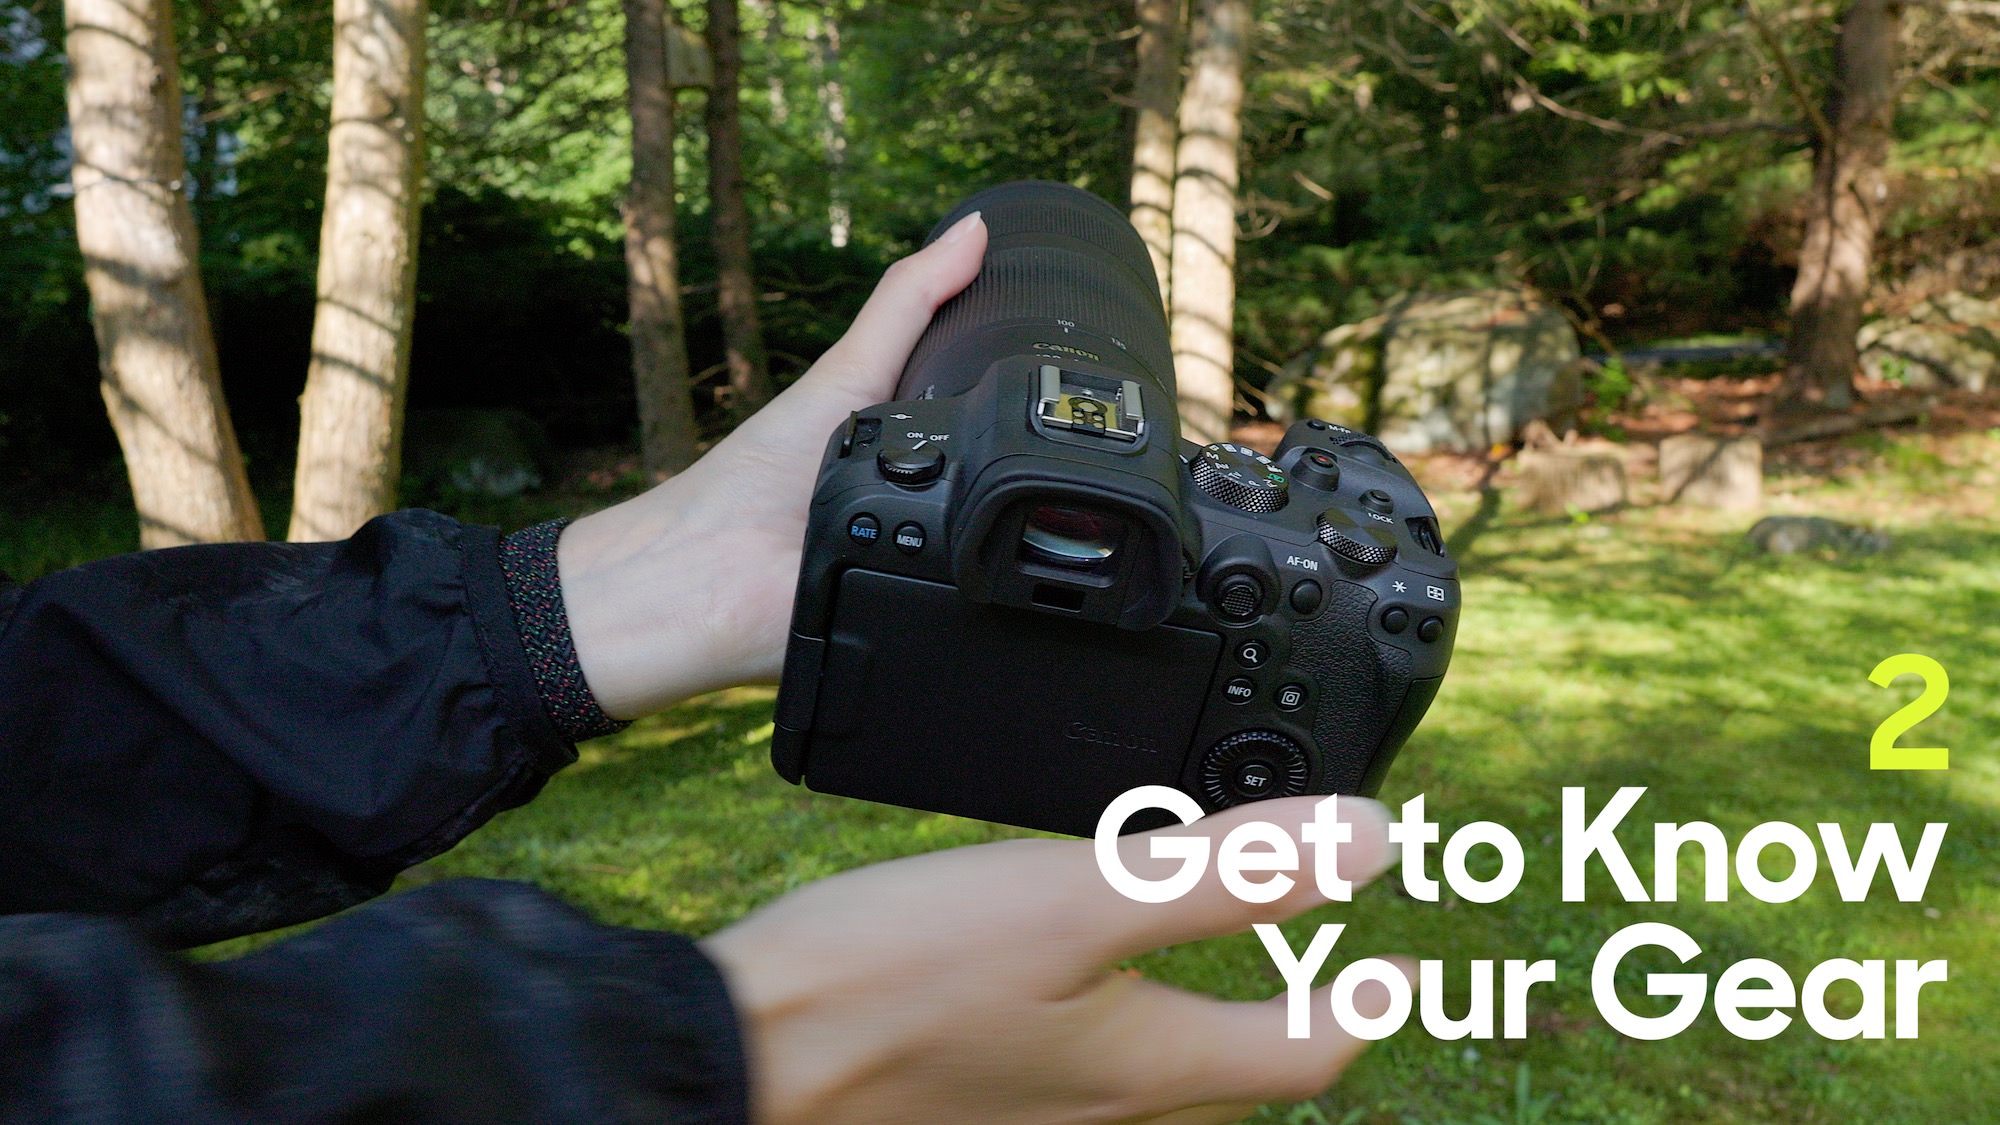
- Get to know your gear
- Learn bird behaviors
- Establish a workflow / process
- Develop your style
- Learn how to overcome challenges
- Stay humble
Many may disregard yard birding as pedestrian - just something newbies do. Photographing common birds in your very own backyard? Doesn’t sound very exciting. But over the years I’ve found it integral and indispensable to my growth as a birder and photographer. It has allowed me to do and see things that I perhaps couldn’t do in other scenarios. I’ve been very fortunate to have a variety of species pass though my yard throughout the years, but a local park can serve the same purpose. We are looking for consistency - a place you can go to often to refine your way of seeing and making photographs.
I won’t tell you photographic rules to obey or what specific settings to use. That’s going to be up to you because we all create differently. But, I will share some insight along the way. My goal is to tell you how yard birding can up your game by teaching and inspiring you. This will make you more prepared so when that important moment strikes, you are better equipped to handle the situation and get the shots you want.
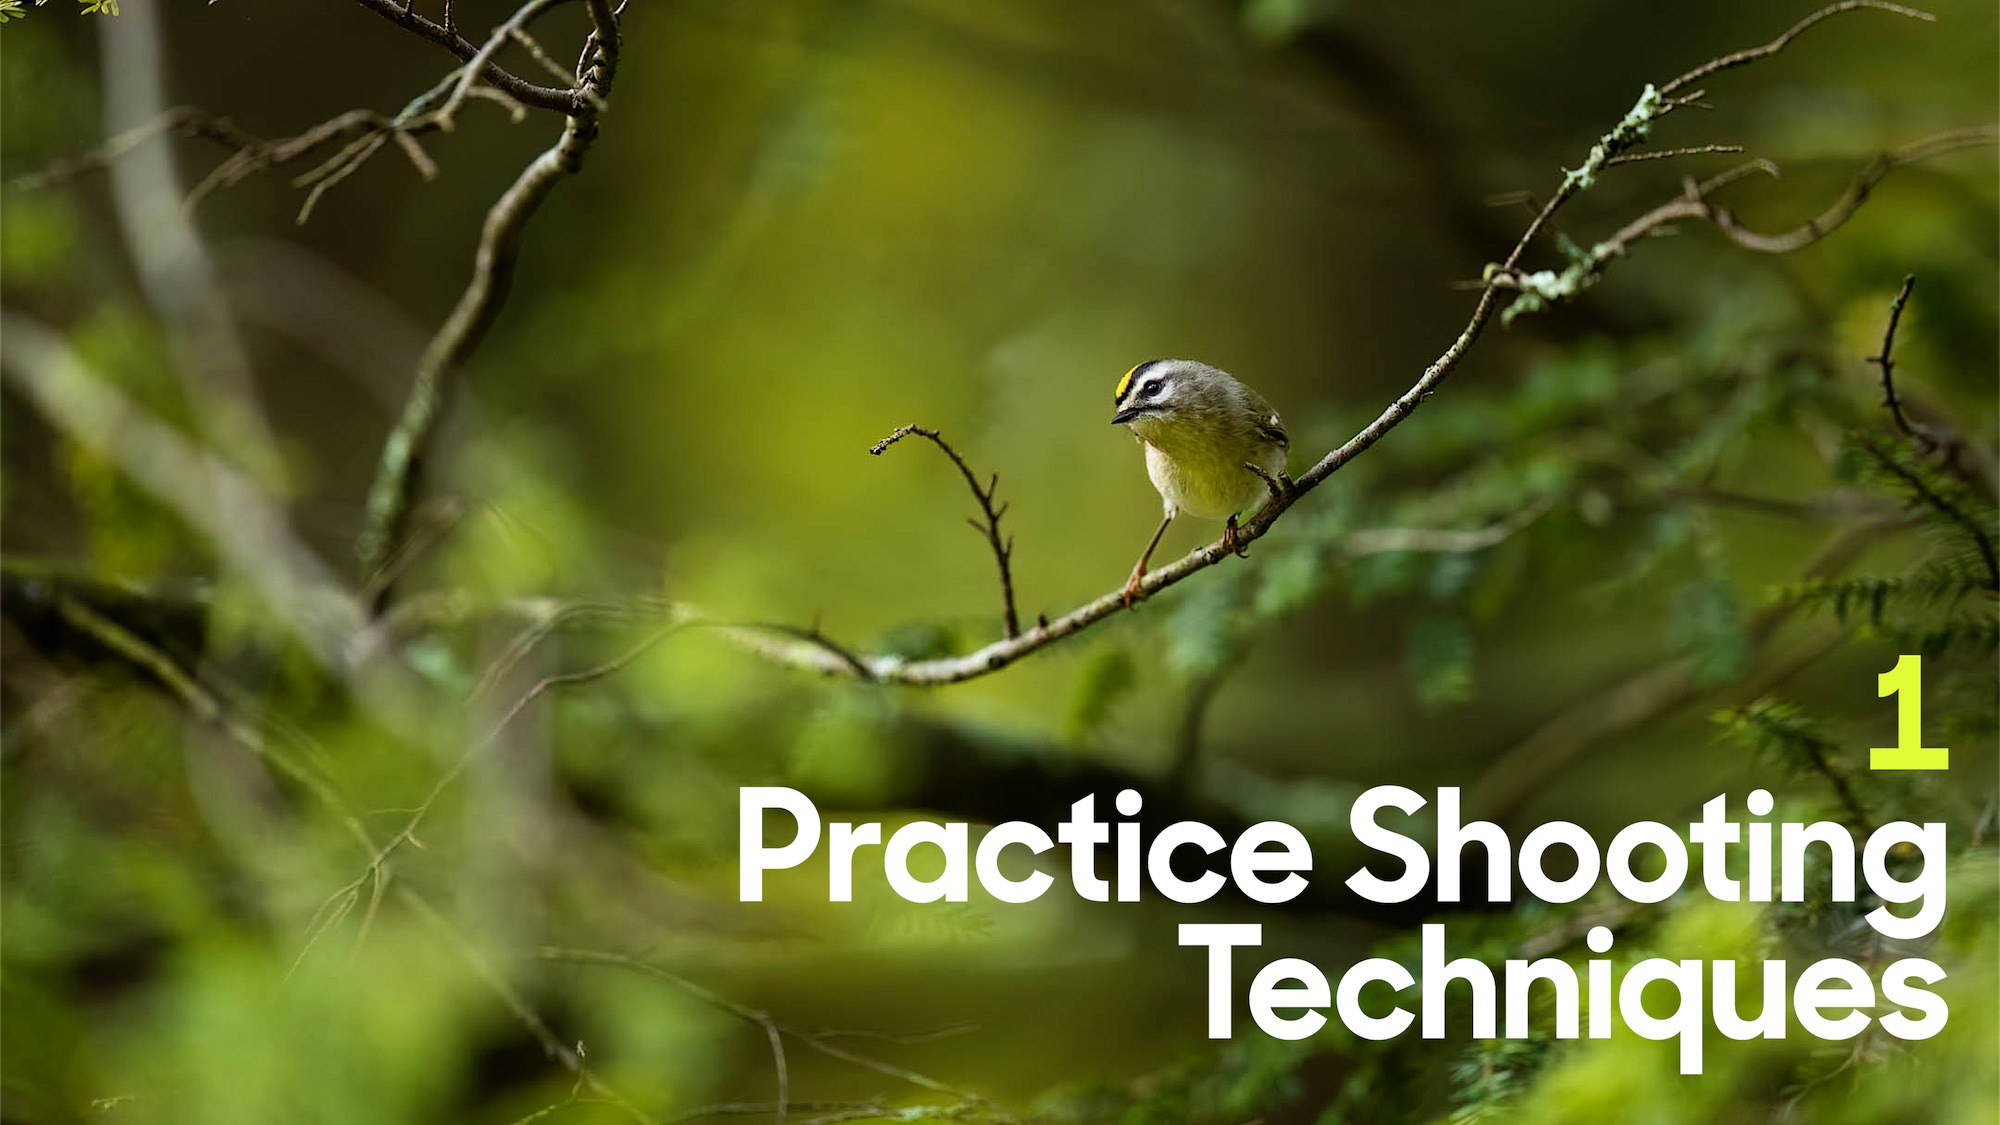
Yard birding gives accessibility to various techniques you may want to try. Beyond style (more on that later), you may want to broaden your expertise. It’s certainly good to know how to successfully capture different kinds of images so when you want to create them, you already have the knowledge in your skillset.
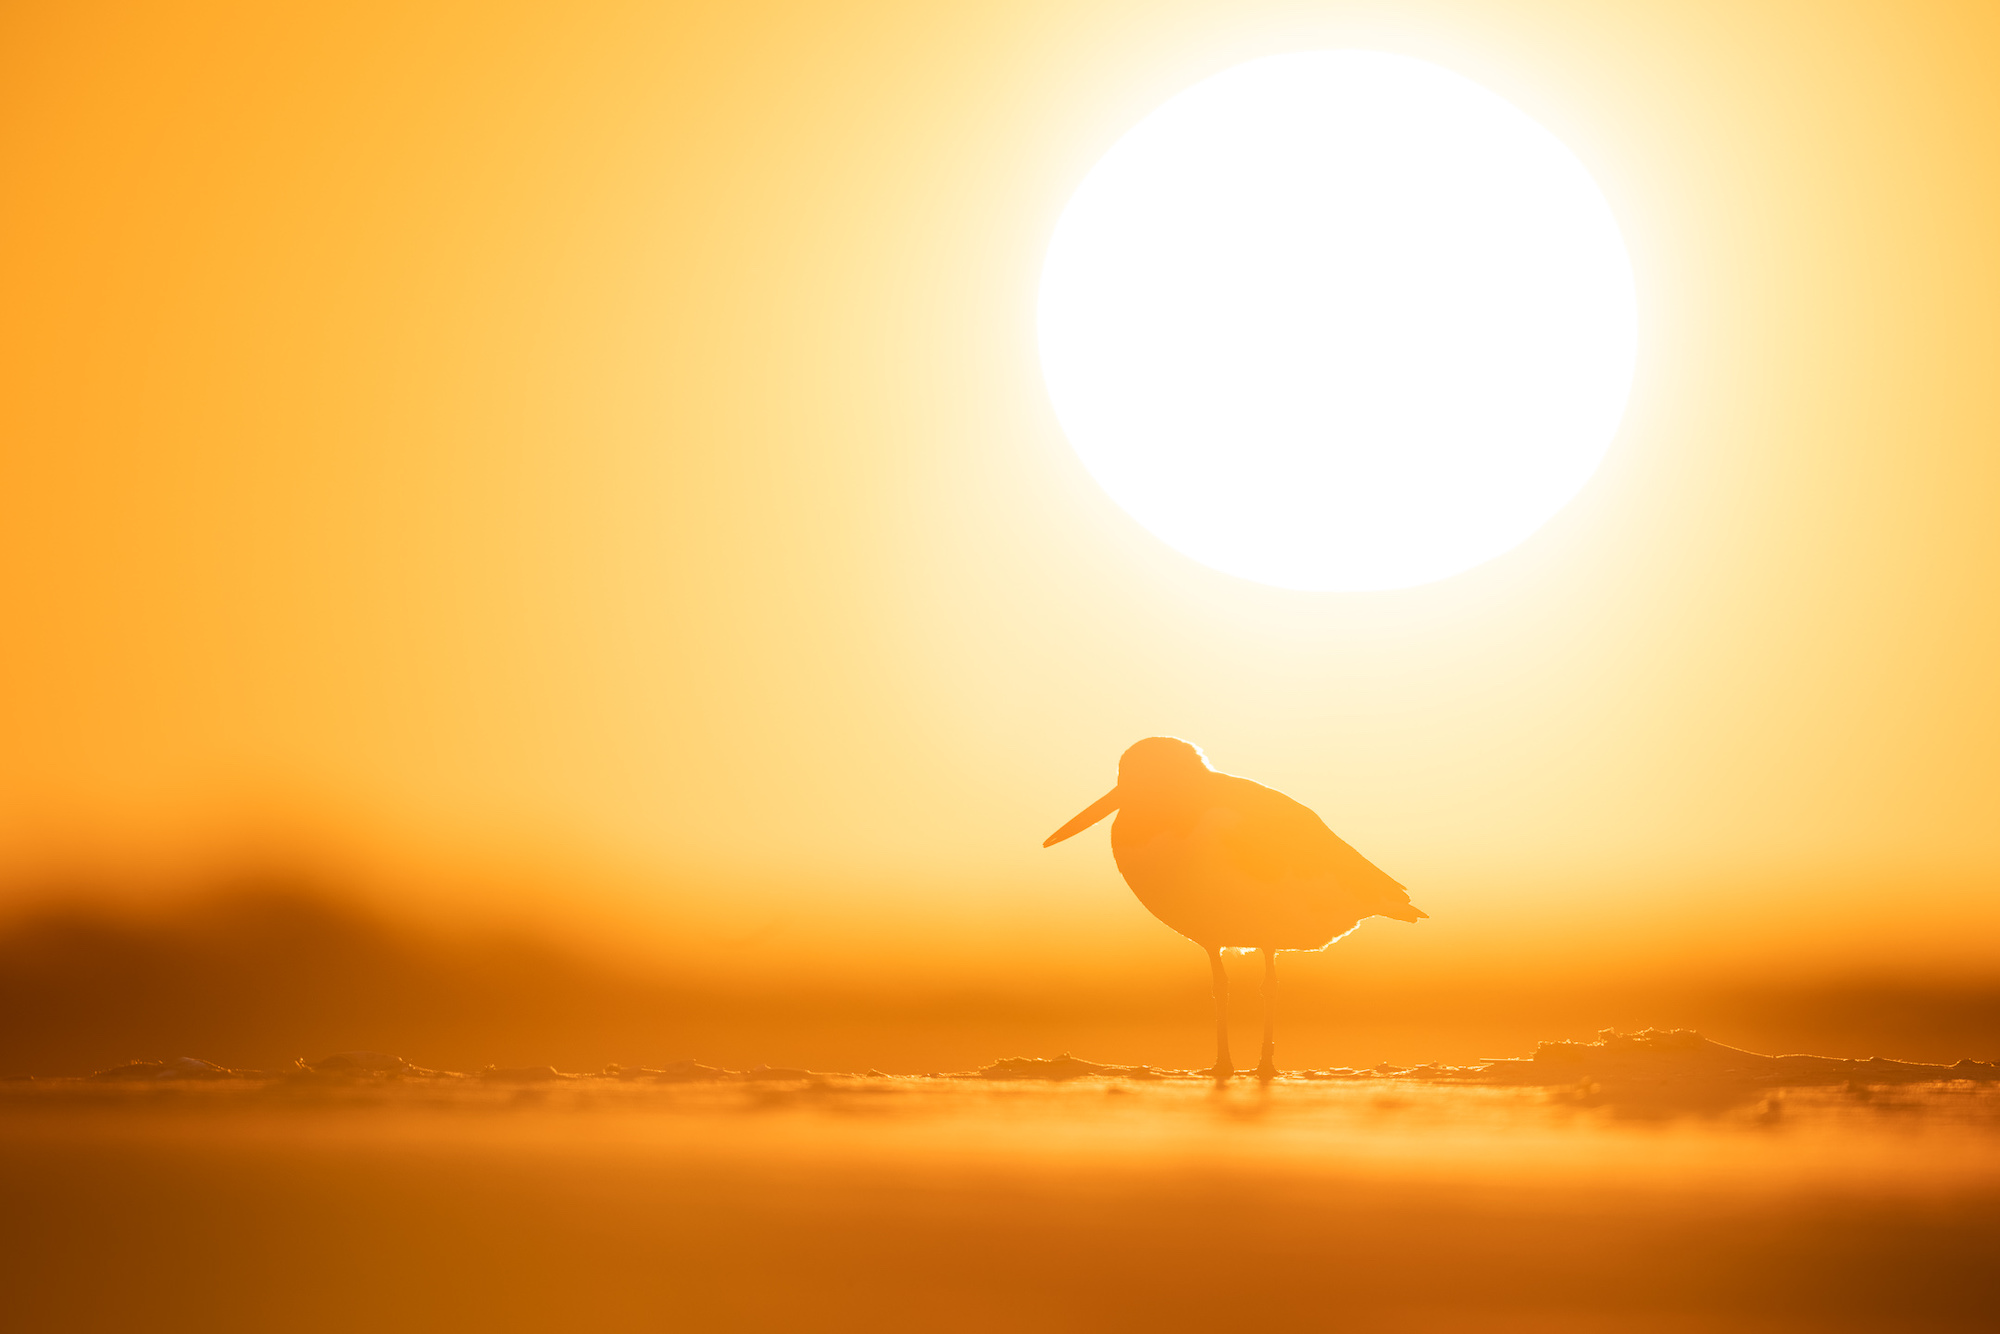
For example, slow shutter shots can seem simple, but getting a nice looking image that makes sense is certainly challenging - especially with wildlife. Achieving this is not only an engaging exercise but can also open creative doors to new ways of seeing.
The worst thing is seeing a perfect photograph opportunity that you miss because you are fumbling with your camera. The good news is that it happens to everyone! Sometimes birds are just too quick for us, but you can better prepare to eliminate these stumbles.
Learn the strengths and shortcomings of your gear. Figure out which settings work for you - and don’t feel ashamed if you prefer Shutter Priority or even Full Auto. Those modes exist for a reason. If they help you get the results you are looking for, then more power to you! Don’t feel pressured by other people to use modes and settings you are not comfortable with - it’s only going to leave you feeling more frustrated. With that said, don’t be afraid to challenge yourself. Yard birding and the techniques described here can certainly help you get more flexibility and control, as it encourages you to shoot until it feels fluid.

I shoot in Manual with Auto ISO. I can control the aperture I want and the shutter speed I want. I trust my cameras to handle that higher ISO range - and if things look a bit noisier than I’d like, Topaz DeNoise can help out. I also have many custom buttons and settings throughout the camera. It can be a lot to remember! Those settings are good in theory, but if you don’t practice using them, they aren’t going to work for you.
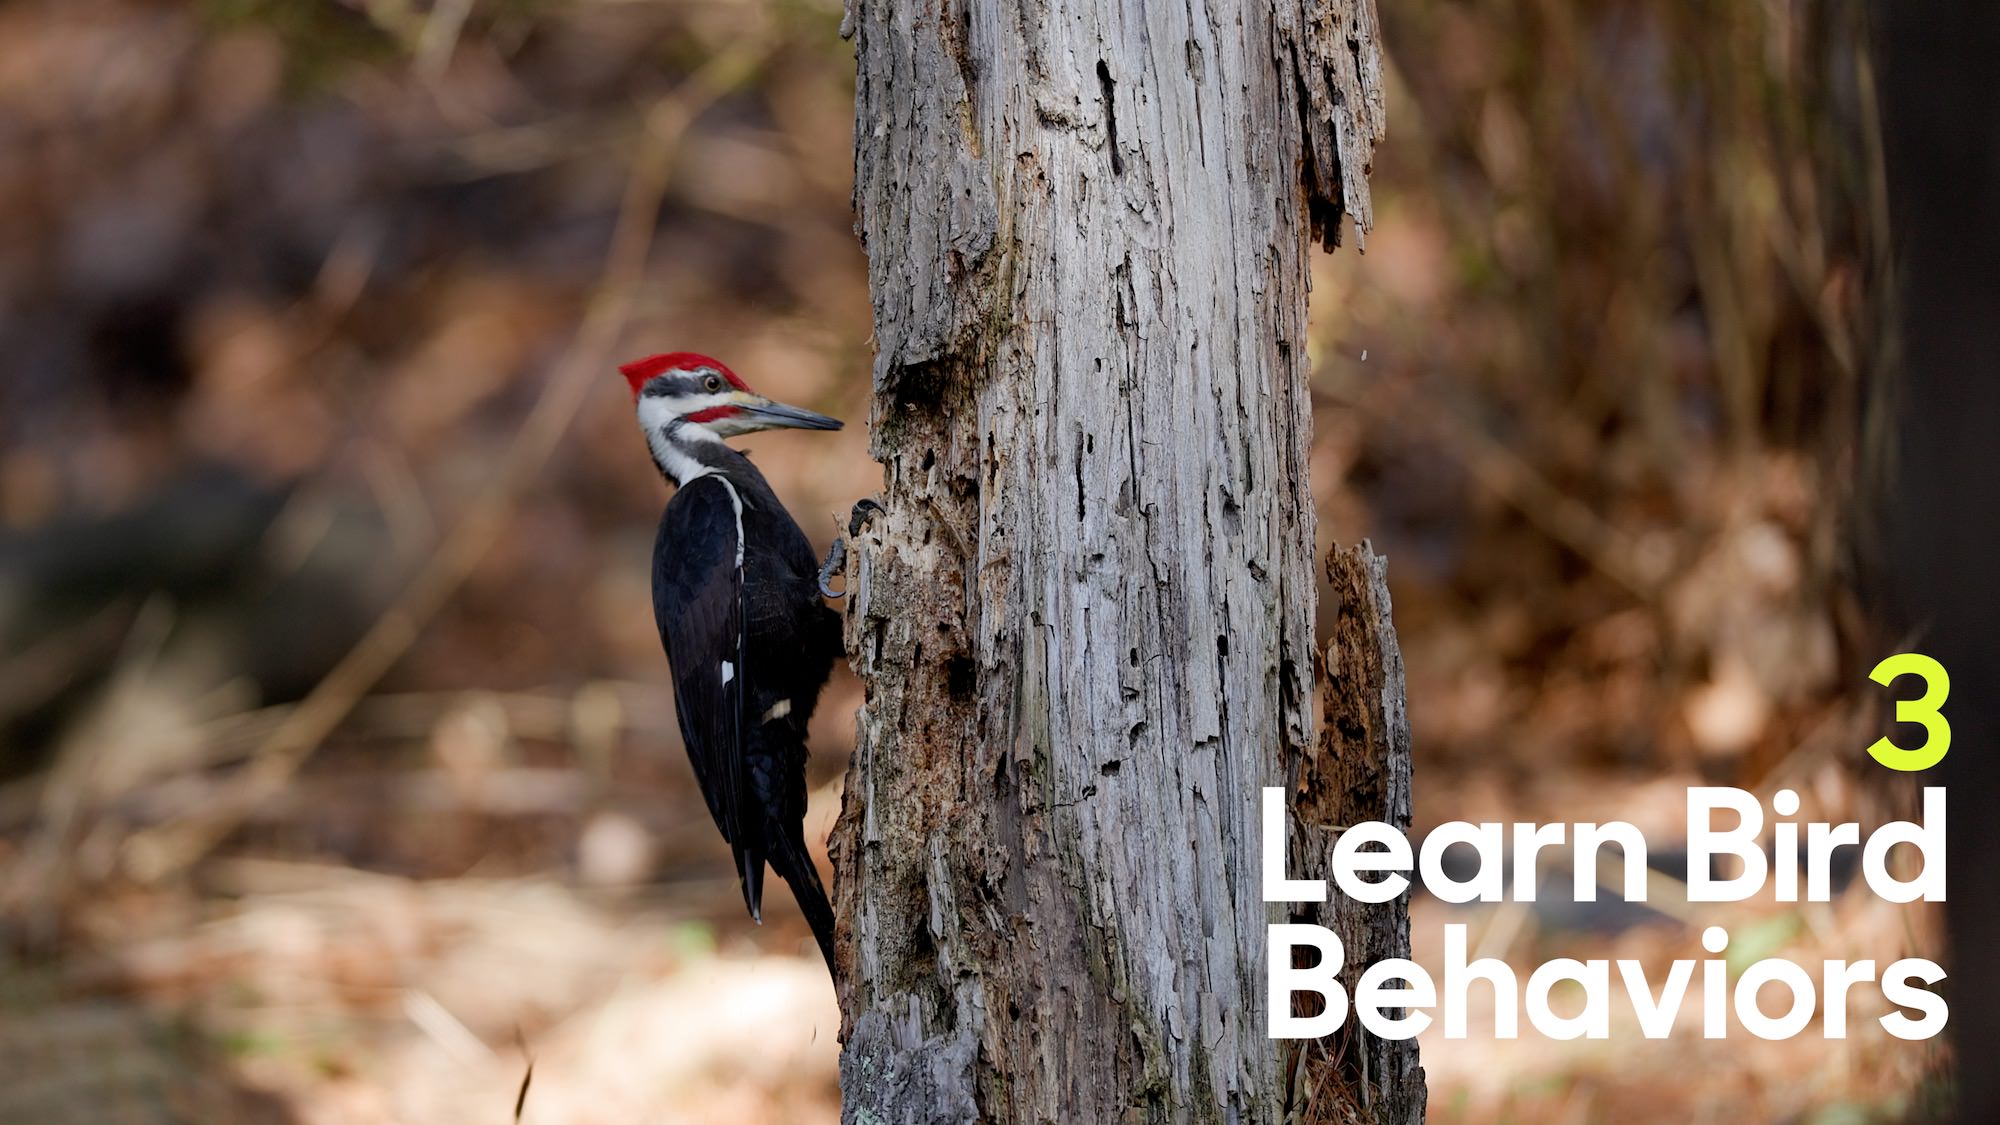
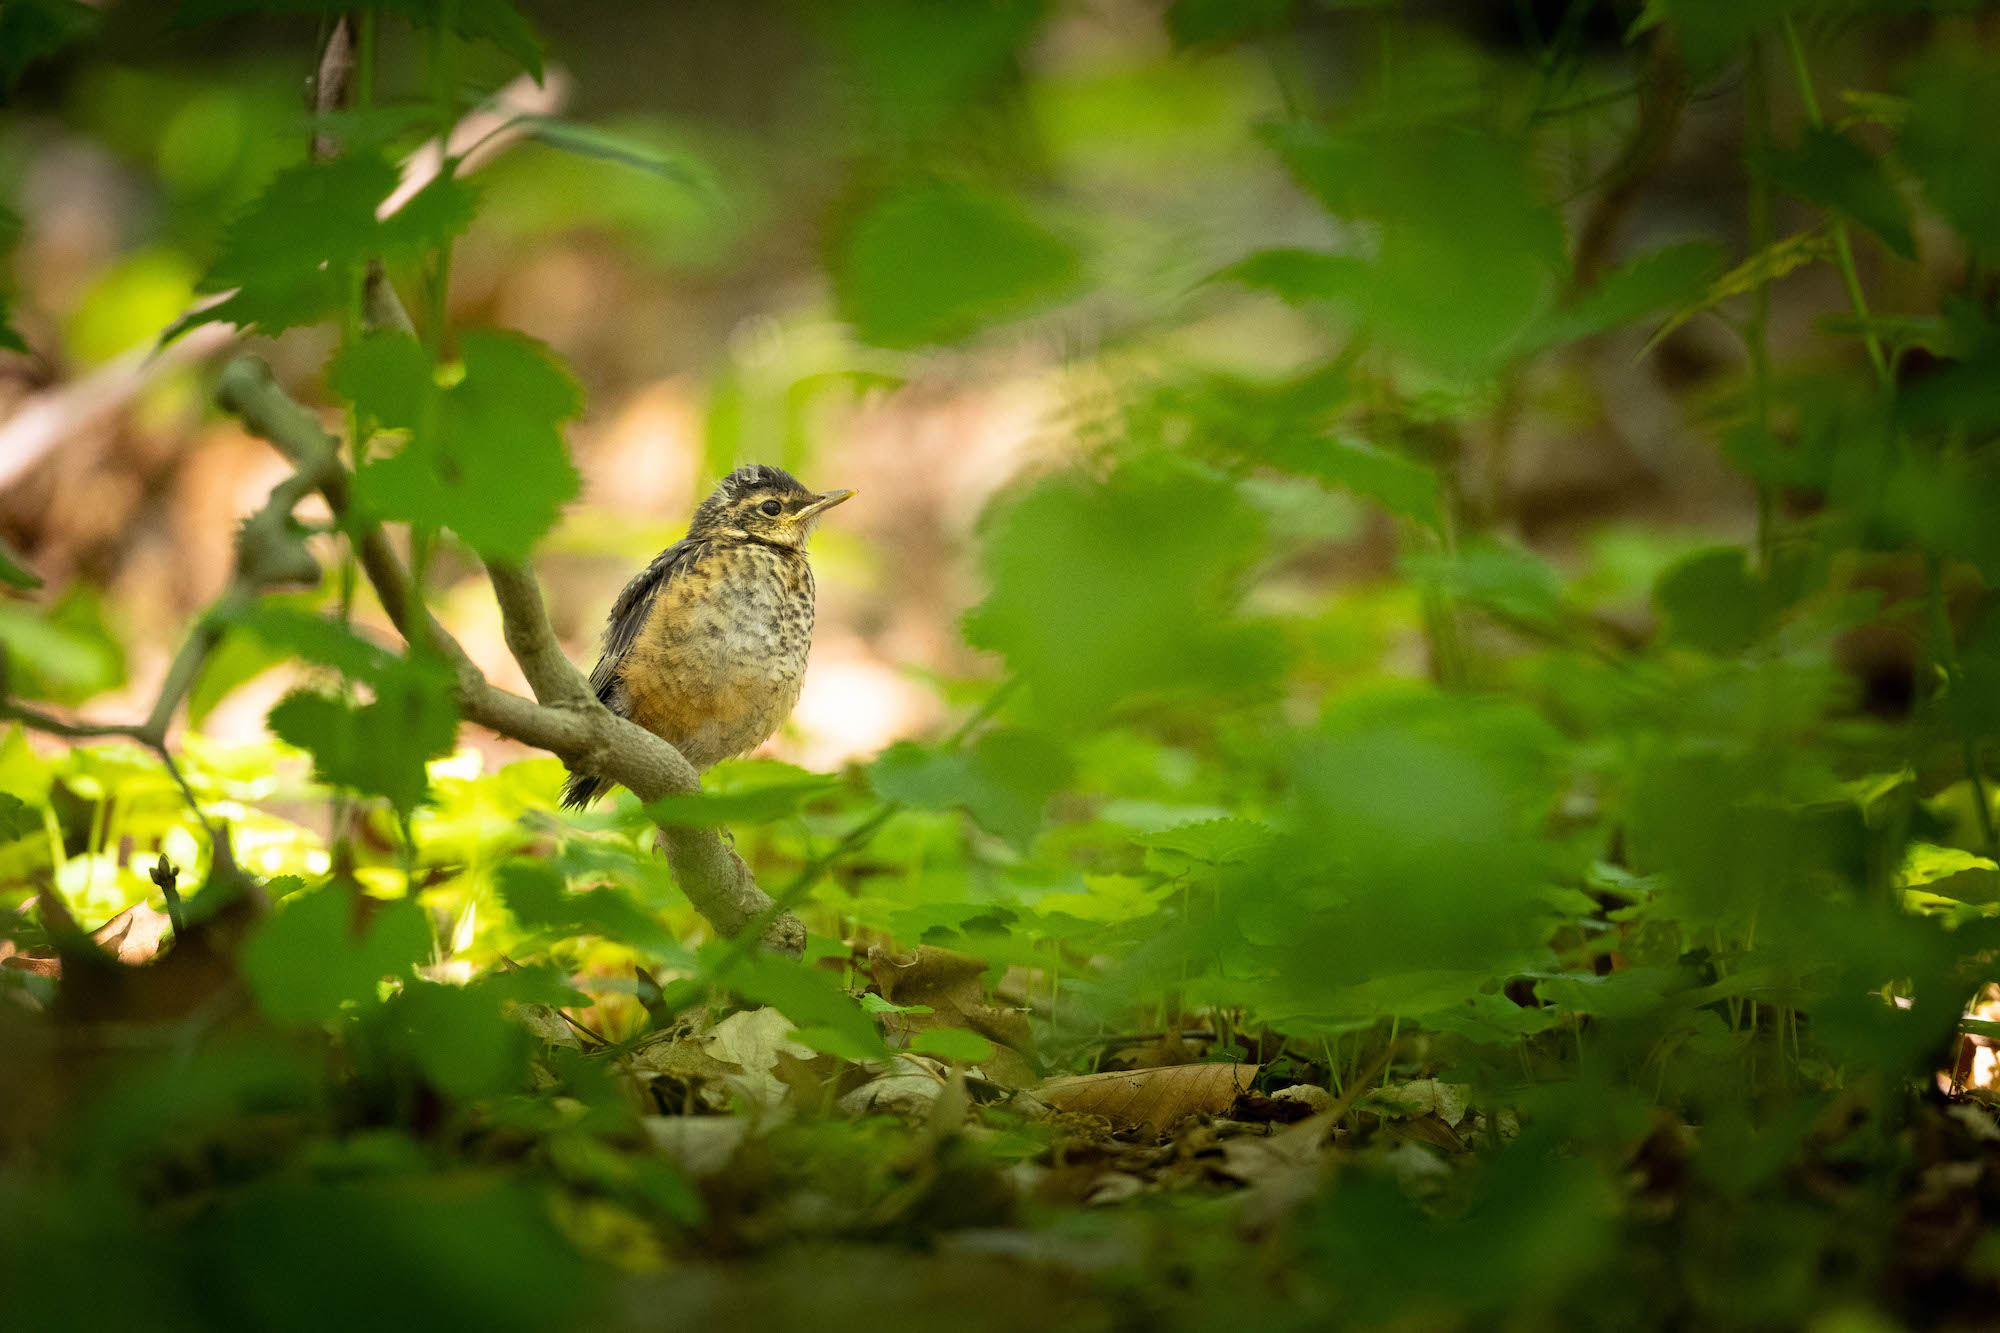
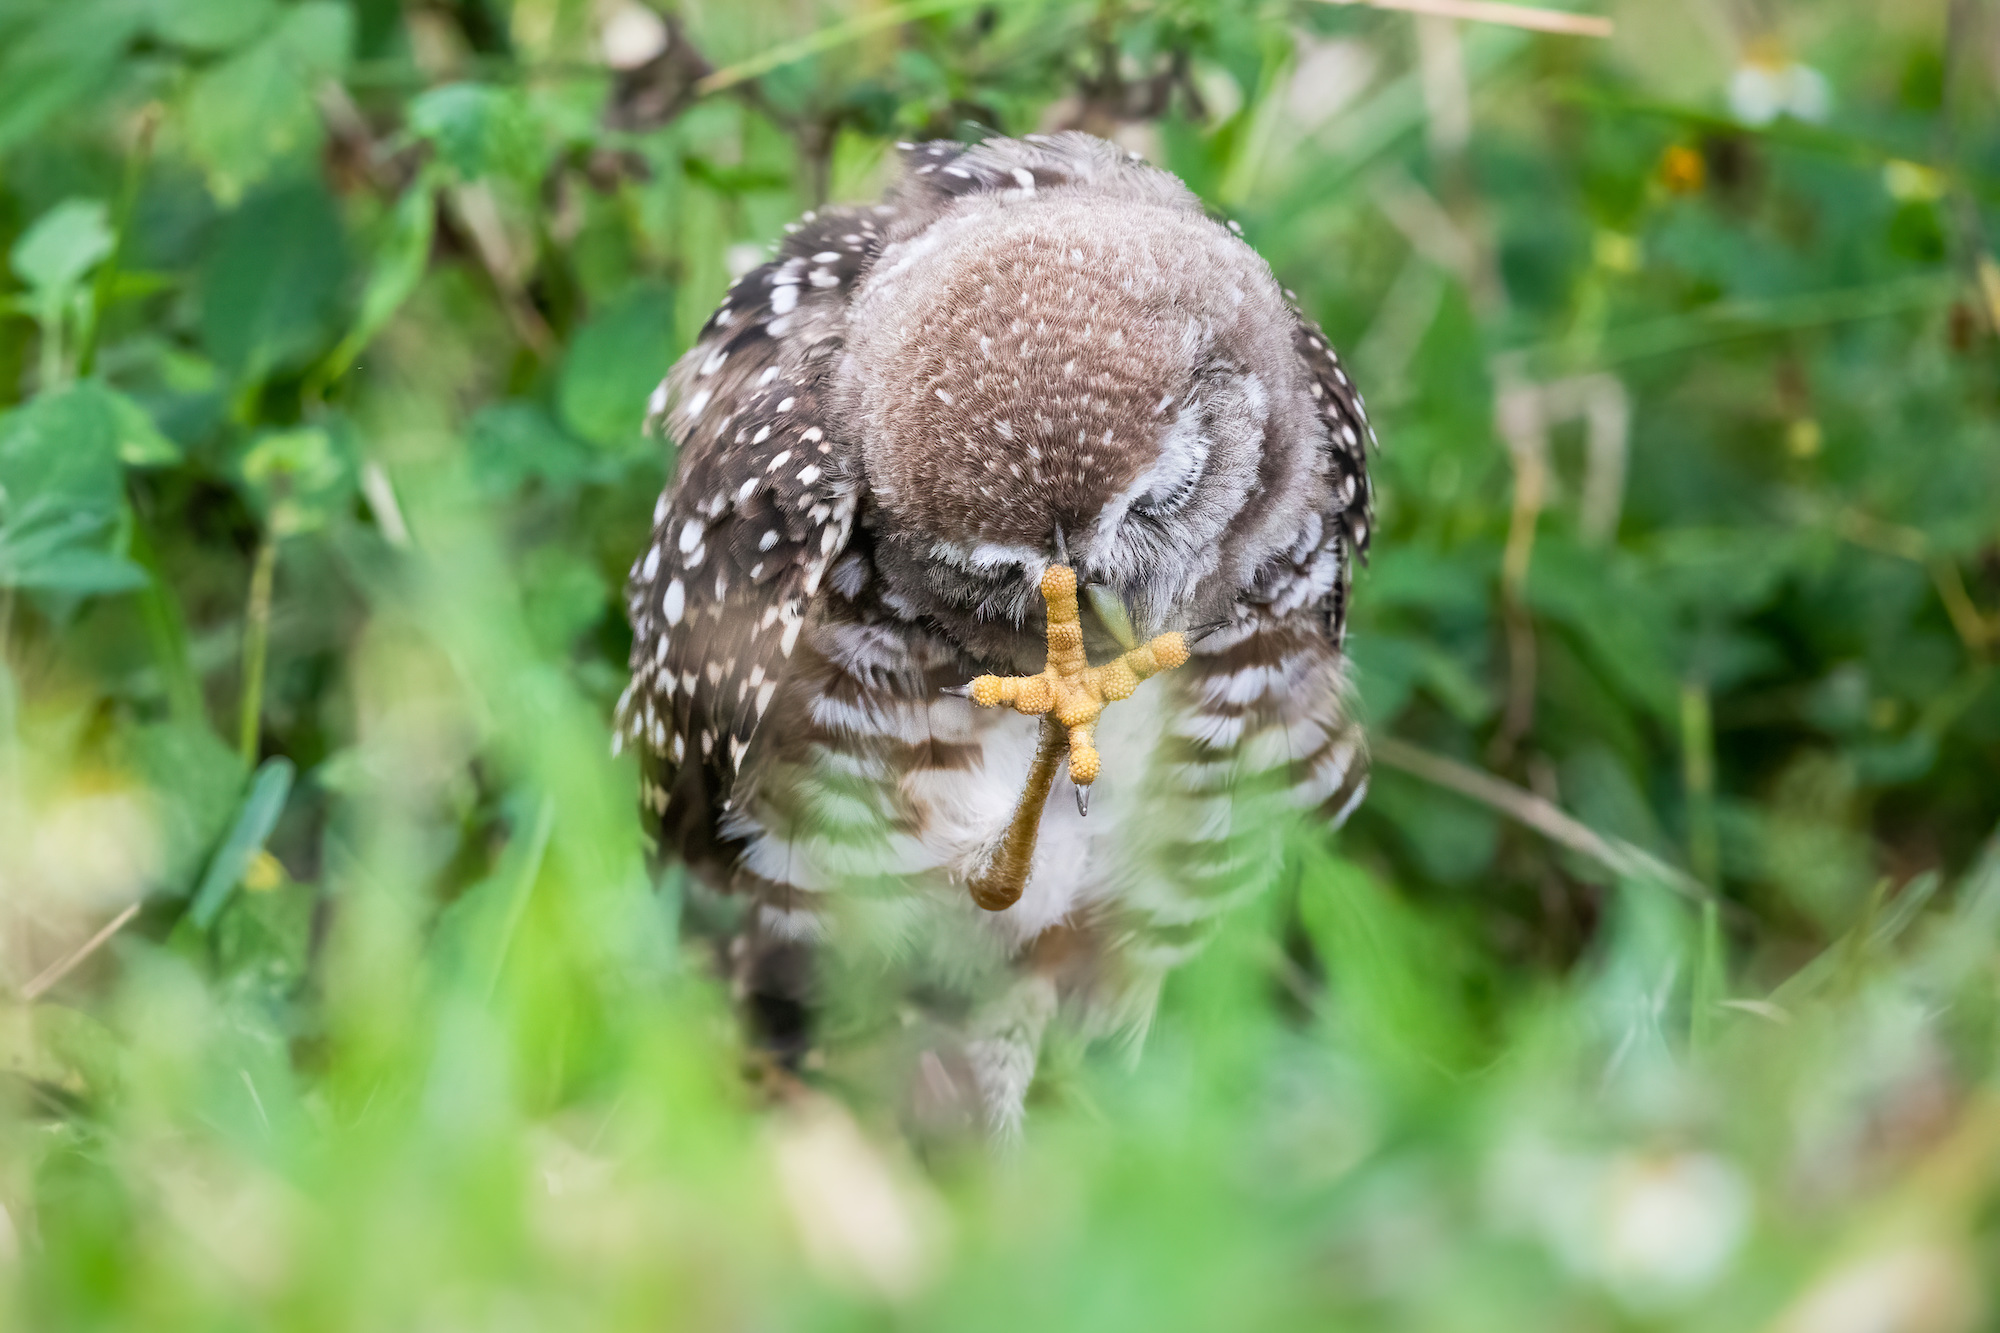
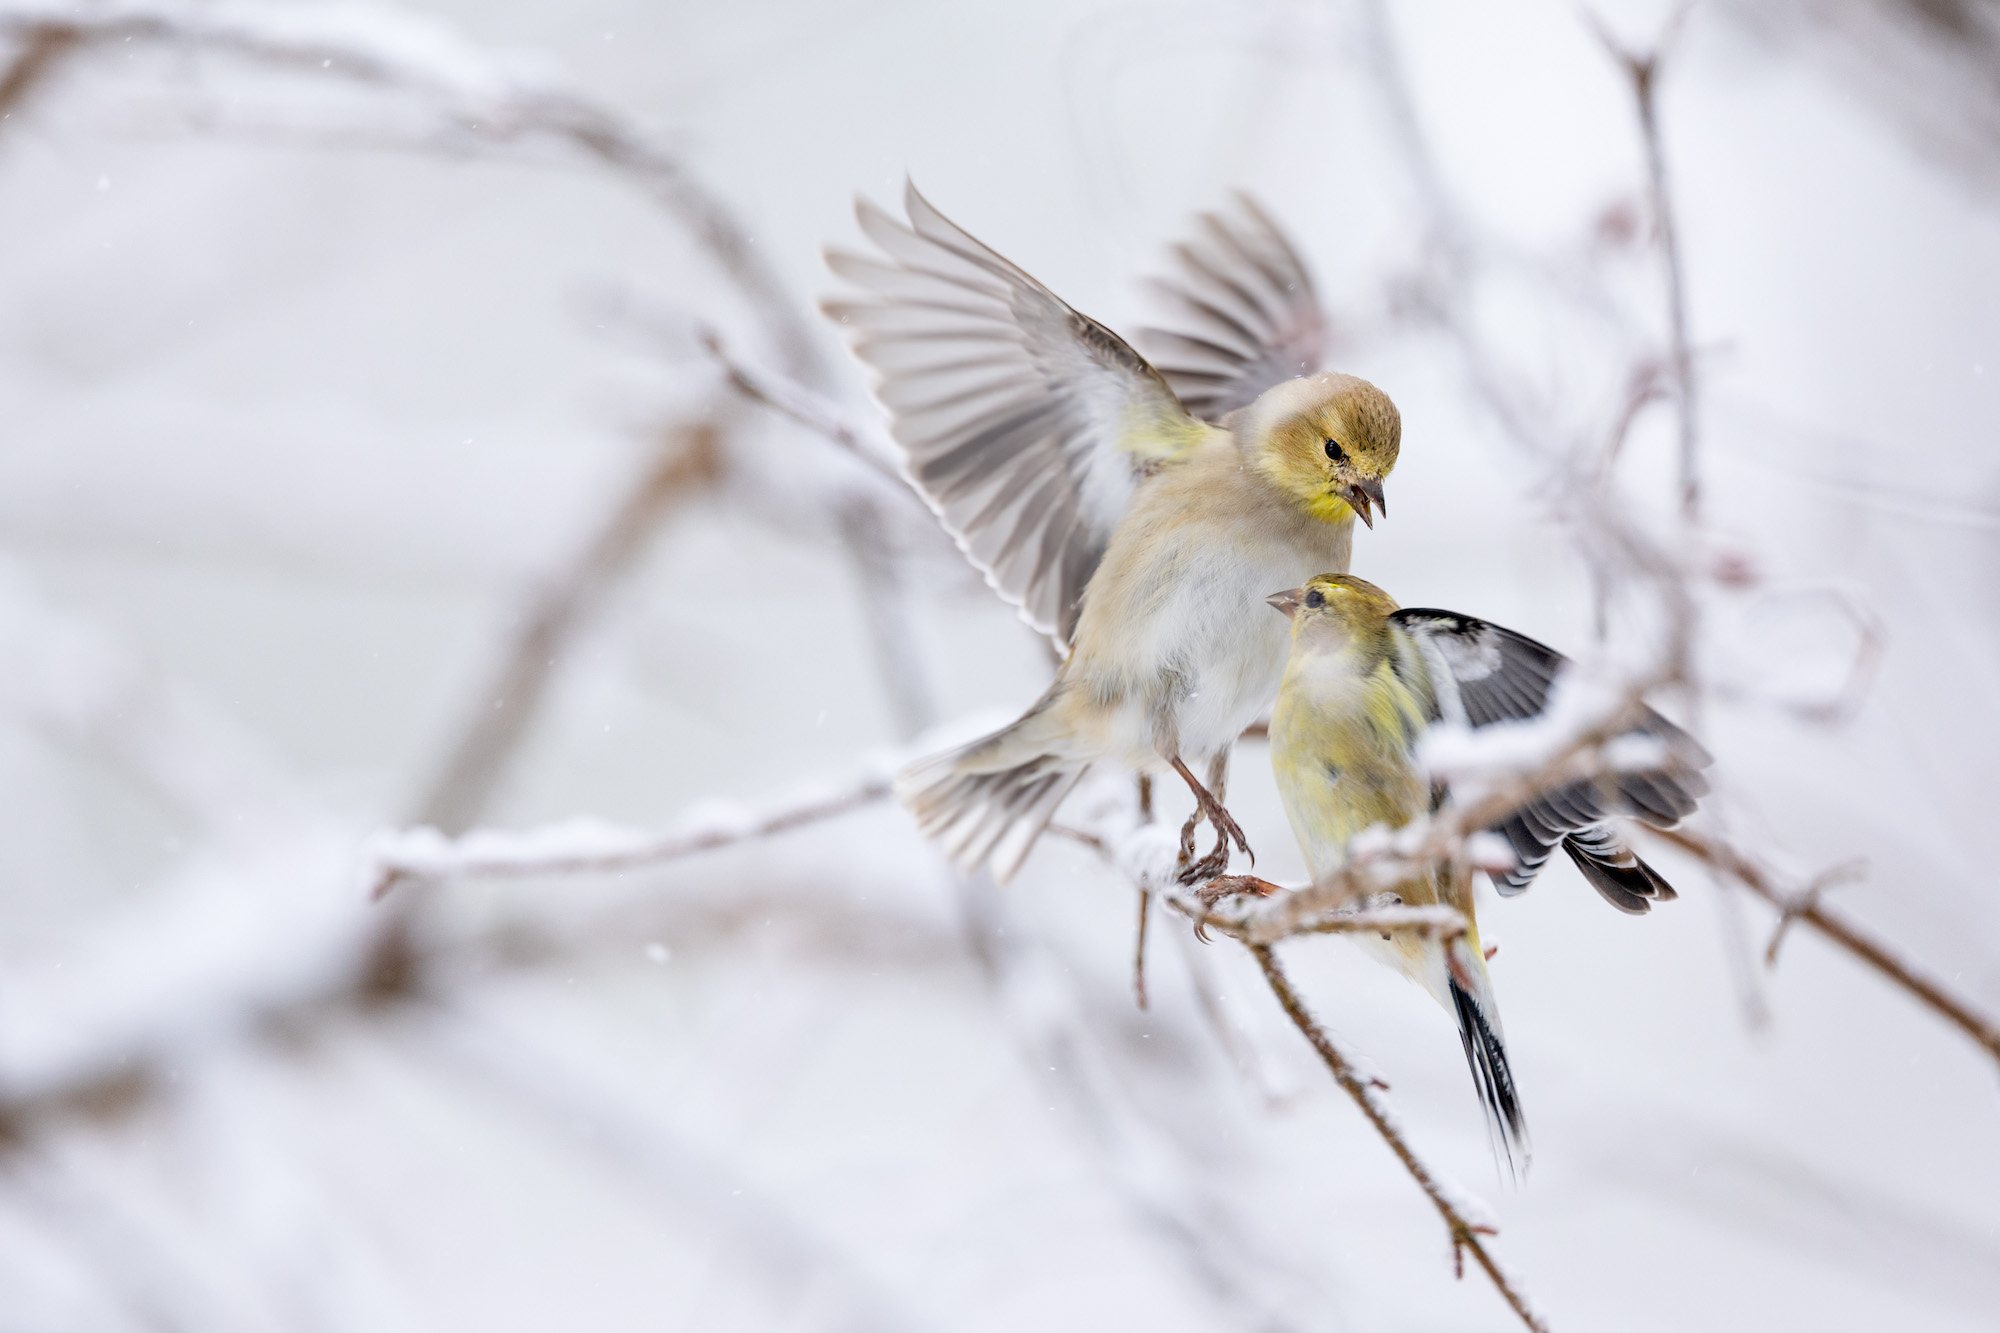
The more you watch birds, the more you can anticipate their actions. Pay attention to all the birds you see. Take a moment to see where they go, and what they do. Of course when engaging with wild animals, they can be completely unpredictable, but they are also creatures of habit. They may frequent the same perches or fly the same path from the waterhole or feeder. A perched bird will often relieve themselves before they take flight. A relaxed bird might feel inclined to preen. Most species of birds, as different as they are, share these similarities. These are all things you can make mental notes of in anticipation of your shoot.
Taking it further, get to know the specific birds you wish to photograph. Learn their quirks and their limits. Your target bird might often perch on a peach tree, guarding his feeder and territory. He might only be seen and active at dawn and gone the entire day. He might be extremely skittish and fly off when you open the door to your house. Each of these observations can help you with your next approach. And remember: it’s the long game. Patience pays off. You will get the shots you want with a little bit of time, effort, and education.
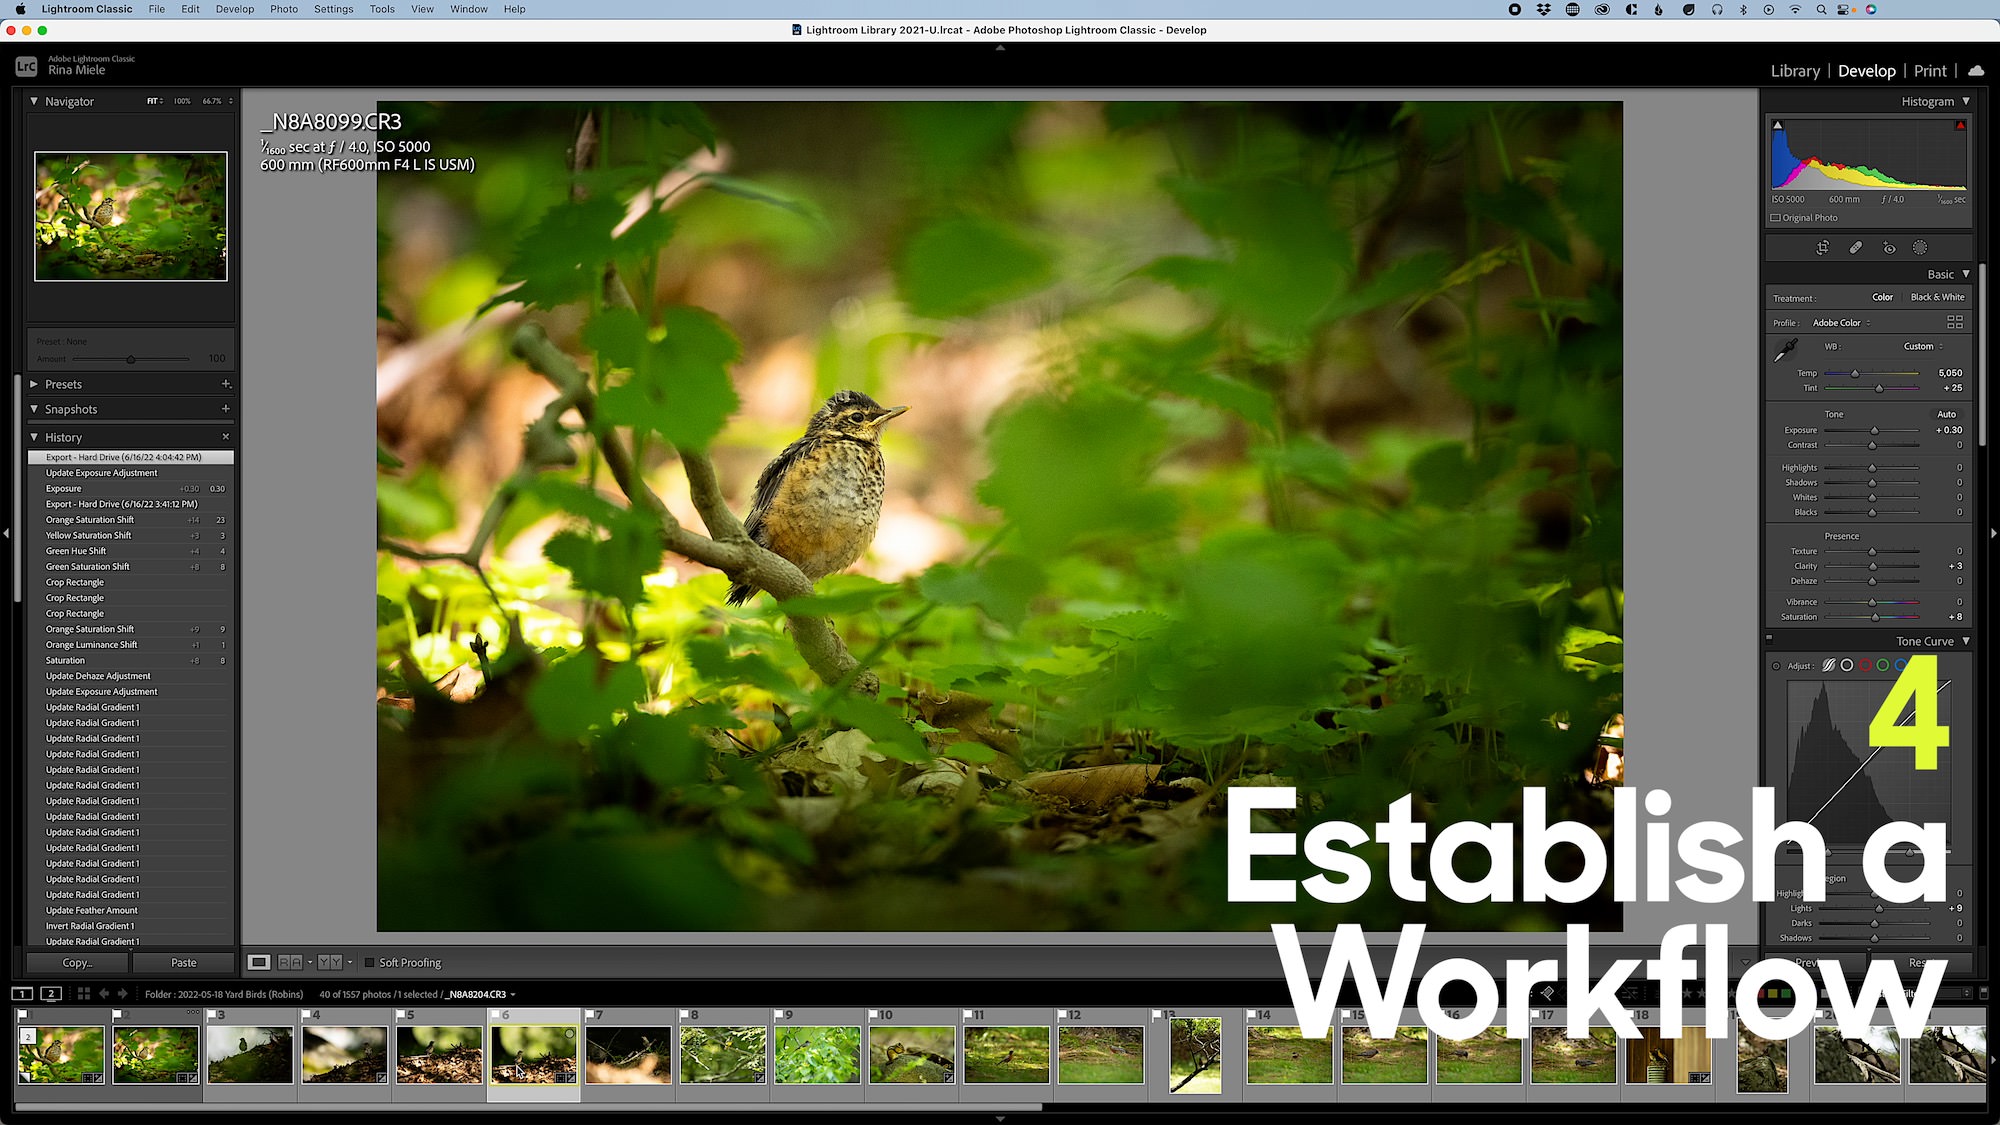
With wildlife photography especially, it’s very easy to shoot thousands of photographs, and forget about them. Or if you do offload them to your computer, you forego laborious culling in favor of plucking a few random shots to edit.
Most of us shoot because we love the capture. We love seeing that bird, getting him framed up, and pressing the shutter. That’s where the magic happens. Post-production is often the grunt work we procrastinate. Sure, we love seeing our images finally realized and remembering those moments, but we can certainly feel encumbered with all of those images piling up.

That’s why we need a process. Create a deadline for yourself. Add it to the your calendar. Create a reminder. Do whatever it takes to make time for this part of the process.
And like anything else, the more you do it, the easier it becomes. Once you get into the habit, it won’t feel so daunting. That's where yard birding comes into play. You can shoot many sets of photos and start putting together the steps that work for your process from start to finish. You will learn how to create the foundation for all your shoots.
Create a system of marking and labeling your photos. Keep it simple. Don’t use every label or star rating. Make it something you can remember. You can customize the keys you use, but use keyboard shortcuts. It will be a lifesaver.

I keep my hands on they keyboard and just bang through shots in Lightroom. The following is not prescriptive, it’s just to show you how a seemingly complex workflow can be broken down.
Left and Right arrow keys to cycle through the filmstrip
X: Reject flag
- Reject photos that are not in focus or are errors
- Reject too many in a series with no change.
- How many shots do we need of a perched bird in the same pose? Keep 1-2 and lose the rest.
- There are slight movements a bird might that might create a more engaging photo (reflection on the eye, facing slightly towards camera, etc) and you may want to fine tune these
P: Pick flag
- Flag photos that look good
U: Unflag
- Oops! I accidentally flagged or unflagged an image. Or changed my mind!
7: Yellow color badge
- Yellow label flagged photos that look great
8 - Green color badge
- Green label flagged photos that looks sensational - the absolute stunners
Things to note:
- I sometimes keep a series of photos if there is an interesting bit of action I wish to remember. Or a silly or funny pose. Or any other reason. You can keep or toss any photos you’d like using any criteria. Just having criteria to thin the herd and keep your catalog optimized will be valuable. With that said, I certainly have unflagged, unlabeled images that I keep. Hey, I might like them someday.
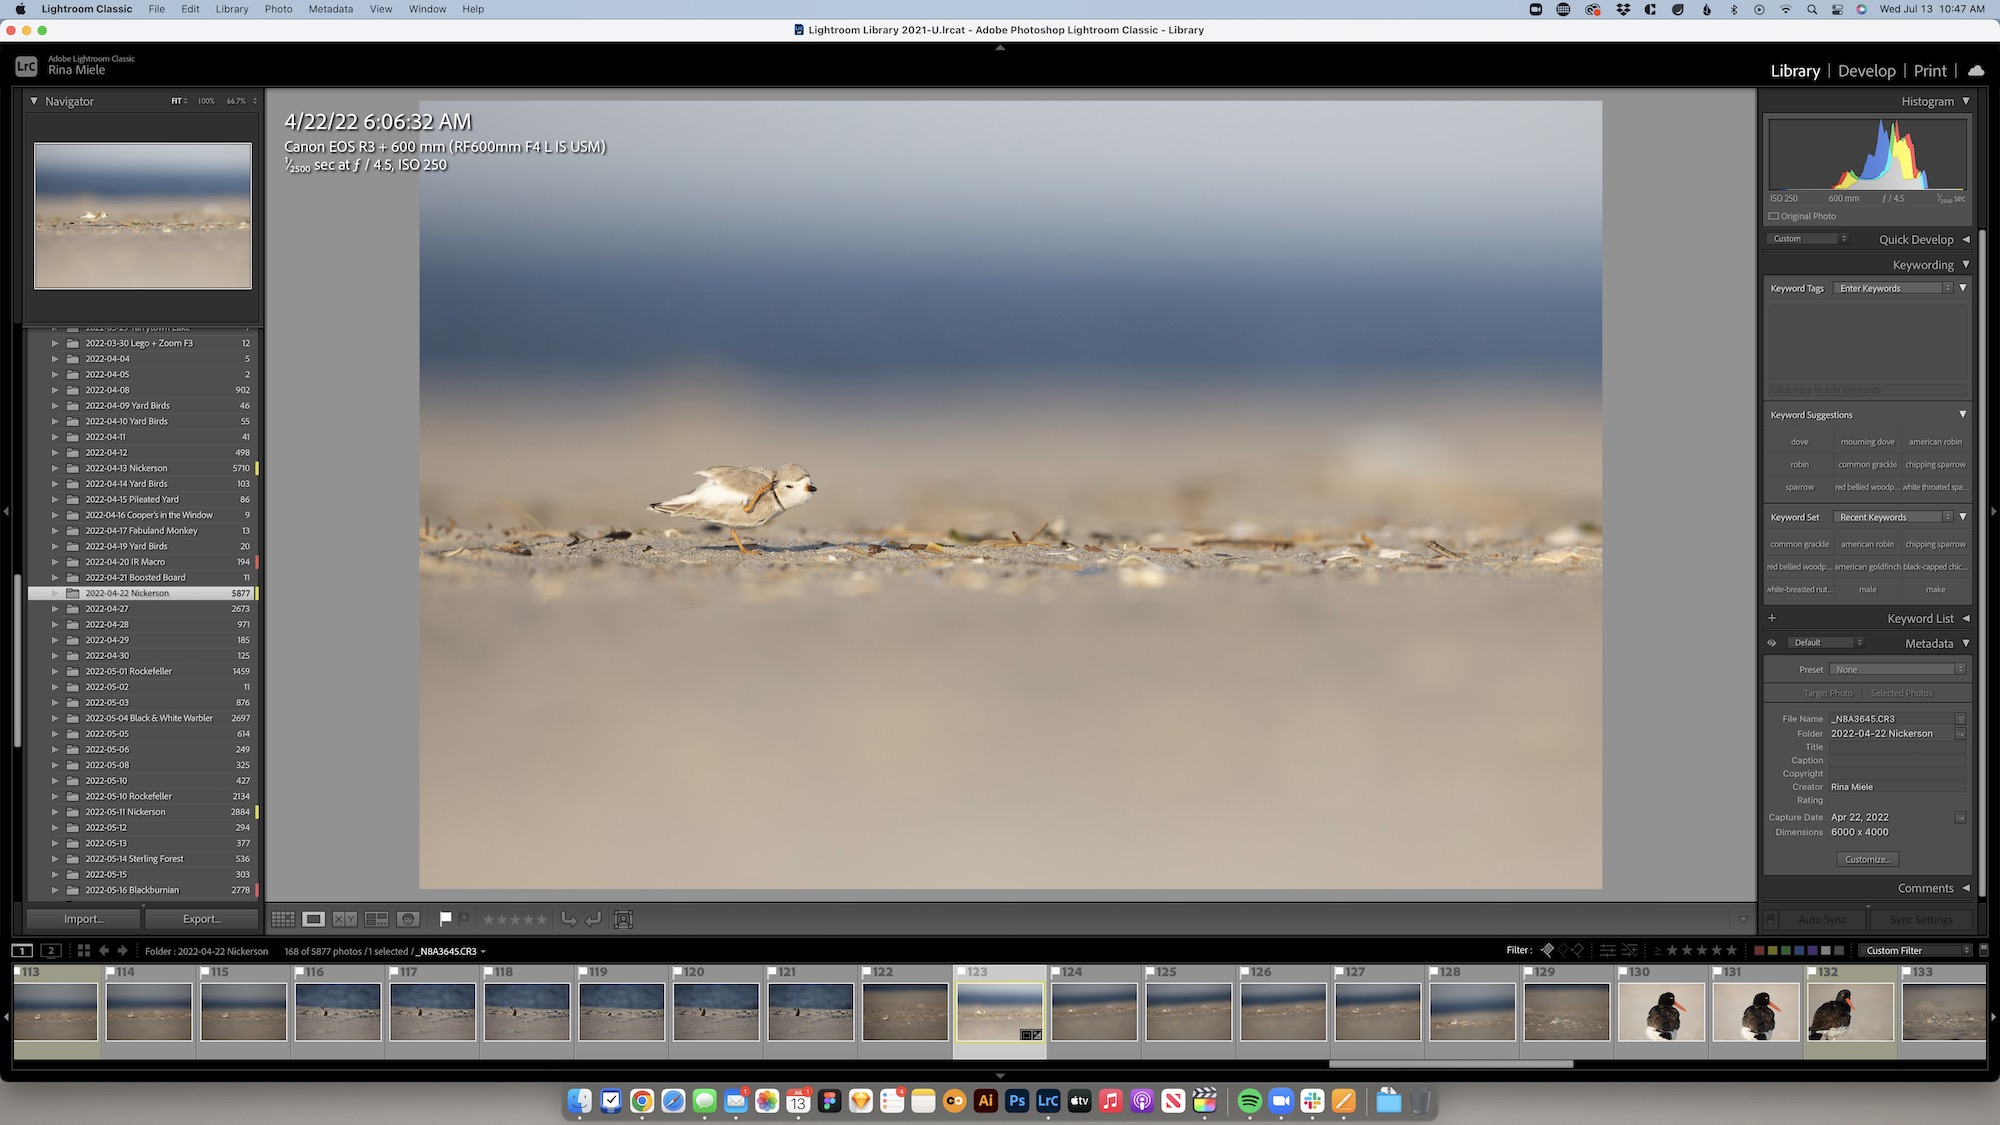
- Achieving critical focus is essential. Be sure to zoom in to your images to ensure perfect focus before rejecting or approving. If your computer struggles with Lightroom, render 1:1 previews first. It may take a few minutes but will be worth it to allow you to quickly advance through the filmstrip and review images.
- There are several other color badges and I use them sparingly depending on the edit. I may have alternate color adjustments or cropping and label the variance with a different color badge, like red.
- Don’t forget to delete! Sort by unflagged, select all, right-click, and remove photos from the catalog! Select “Delete from disk” and see your hard drive rejoice!
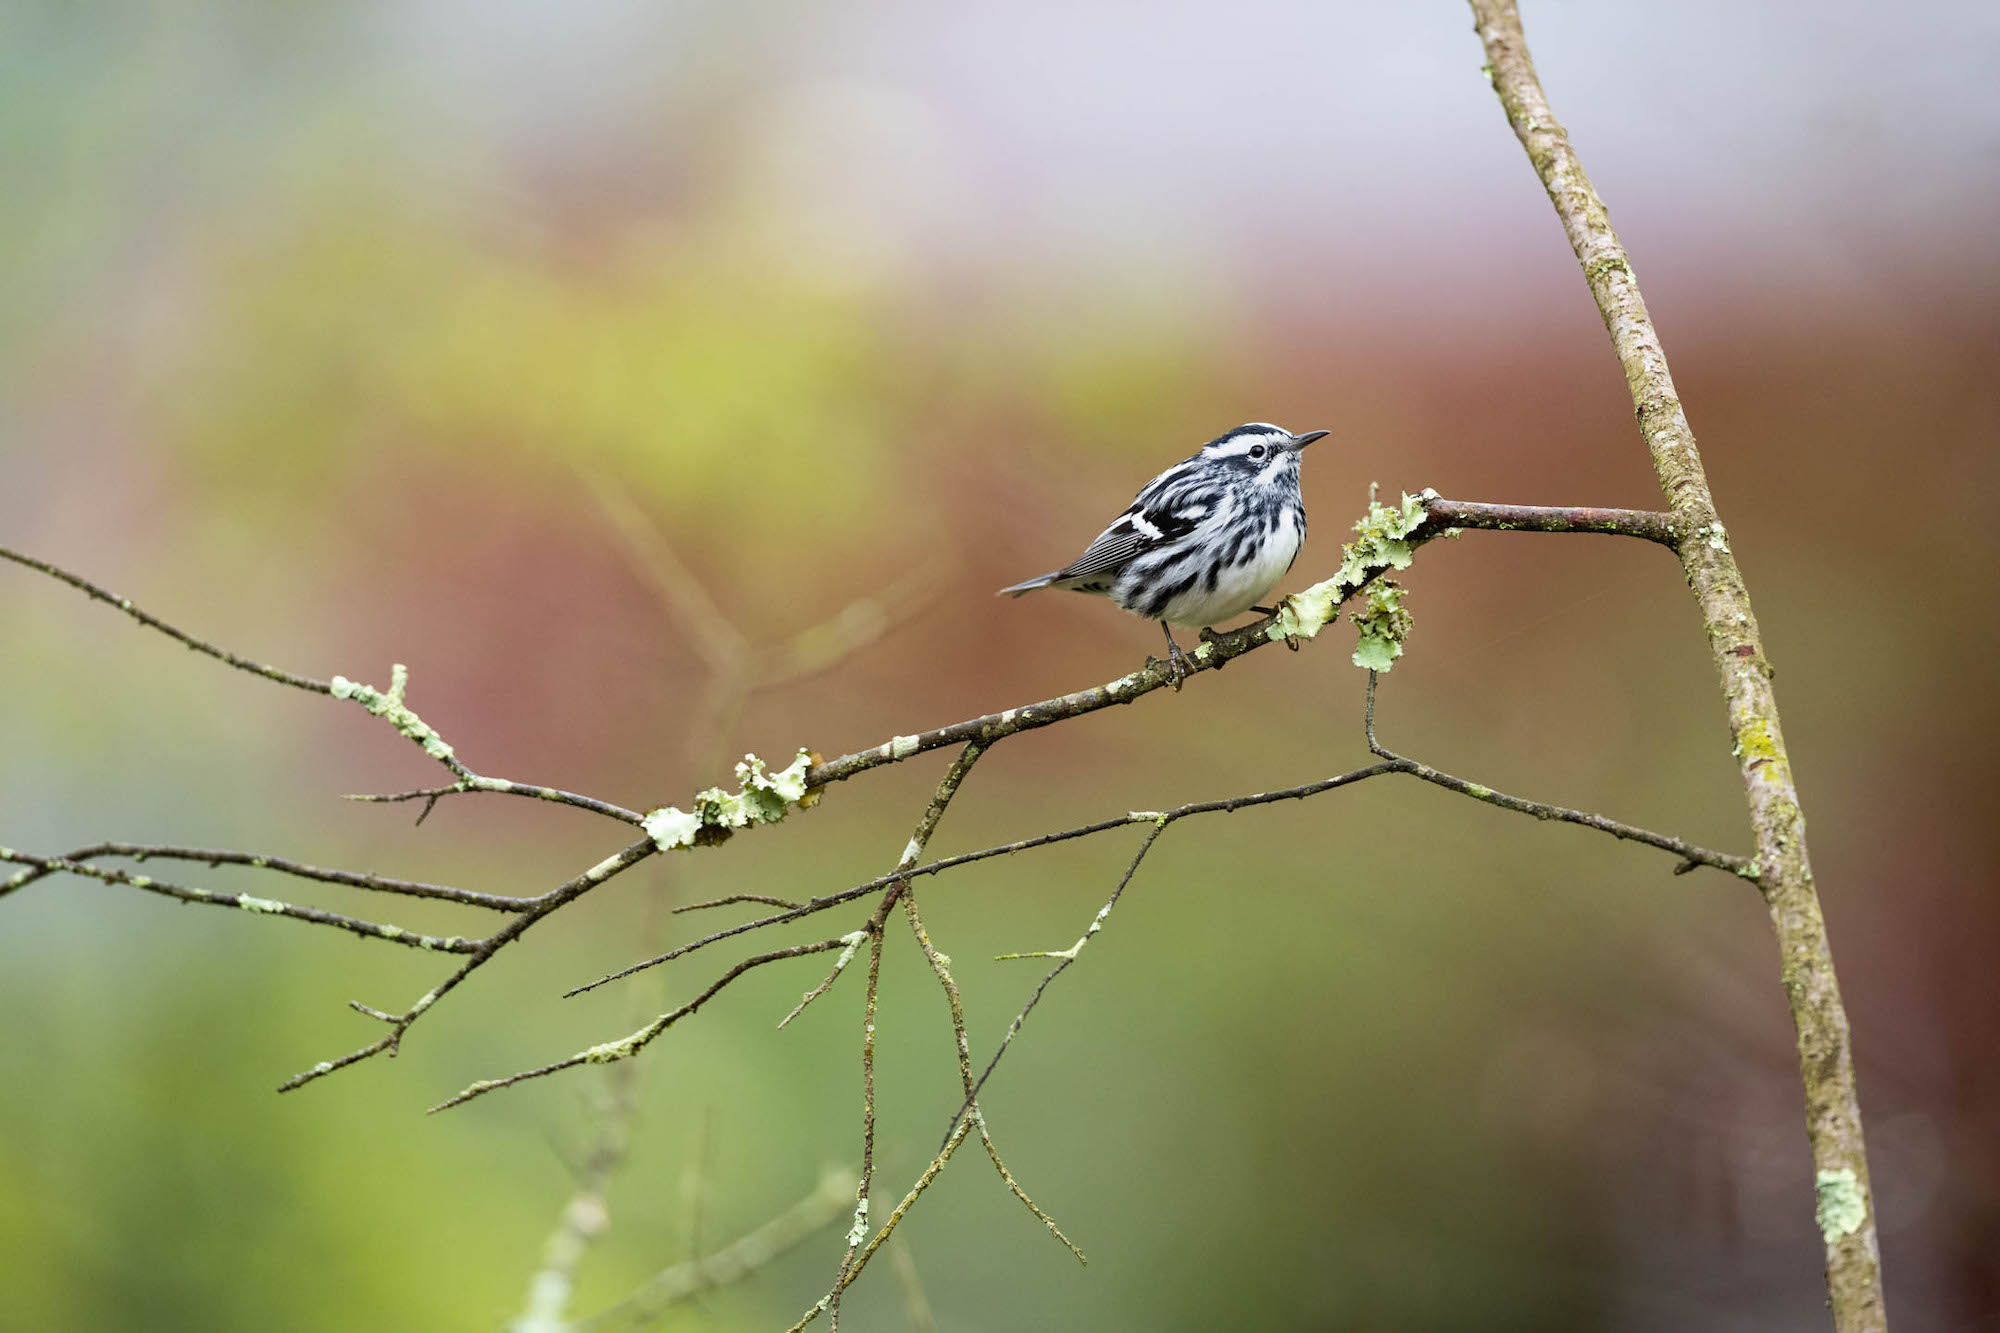
- If you really want to be helpful to your future self, run a second pass through the photos to add keywords. This is something I never did consistently but recently started doing again. It can be really helpful when you ask yourself, “When did I see that Tennessee warbler? Wait, Did I even see it?” You can just search keywords and win.
- Wait until you confirm the import was successful before deleting photos from the media card.
Next, I sort by "flagged" and the editing process begins! I usually start with the best images and trickle downward.
I often start with Topaz DeNoise AI or Sharpen AI before I make color adjustments. This gives me maximum flexibility to change those settings as I see fit and never have to redo that more intensive processing.
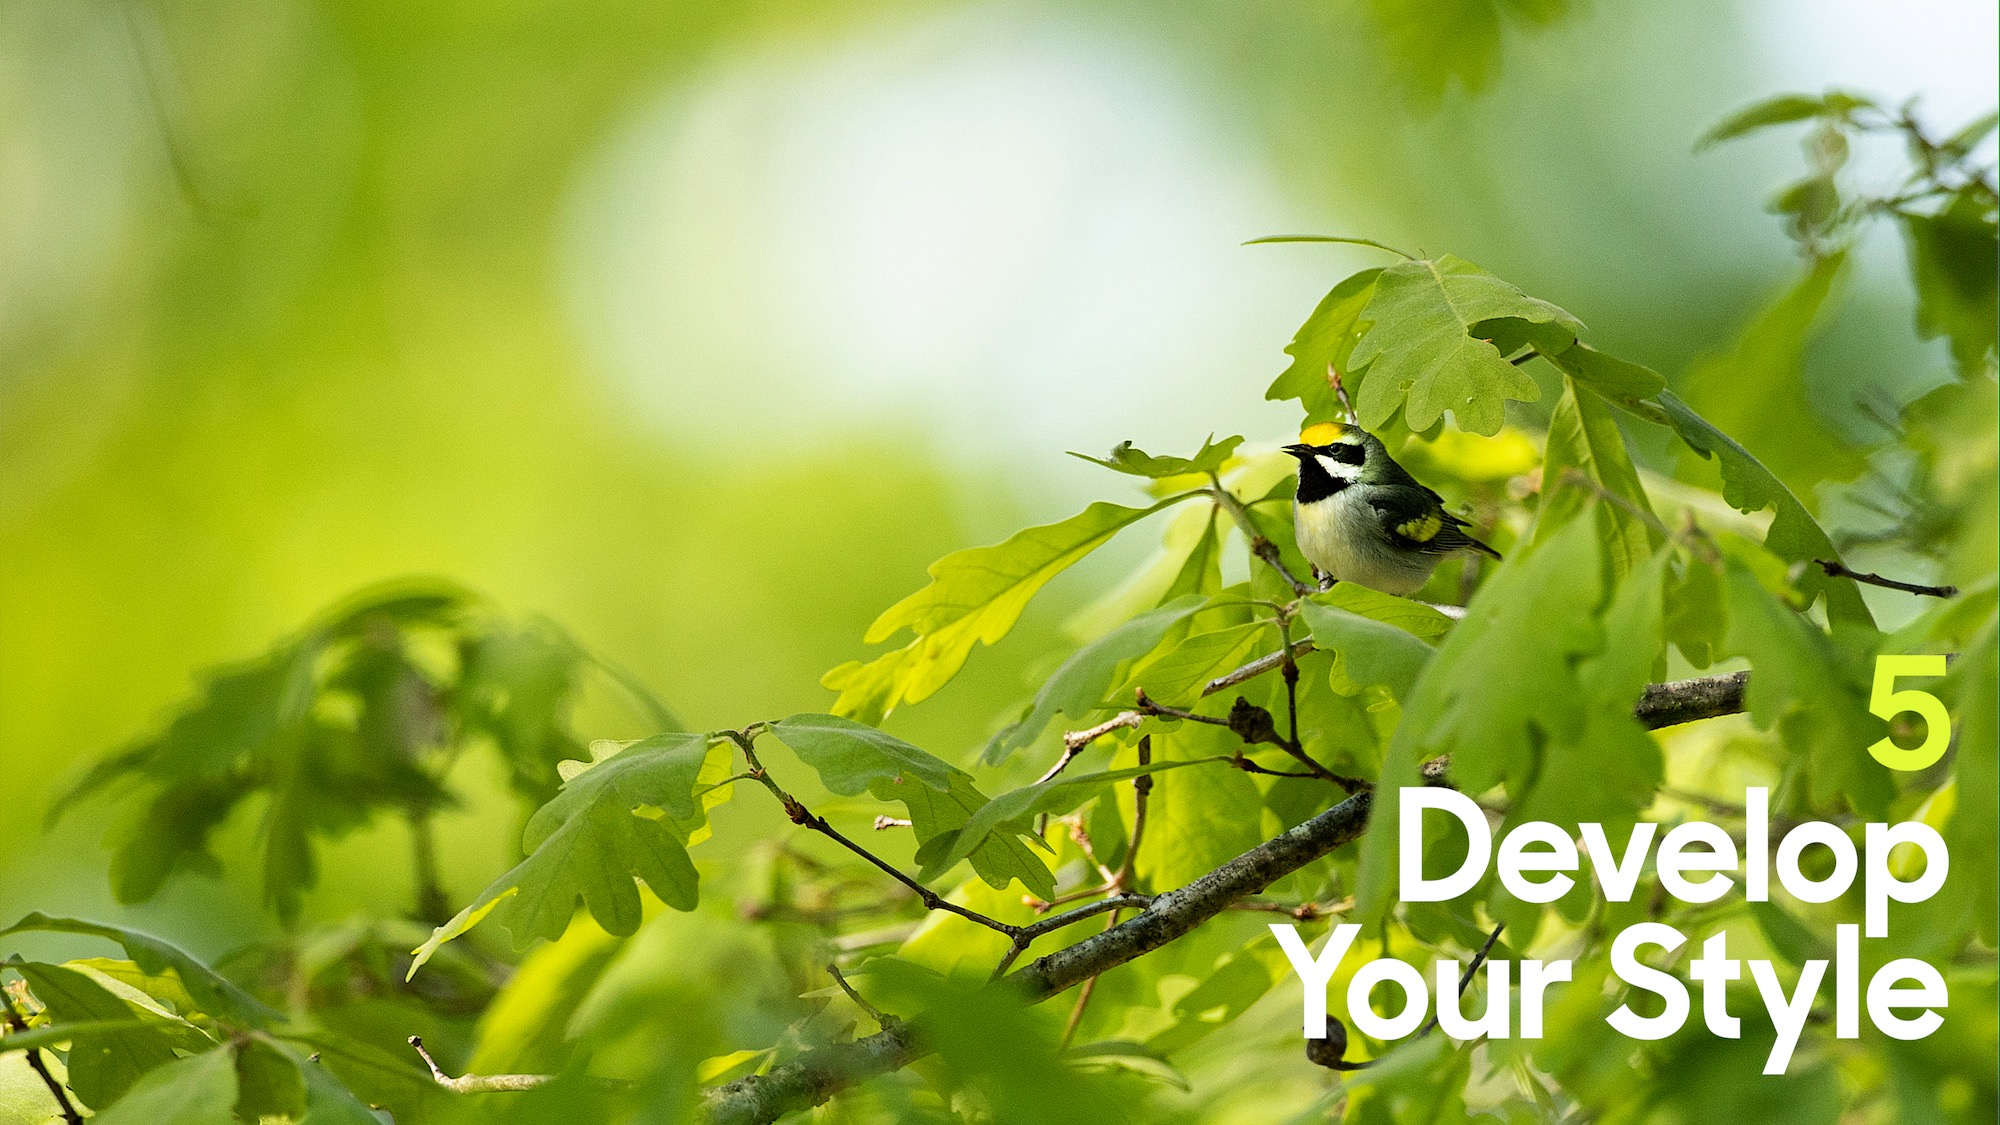
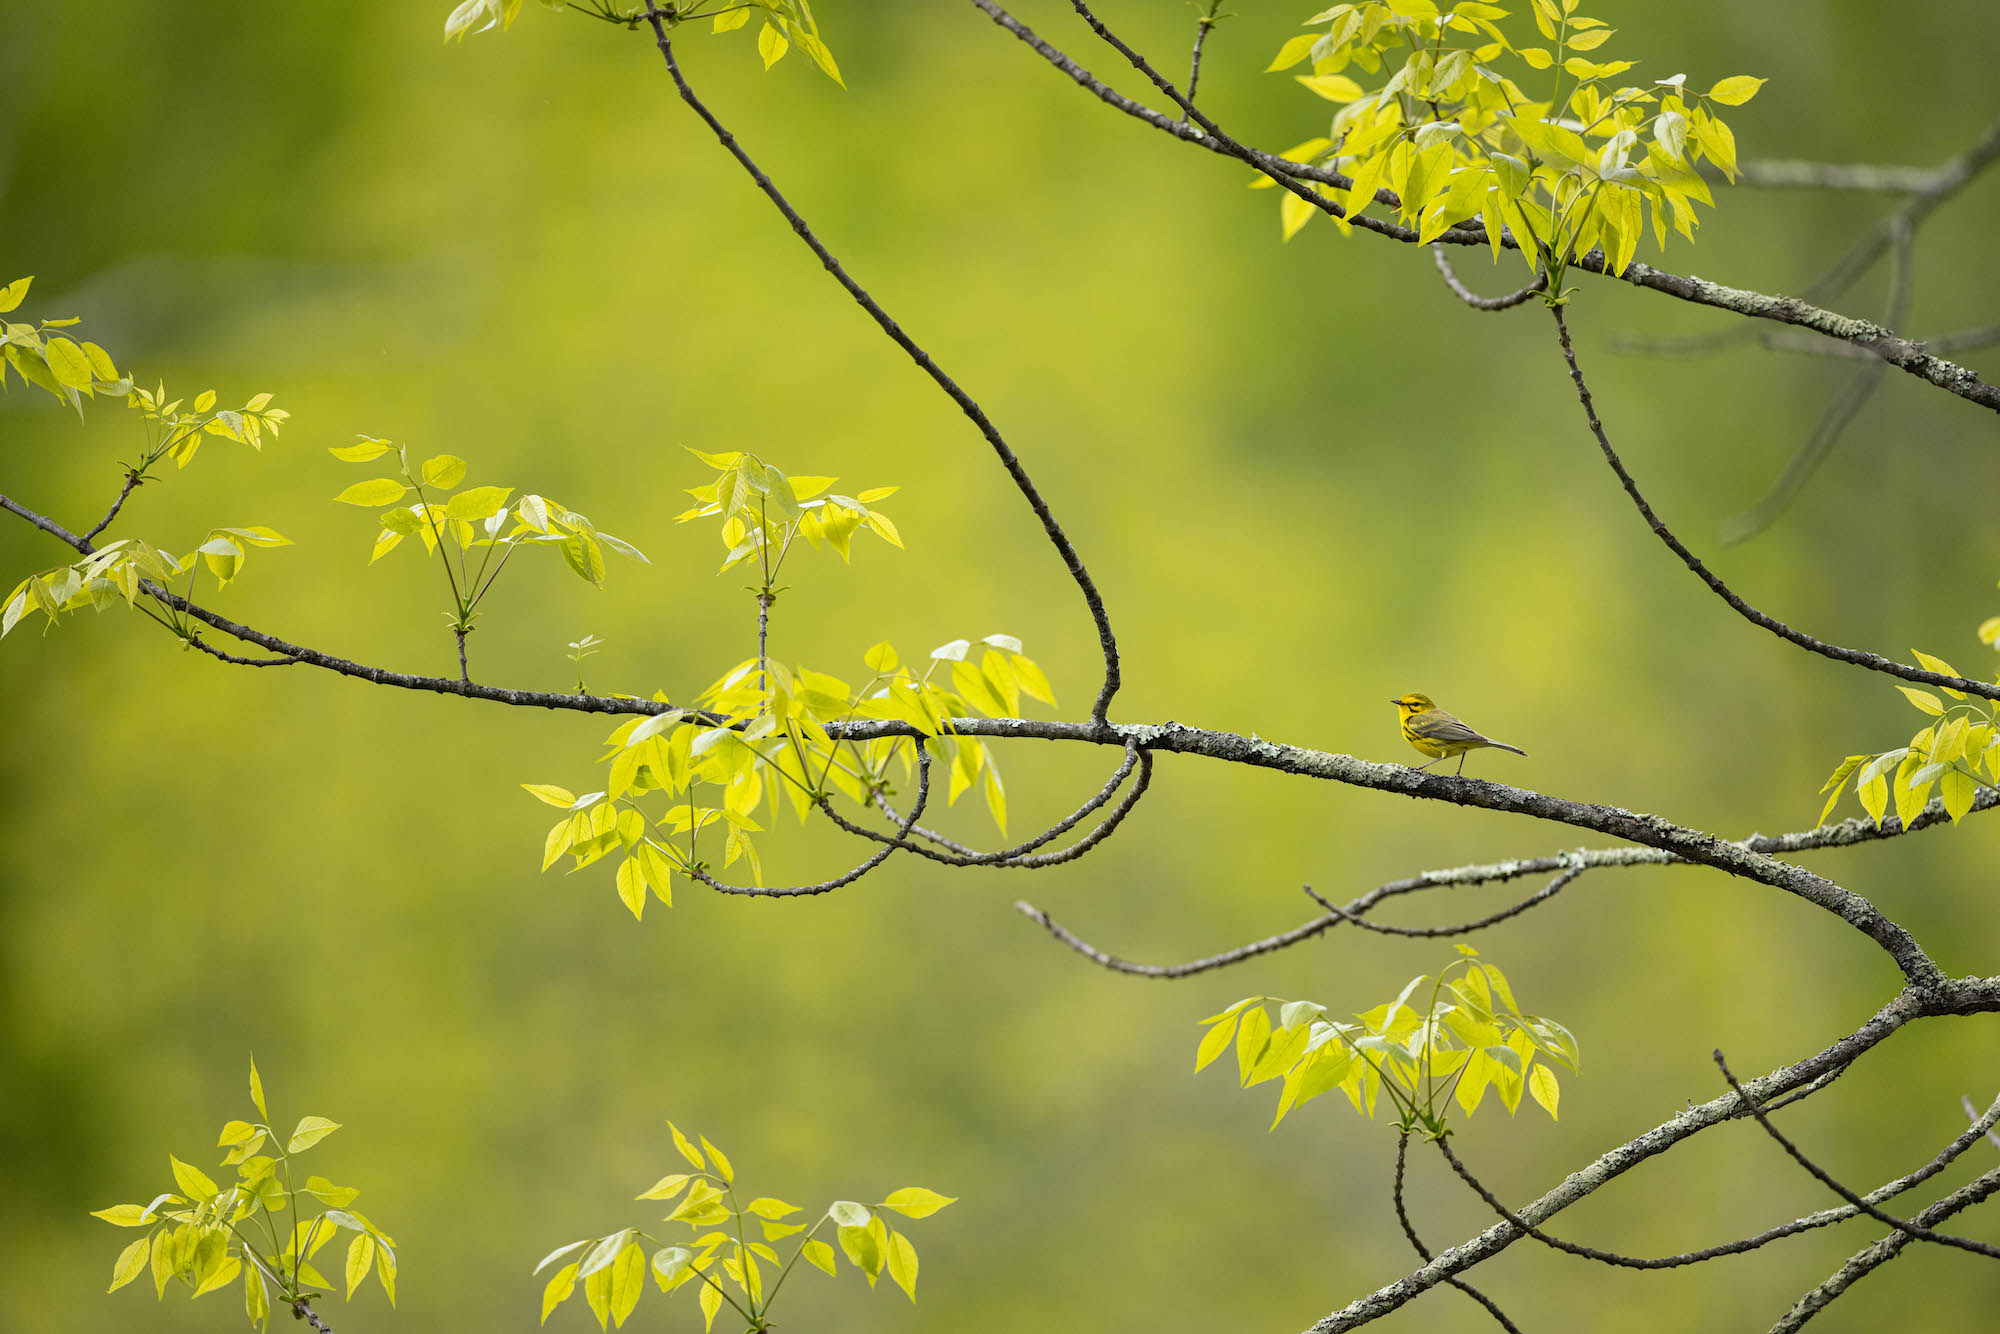
What is the perfect photography for you? What images do you see and would love to make? Do you like environmental shots? Or isolated portraits? Do you prefer moody, darker tones or high-key light and airy ones? Vivid or muted colors? Foreground blurs or background blurs?
Perhaps you want to try panning shots, or artistic motion blurs. All of these things can be experimented with more easily when the birds are a bit more cooperative in the yard. You can shoot to your heart's content and try to make images that you are really passionate about.

And once you find what suits your style, you can apply this to anything you shoot. Your approach is now a bit more engrained and you can envision the image much more easily now.
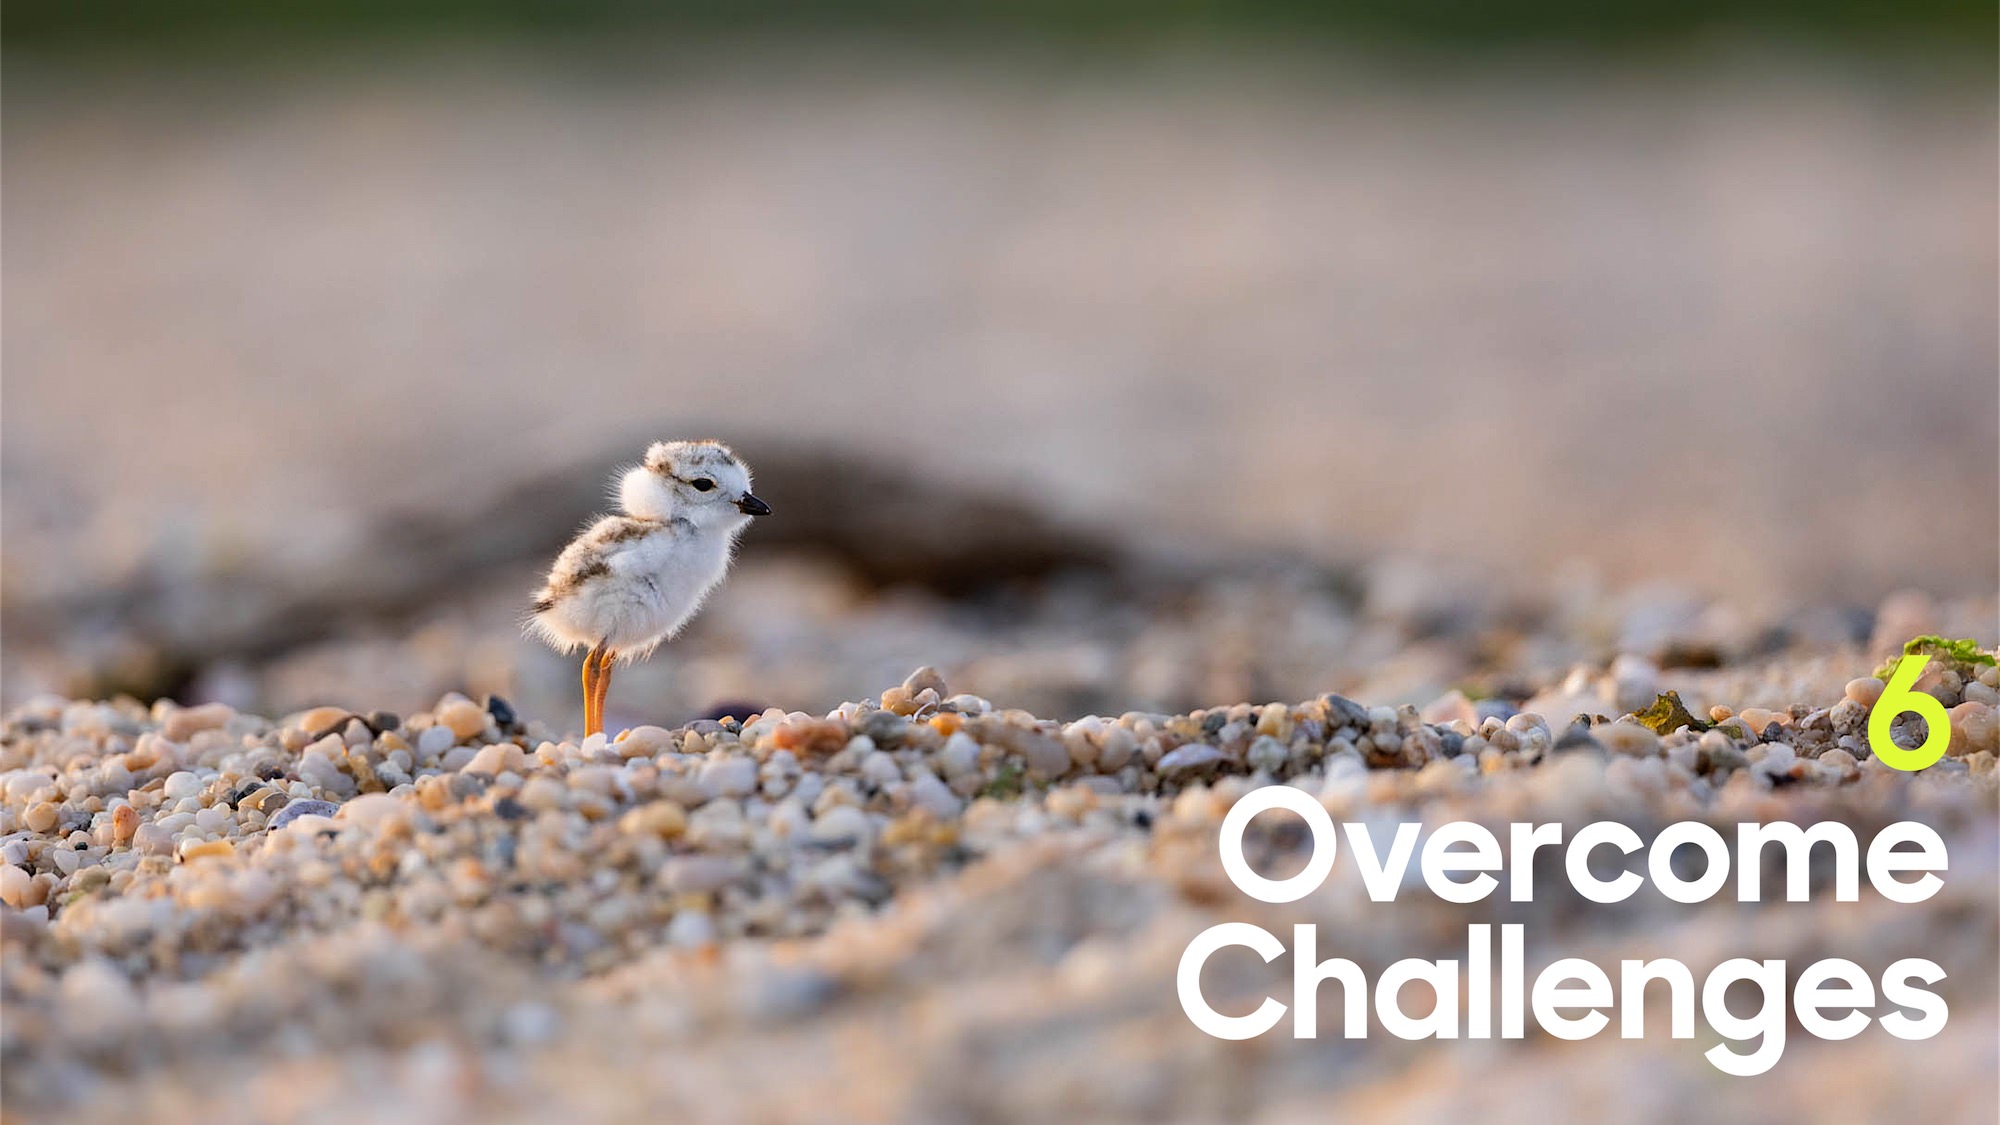
Sometimes we struggle whether it's in the field or at the desk. Practice your active approach when encountering birds in the yard. See how slowly or quickly you need to move. Or how to walk at an off-angle, not looking directly at the bird. Or not to walk at all and keep your distance.
Also, sometimes sitting at the computer is more than just for color correcting. It’s also for learning.
You managed to take a good photo, but it’s not quite in focus. Let’s troubleshoot. Start by reviewing the metadata and see why the culprit might be. Oh yes. The shutter speed was too slow. That’s why it was not in focus. Wait — the shutter was quite fast? Then perhaps you didn’t achieve focus. Or what else could have happened?
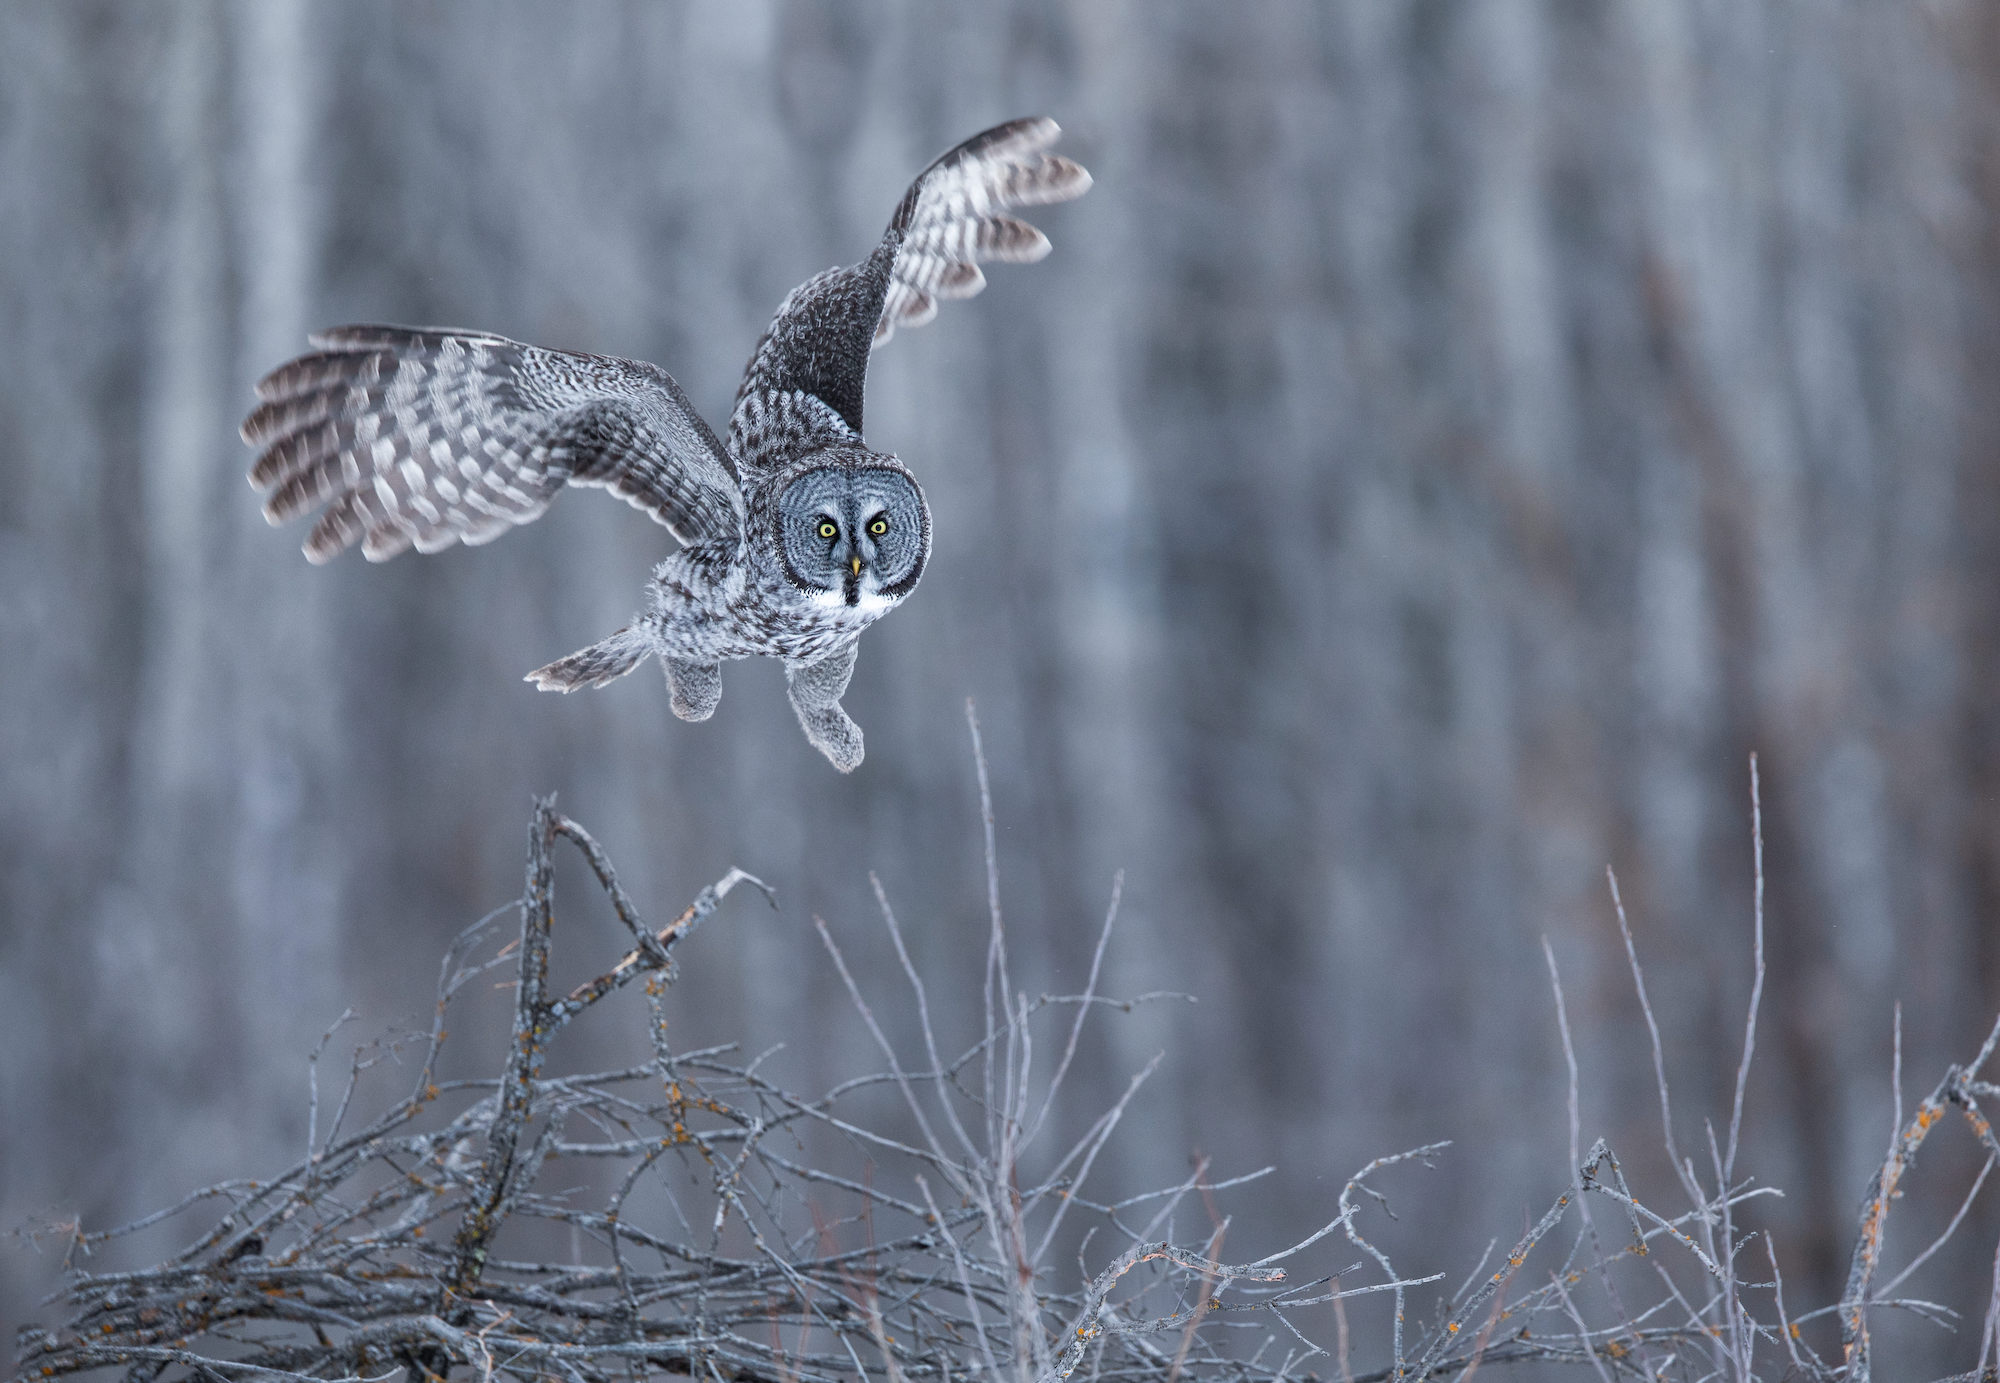
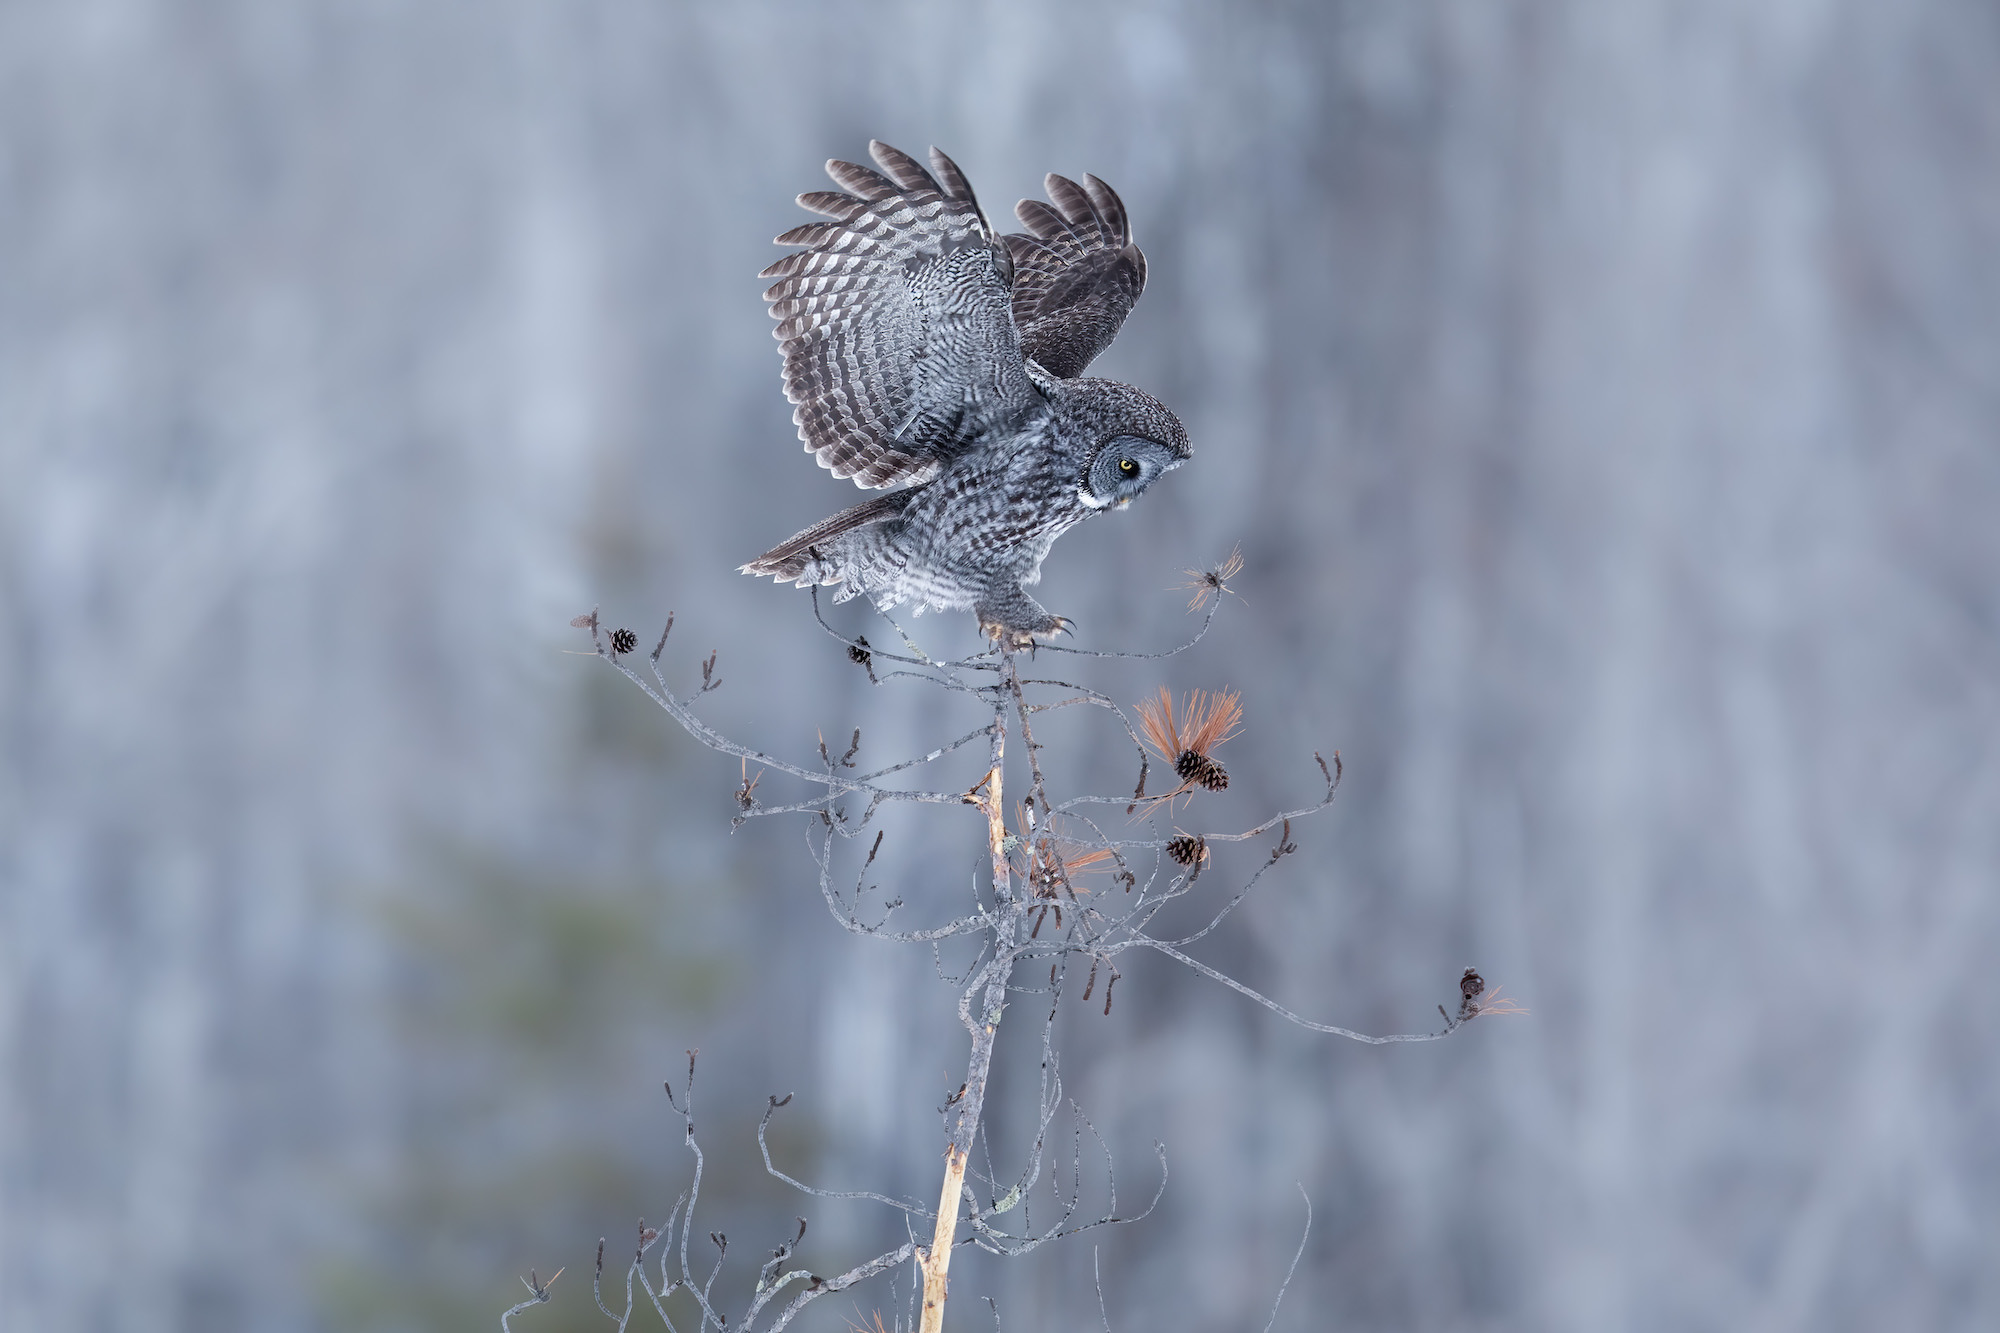
The more you shoot yard birds, the more you'll gain experience and put that knowledge into practice. Next time, you’ll be sure to double-check your settings, and when you see that epic Great Gray Owl, you’ll know what to do.
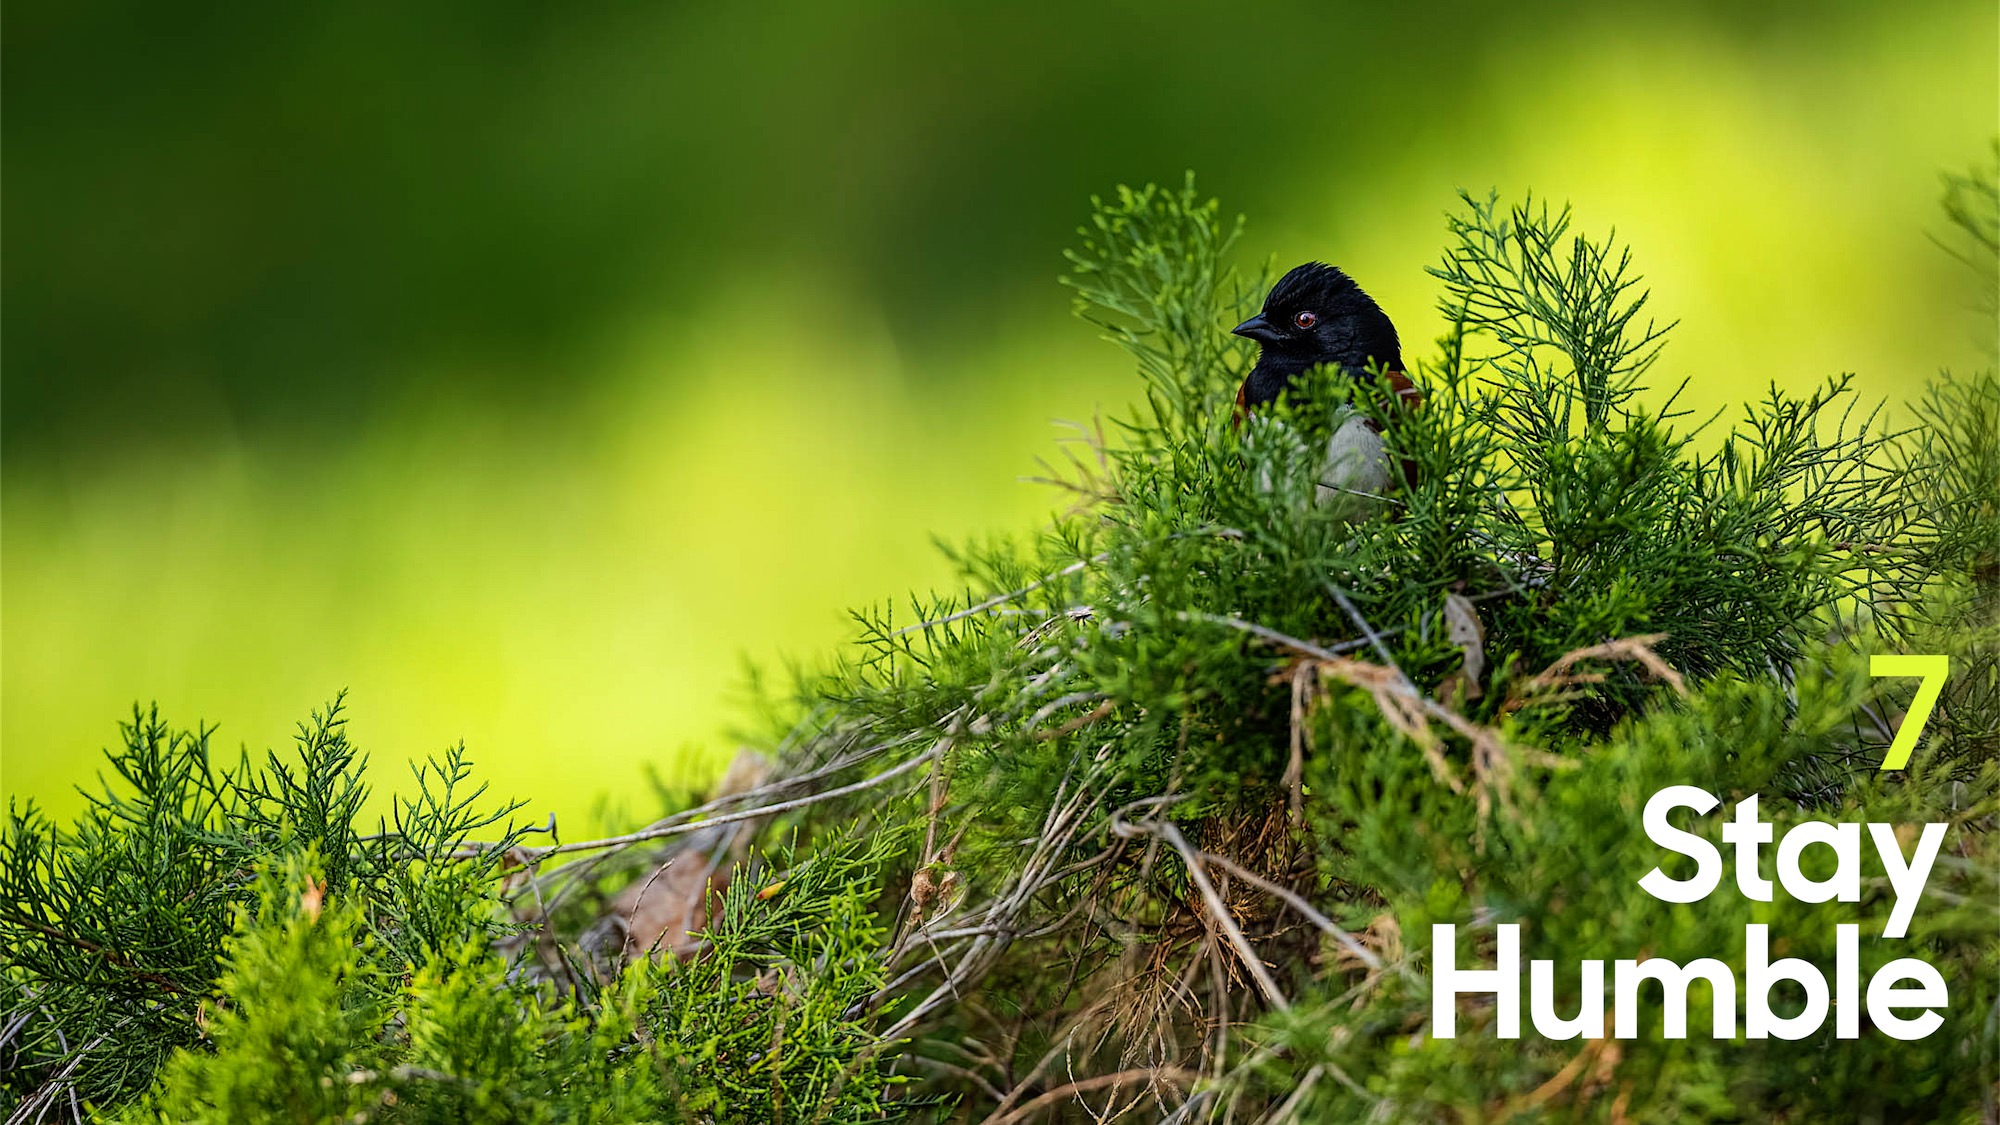
If you've shot every bird you've always wanted to see and captured every image you've ever dreamed of, that means that you are done, right? Never! You can always learn more. You can always do something that hasn’t been done. Create a new project for yourself. Perhaps you want to find sleeping birds next. It might be easier for crepuscular owls but what about a dove? Have you ever seen a cardinal sleeping? I'm just throwing it out there!

Your ideas could be anything and limitless. Don’t feel that once you photographed a particular species, that your quest is over. There is so much more to unlock in the art of photography and there are so many images you have yet to create.
Don't get frustrated. Enjoy the mundane! Make it useful! Make it unique! Learning and creating muscle memory takes time. Be patient with yourself and you’ll certainly achieve what you set out to do. And you’ll never even have to leave the yard.