


July 27, 2025
Desktop Apps
Cloud Apps
Enterprise

AI image and video enhancement built for enterprise and production workflows.
Desktop Apps
Cloud Apps
Enterprise
AI image and video enhancement built for enterprise and production workflows.
How shutter speed can improve the creative quality of your photos
Published
January 22, 2026
Summary
Of all the exposure settings you can dial in, the shutter speed can offer the most creative opportunities with your photos. We'll go over some of the most popular creative uses for shutter speed in this article.
Product
Tags

Metadata and its role in getting creative photos
I’ll admit that, for a very long time, I would ignore comments from people asking about certain metadata for images I shared either on my blog or on my social media feeds. My initial thought was, “Why are you focusing on things like the aperture or shutter speed when you should be focusing on the merits of the actual photo?” I admit that this is a narrow-minded way to approach an honest question because the more I thought about it, the more I realized that these camera settings do play a massive role in improving the creative quality of your photos. Once I came to this realization, I changed my approach to how I respond to questions about metadata because knowing these settings can tell a lot about how the creative element of it had been achieved.
One such camera setting that plays such a role more than any other is the shutter speed. The shutter speed you use dictates SO MUCH about the way the subjects in your composition are conveyed. Yes, of course, the shutter speed simply determines the length of time light travels through your lens and onto the sensor/film plane before it is cut off. But, depending on your subjects and the speed at which they’re moving (if they’re moving at all), the shutter speed can have a dramatic effect on how they are presented.
While effectively using the shutter speed can add a creative touch to your photos, it can also ruin them if you haven’t dialed it in properly. Of course, there are several other variables and conditions that have to be managed as well, such as the available light, the nature of your primary focal point, and, of course, your aperture and ISO. But still, in this article, I’m focusing on shutter speeds and, as a result, we’re going to make the assumption that you’ve accounted for the amount of light you need and have set the appropriate aperture and ISO to match.
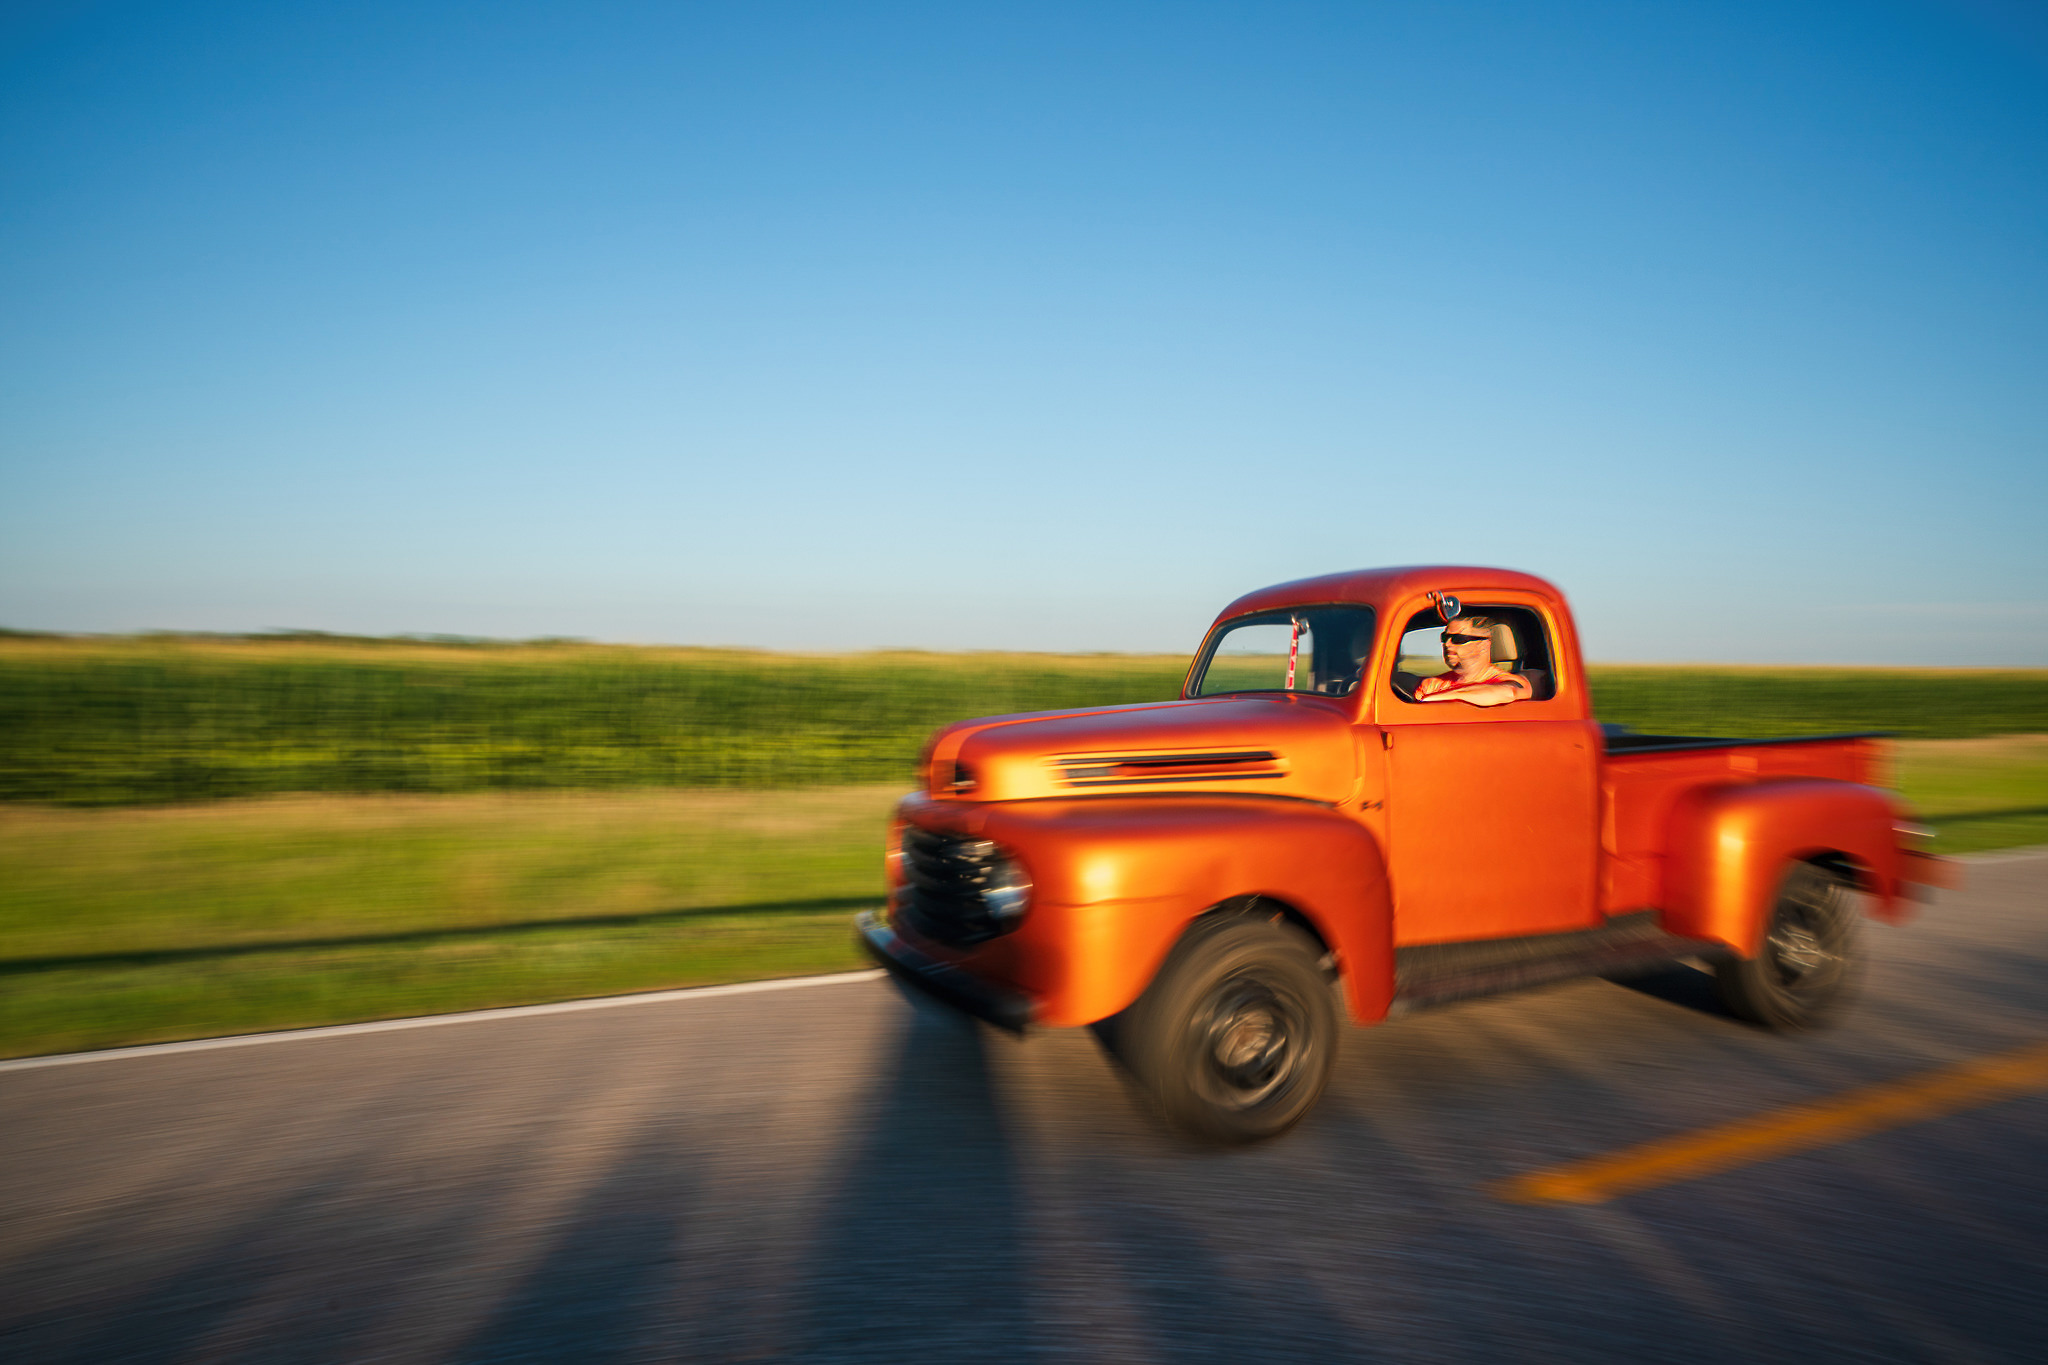
In other words, let’s say you want to get a panning shot of a vintage truck as it hurls down the road but it’s mid-day with a bright sun out and there’s no way you can set your camera to 1/30 sec. even with your aperture at its smallest diameter. In this case, the assumption I’m making is that you’ve packed a neutral density filter that will cut enough light for you to get your shutter speed to 1/30 sec. without blowing out the entire exposure.
Rather than break down the categories by shutter speeds, it would be more useful if I break things down by intent. I believe that a lot of how we approach the composition and editing stages of our photos is based on intent. We get an idea for a photo and how we want to execute it. From there, we adjust the camera’s exposure settings to execute on that intent. For this article, I’ve narrowed the intent down to three primary categories, each with their own distinct shutter speed ranges.
Stopping action in its tracks
Admittedly, this is my least used intent as far as compositions go. I love depicting objects in motion, whether it’s a vehicle, flowing water, or a throng of pedestrians. But still, there are many times when my intent for a photo requires me to use a blazing fast shutter speed. This is almost always the case when I want to freeze something that typically moves fast or moves a lot. Depending on the speed at which the subject is moving, you may need to use an especially fast shutter speed. Often times, that means anything from 1/320 sec. to 1/8000 sec.
Let’s take this photo I took in Dusseldorf, Germany a few years ago. There was a street performer who was blowing thousands of soapy bubbles into the air and a bunch of kids were dancing and playing with them. The only way to effectively convey these bubbles as sharp was to set the shutter speed at 1/4000 sec. I also set my aperture as wide as possible, at f/2.0, to separate the bubbles in the foreground from the rest of the shot. The resulting photo clearly shows the bubbles while adding depth thanks to the wide aperture. But, if I had used a slower shutter speed, I’d lose most of the definition of the bubbles.

Freezing a subject doesn’t always require an extremely fast shutter speed either. Again, it all depends on the speed at which the subject is moving. In some cases, a fast-moving subject may not be moving very fast at the time, so you can get away with a slower shutter speed. A lot of my wildlife photos are taken at between 1/125 sec and 1/320 sec. While that’s not nearly as short as, say, 1/4000 sec, it is effective in freezing the animal when it’s already standing still.
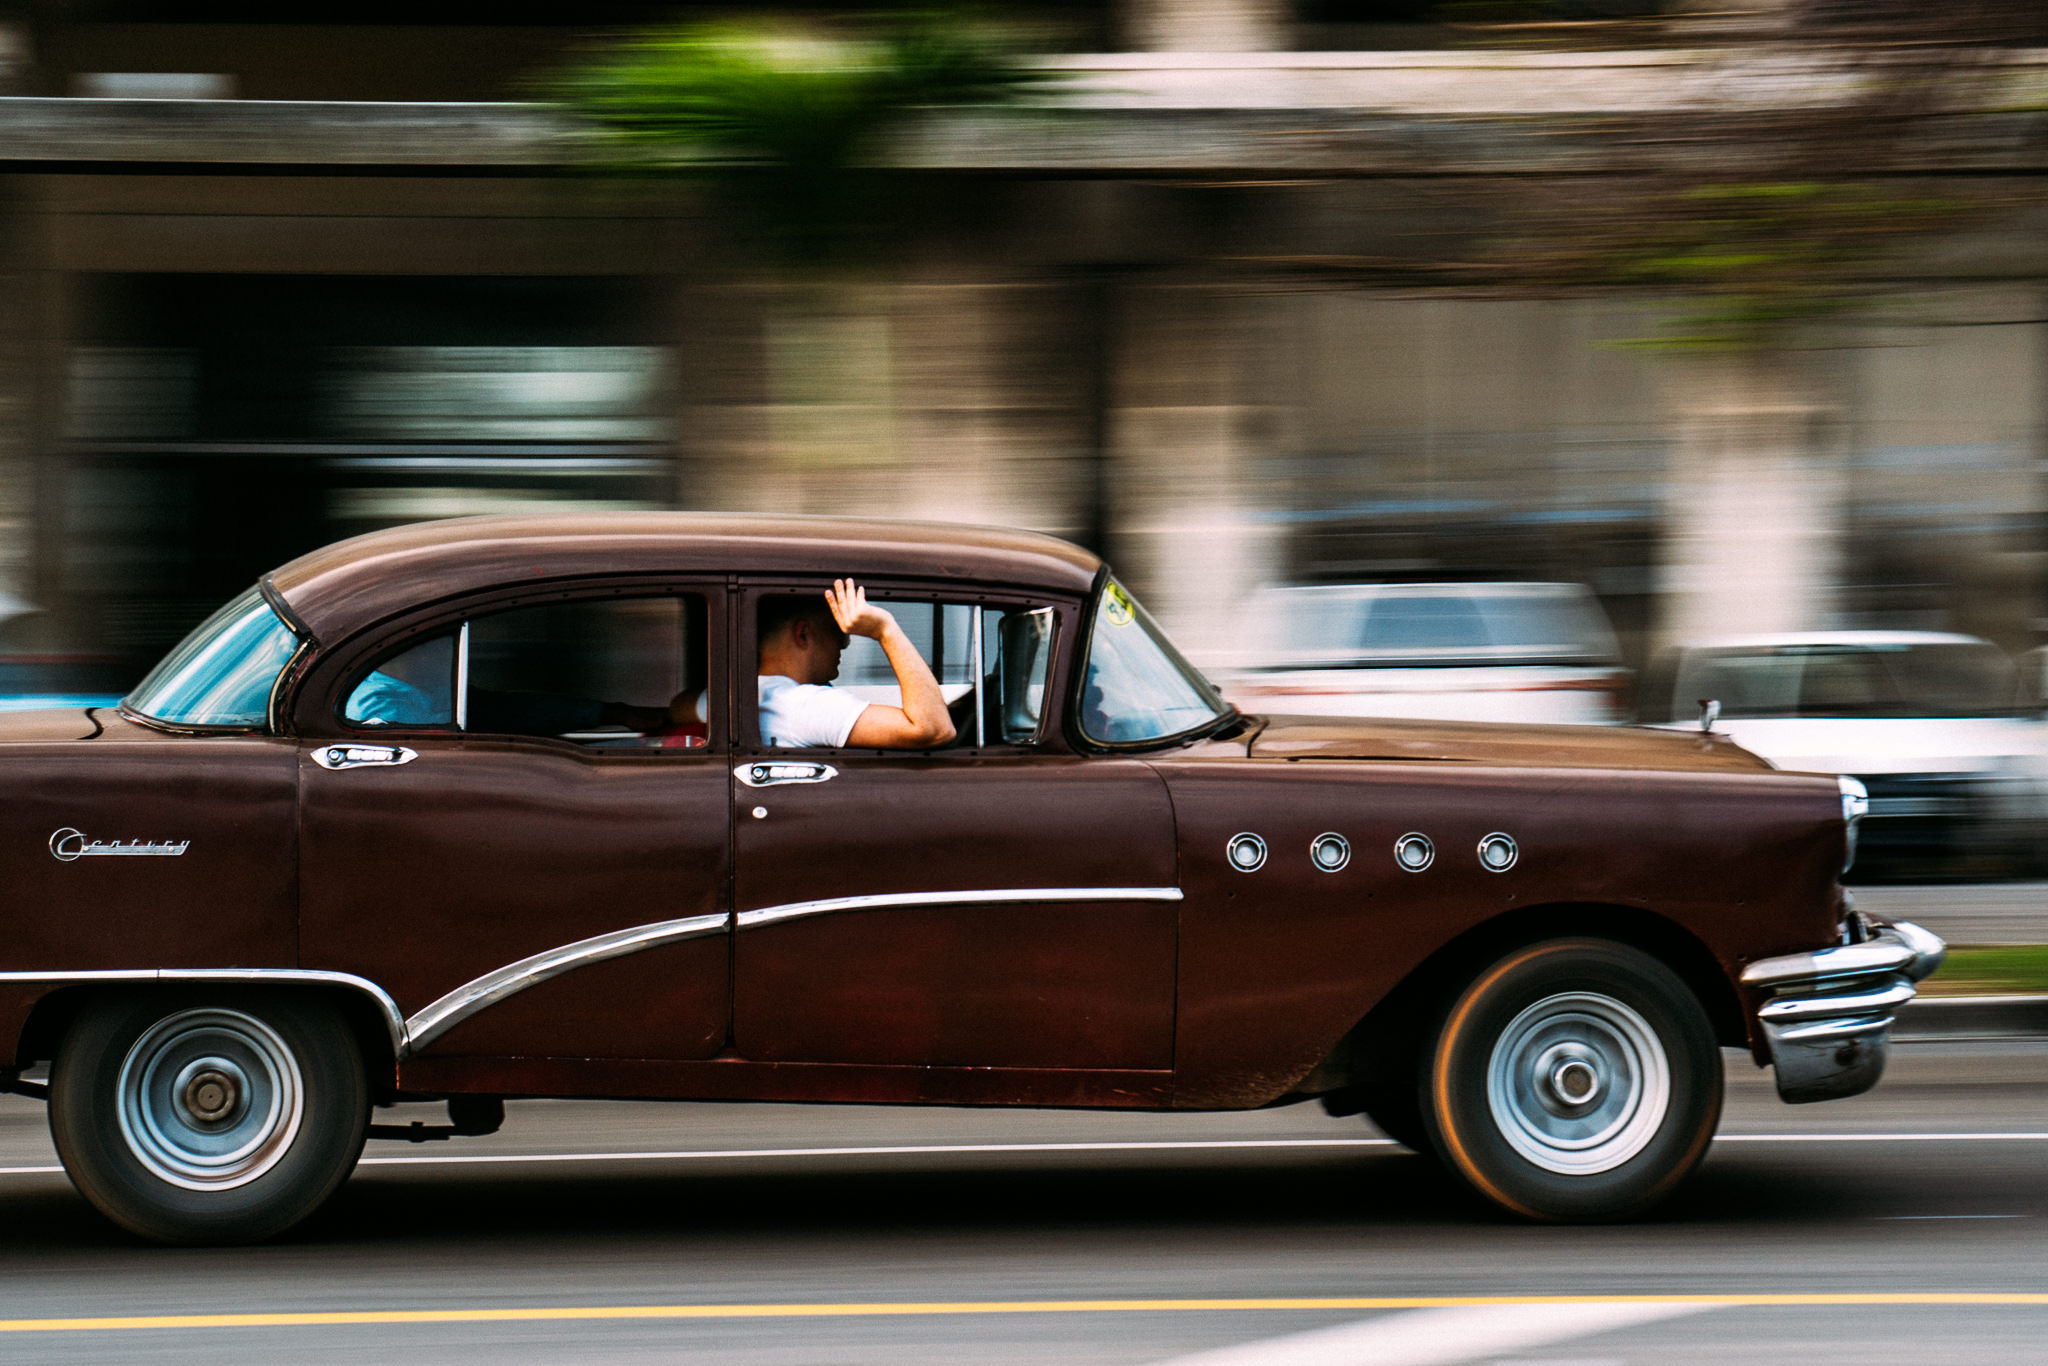
Panning photos
If there’s one thing to know about me, it’s that I love a good panning photo. Whereas in the previous section, we discuss freezing motion altogether, now we’re talking about conveying it within the frame. One of the most important factors to consider with an effective panning shot is the speed that your subject is moving. While you can get a solid panning shot with things moving very quickly or slowly, there is a sweet spot in terms of movement through the frame that yields fantastic results. I also find a shutter speed range between 1/40 and 1/20 sec provides the most consistent results. What’s important is adjusting your aperture and ISO to get a proper exposure based on that shutter speed.
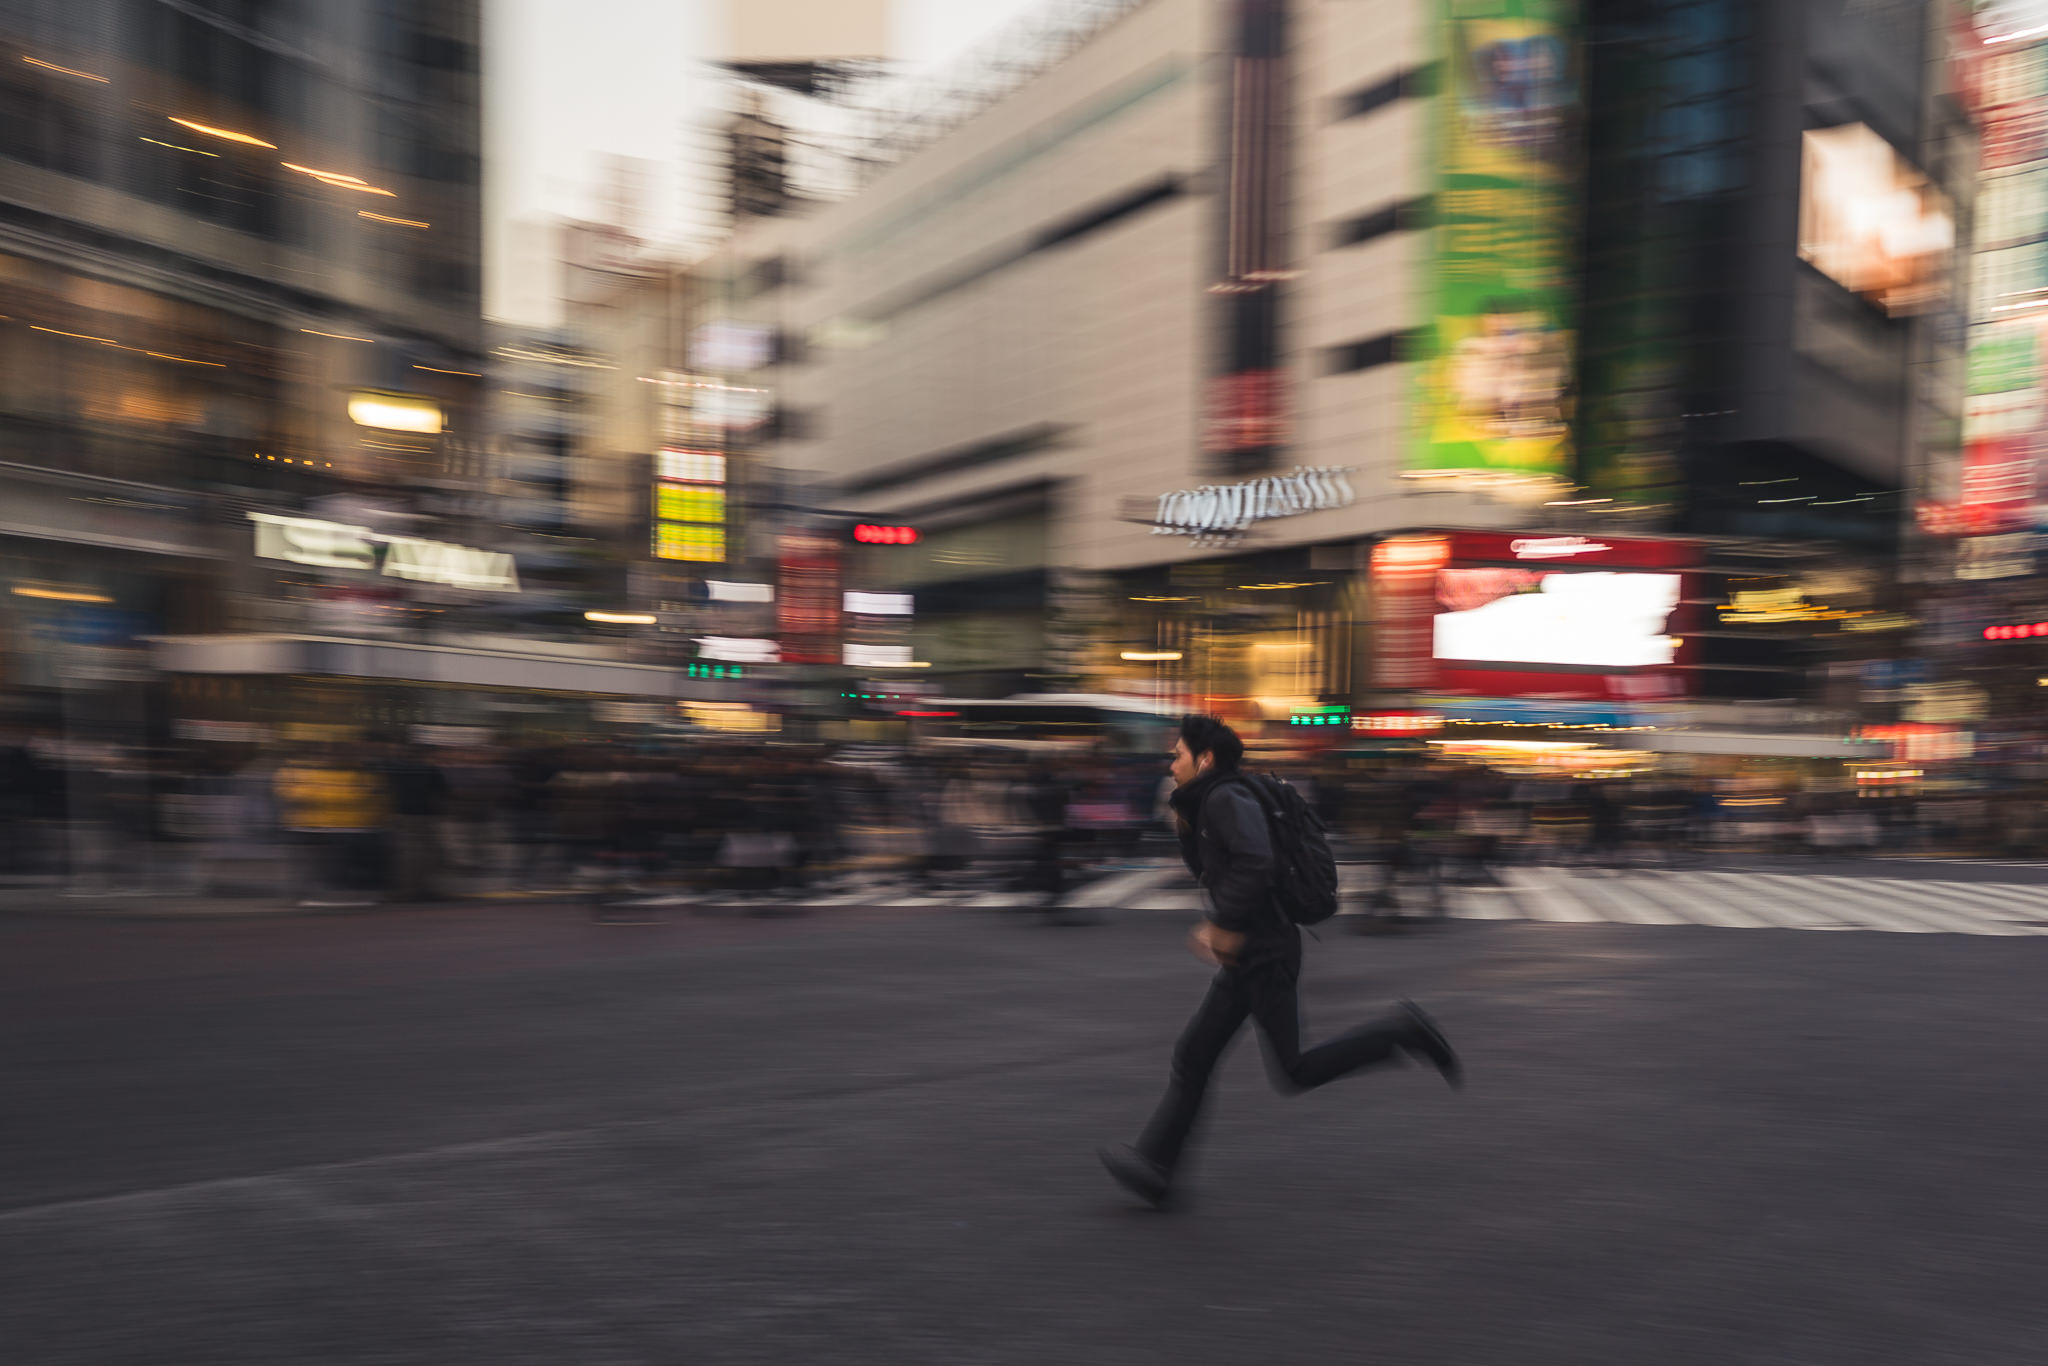
When I first started practicing panning photography, I was very critical of which photos I thought were keepers. In fact, I was quite militant over requiring that the subject be tack sharp while the rest of the scene melted away in a blur. Over the years, I think I softened up a bit. I realize that there is a beautiful quality to imperfection. If the subject didn’t turn out to be perfectly sharp but was recognizable enough to the viewer, I’d be ok with it. This photo of a pedestrian running through Shibuya Crossing in Tokyo, Japan is a prime example of this. I really enjoy the way it turned out despite me missing my mark as I panned along with him.
If you’re really interested in learning more about panning, check out this article on the Learning Center and watch this editing video that I put together on the subject.
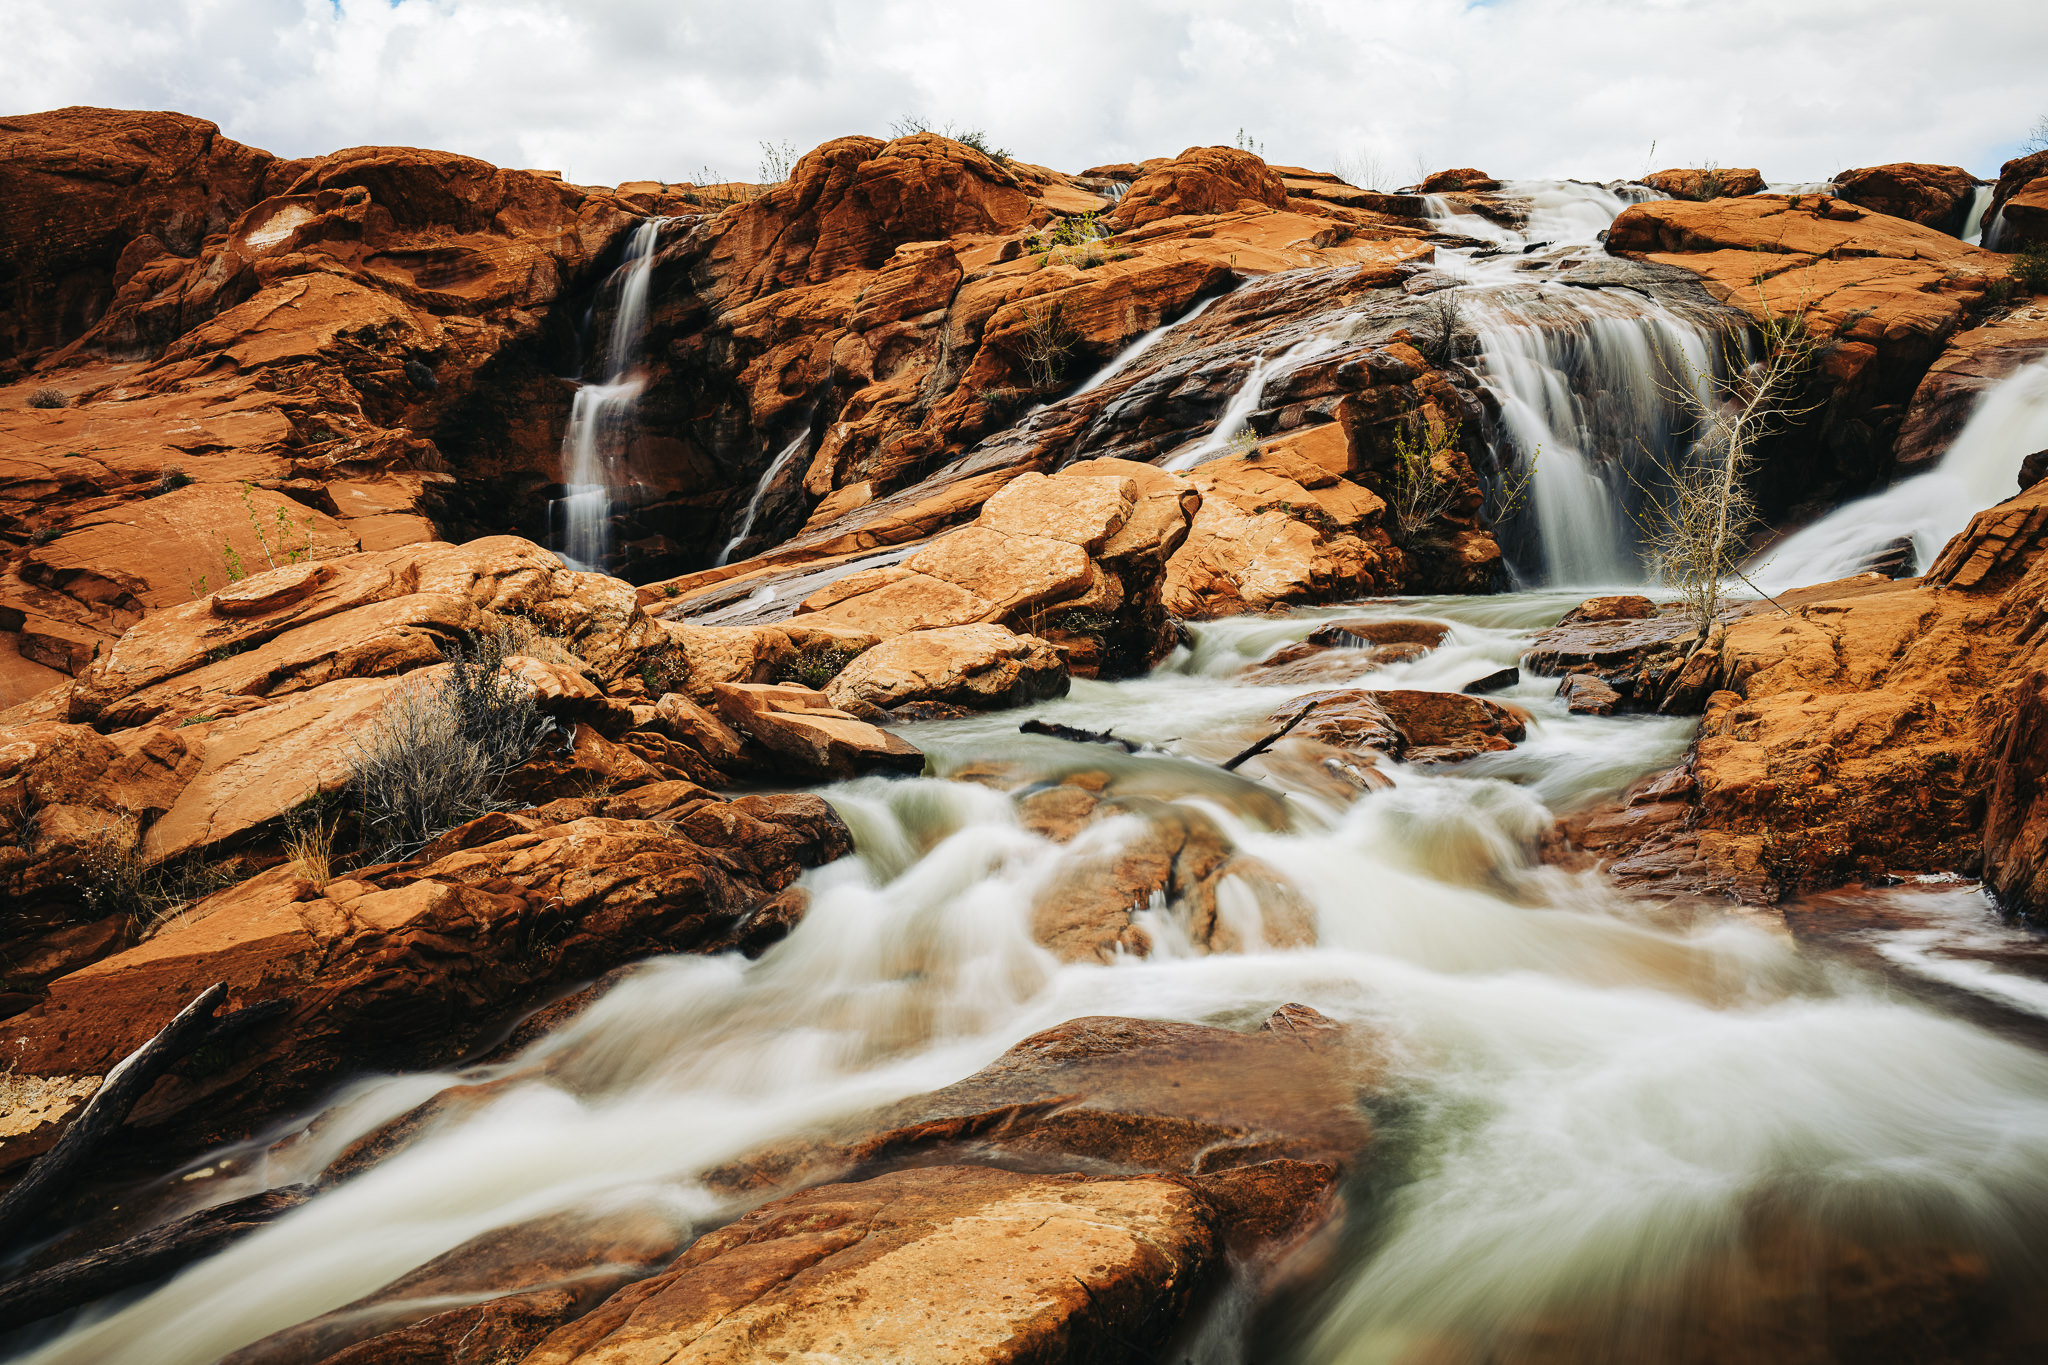
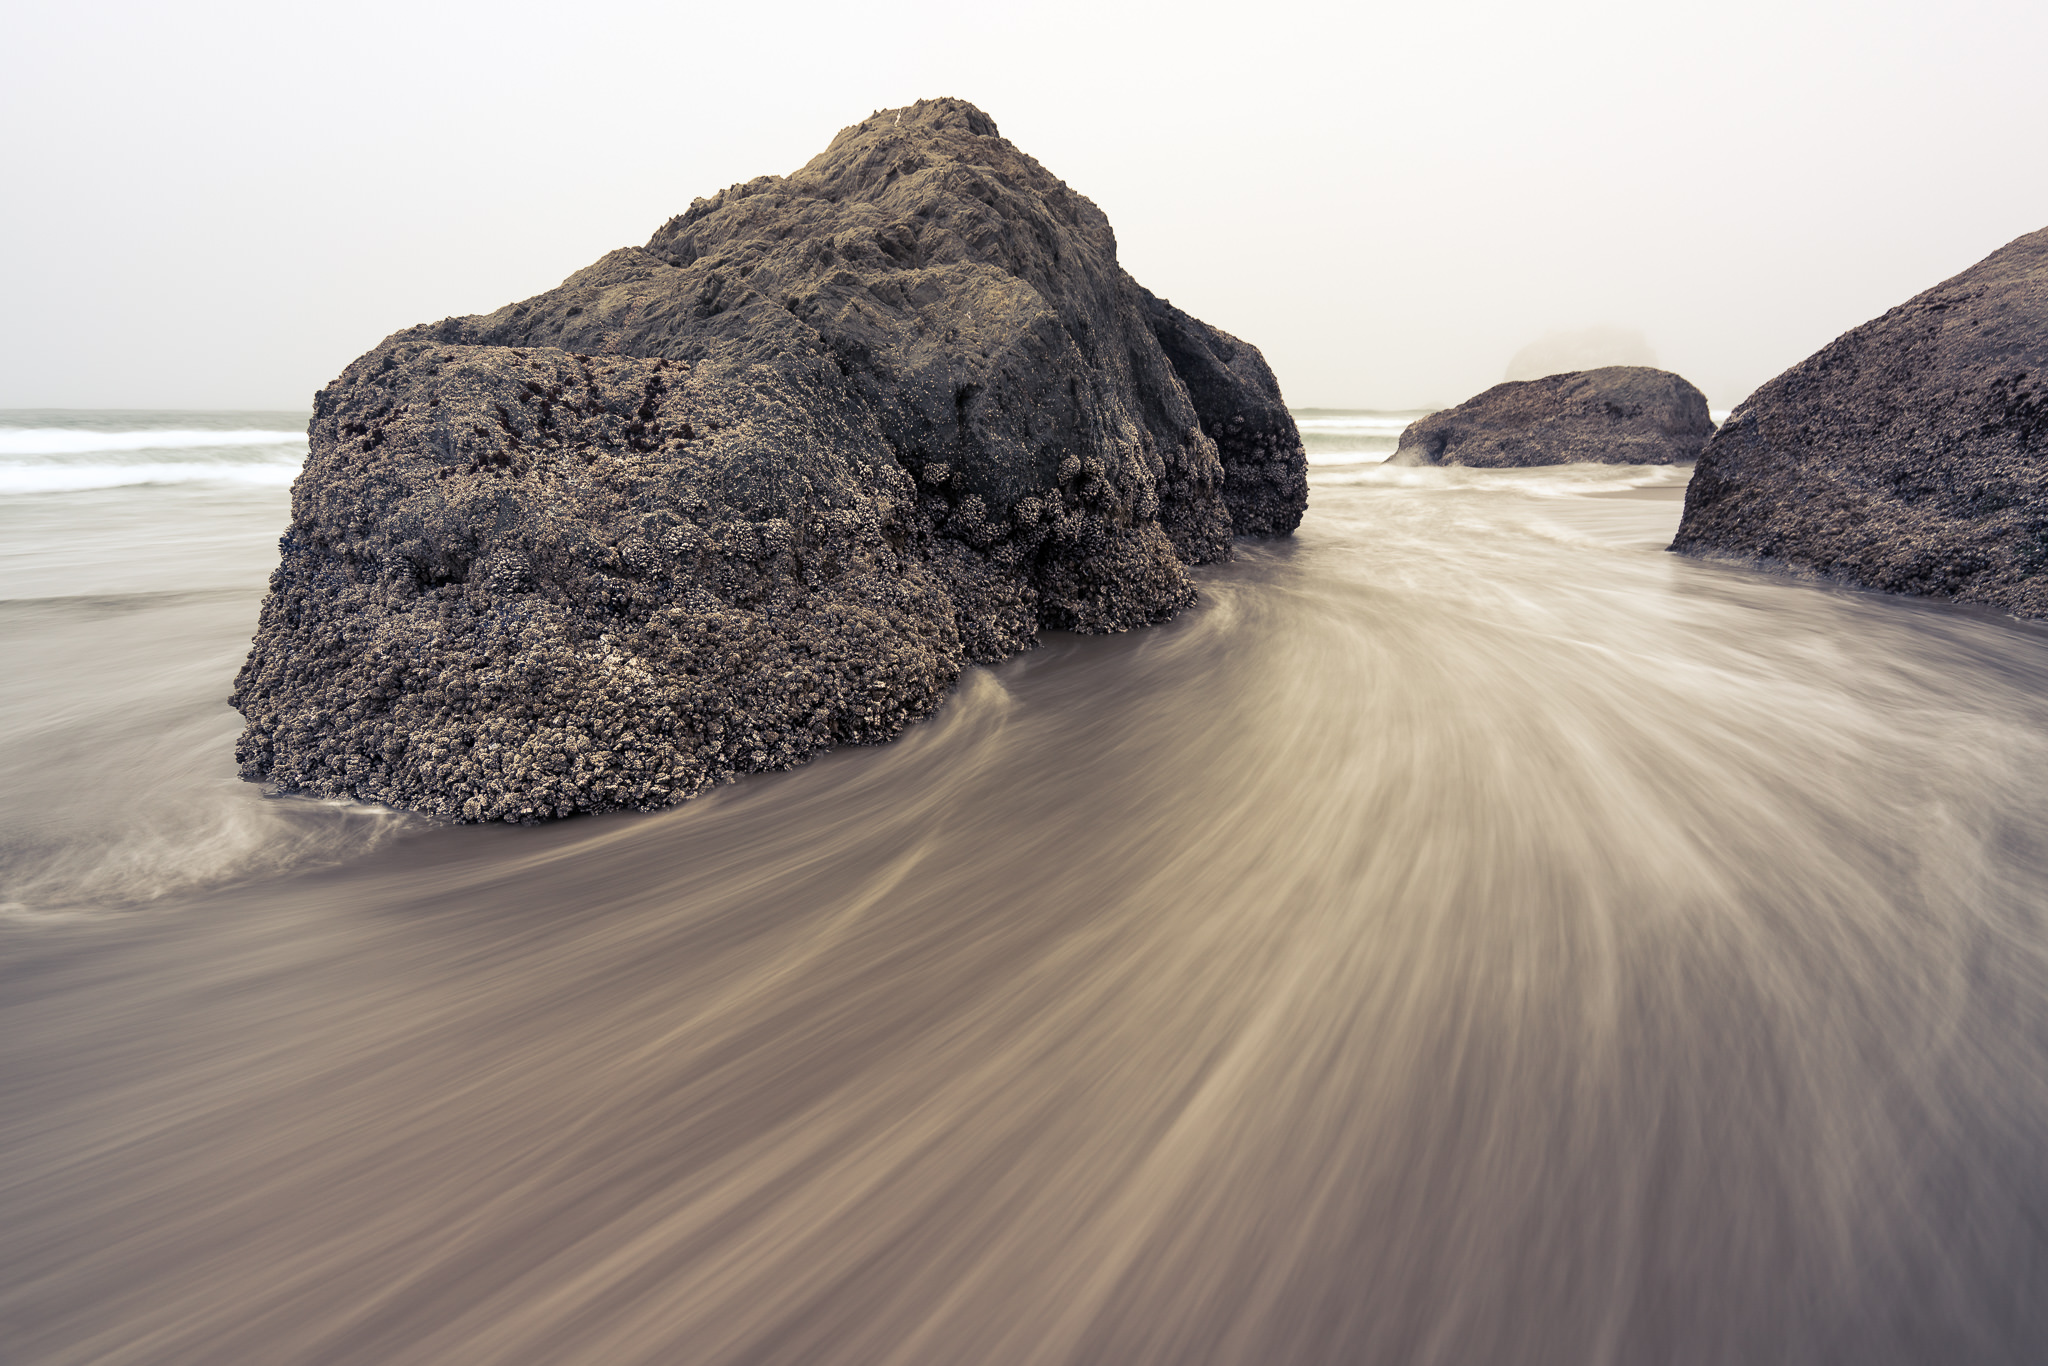
Moving Water
Of all the intents listed here, this has to be my favorite one. I have long been obsessed with conveying the visual qualities of moving water. There is an undeniably hypnotic effect to seeing water flow and it is brought to another level when you’re standing there because you also have the sounds to go along with it. After years of experimenting, I’ve concluded that a shutter speed range of 1/2 sec – 2 sec is ideal for capturing this movement, however there is a caveat. The water needs to be moving at a certain speed in order to get optimal results. If it is moving too slowly, your photo just won’t turn out right. However, if you’re near an ocean, river, or waterfall, the speed of the moving water should be adequate.
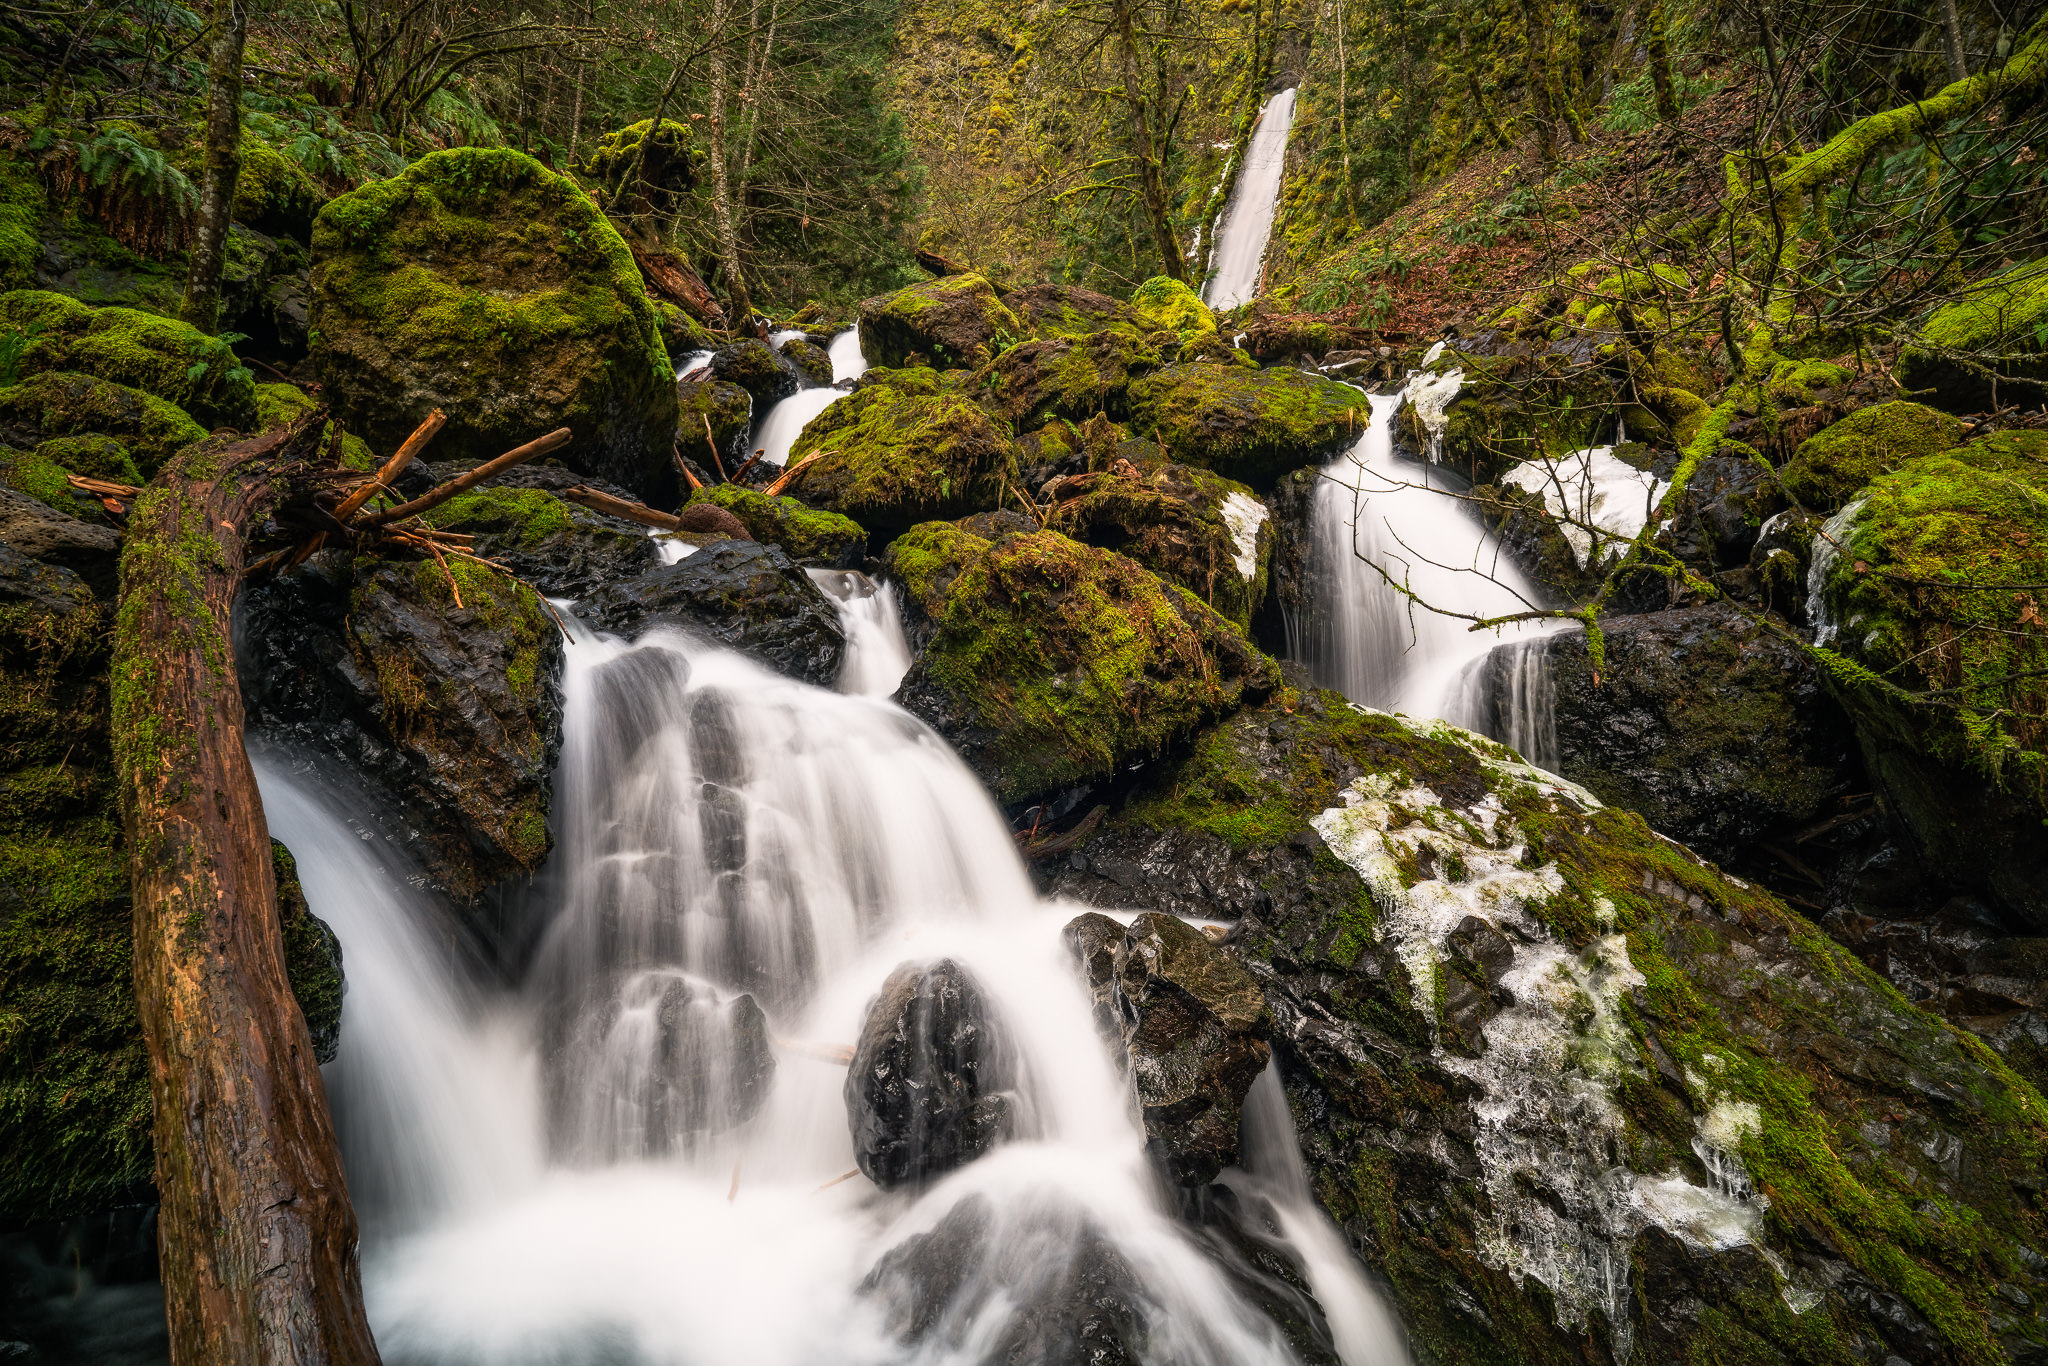
Ideally, the moving water can add a sense of directionality for the viewer, too. In many cases, I’ll stand by the water for a few minutes, studying what it’s doing. Are there rocks or other debris affecting how it moves? Can I position my camera differently so as to capture a better angle? What about my proximity and heigh to the water? Maybe if I move a few steps back and bring my camera lower to the surface, I can get a more effective result? These are the questions that I ask myself when photographing moving water. However, as far as settings go, I can pretty much guarantee that I’ll always be between 0.5 – 1 sec to get these results.
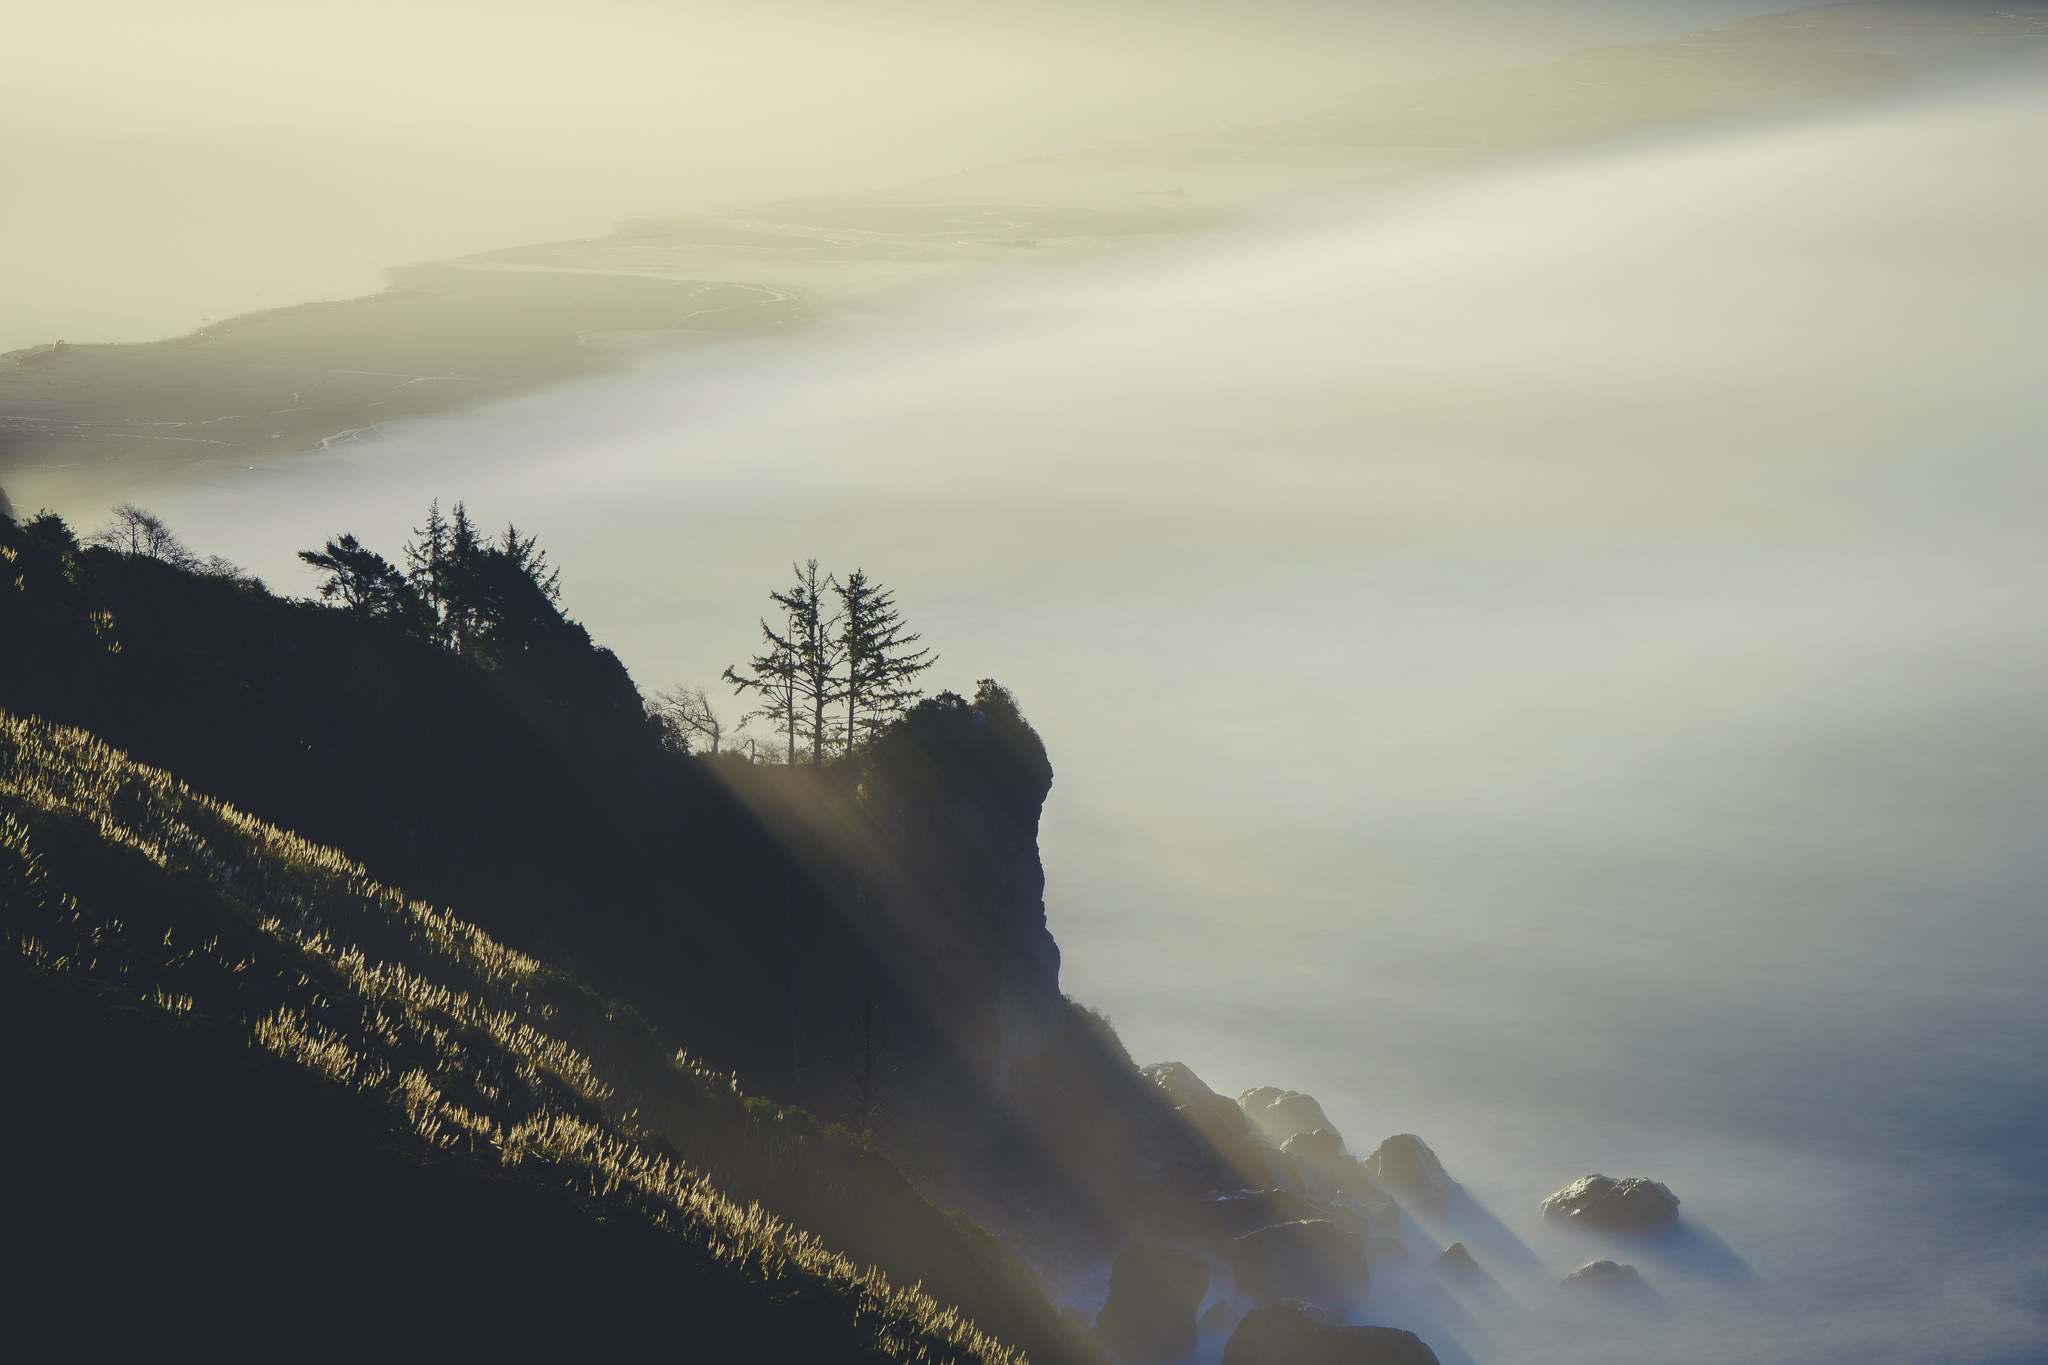
Flattening out motion
When I first invested in ND filters, I spent a lot of time dragging the shutter speed for as long as possible in almost every scenario. In some cases, that worked out in my favor but in most cases, it was—literally—a waste of time. Still, there is something to be said about dragging your shutter between 4 and 30 seconds (or longer!). The specific shutter speed you settle on will be determined by the amount of light you’ve got, what your aperture is, and what the desired effect is. Take this photo of Alcatraz Island (and the infamous prison) as an example. I wanted to create this ghostly effect with the ocean and fast-moving clouds, so I used a 10-stop ND filter and set the shutter speed to 30 seconds.
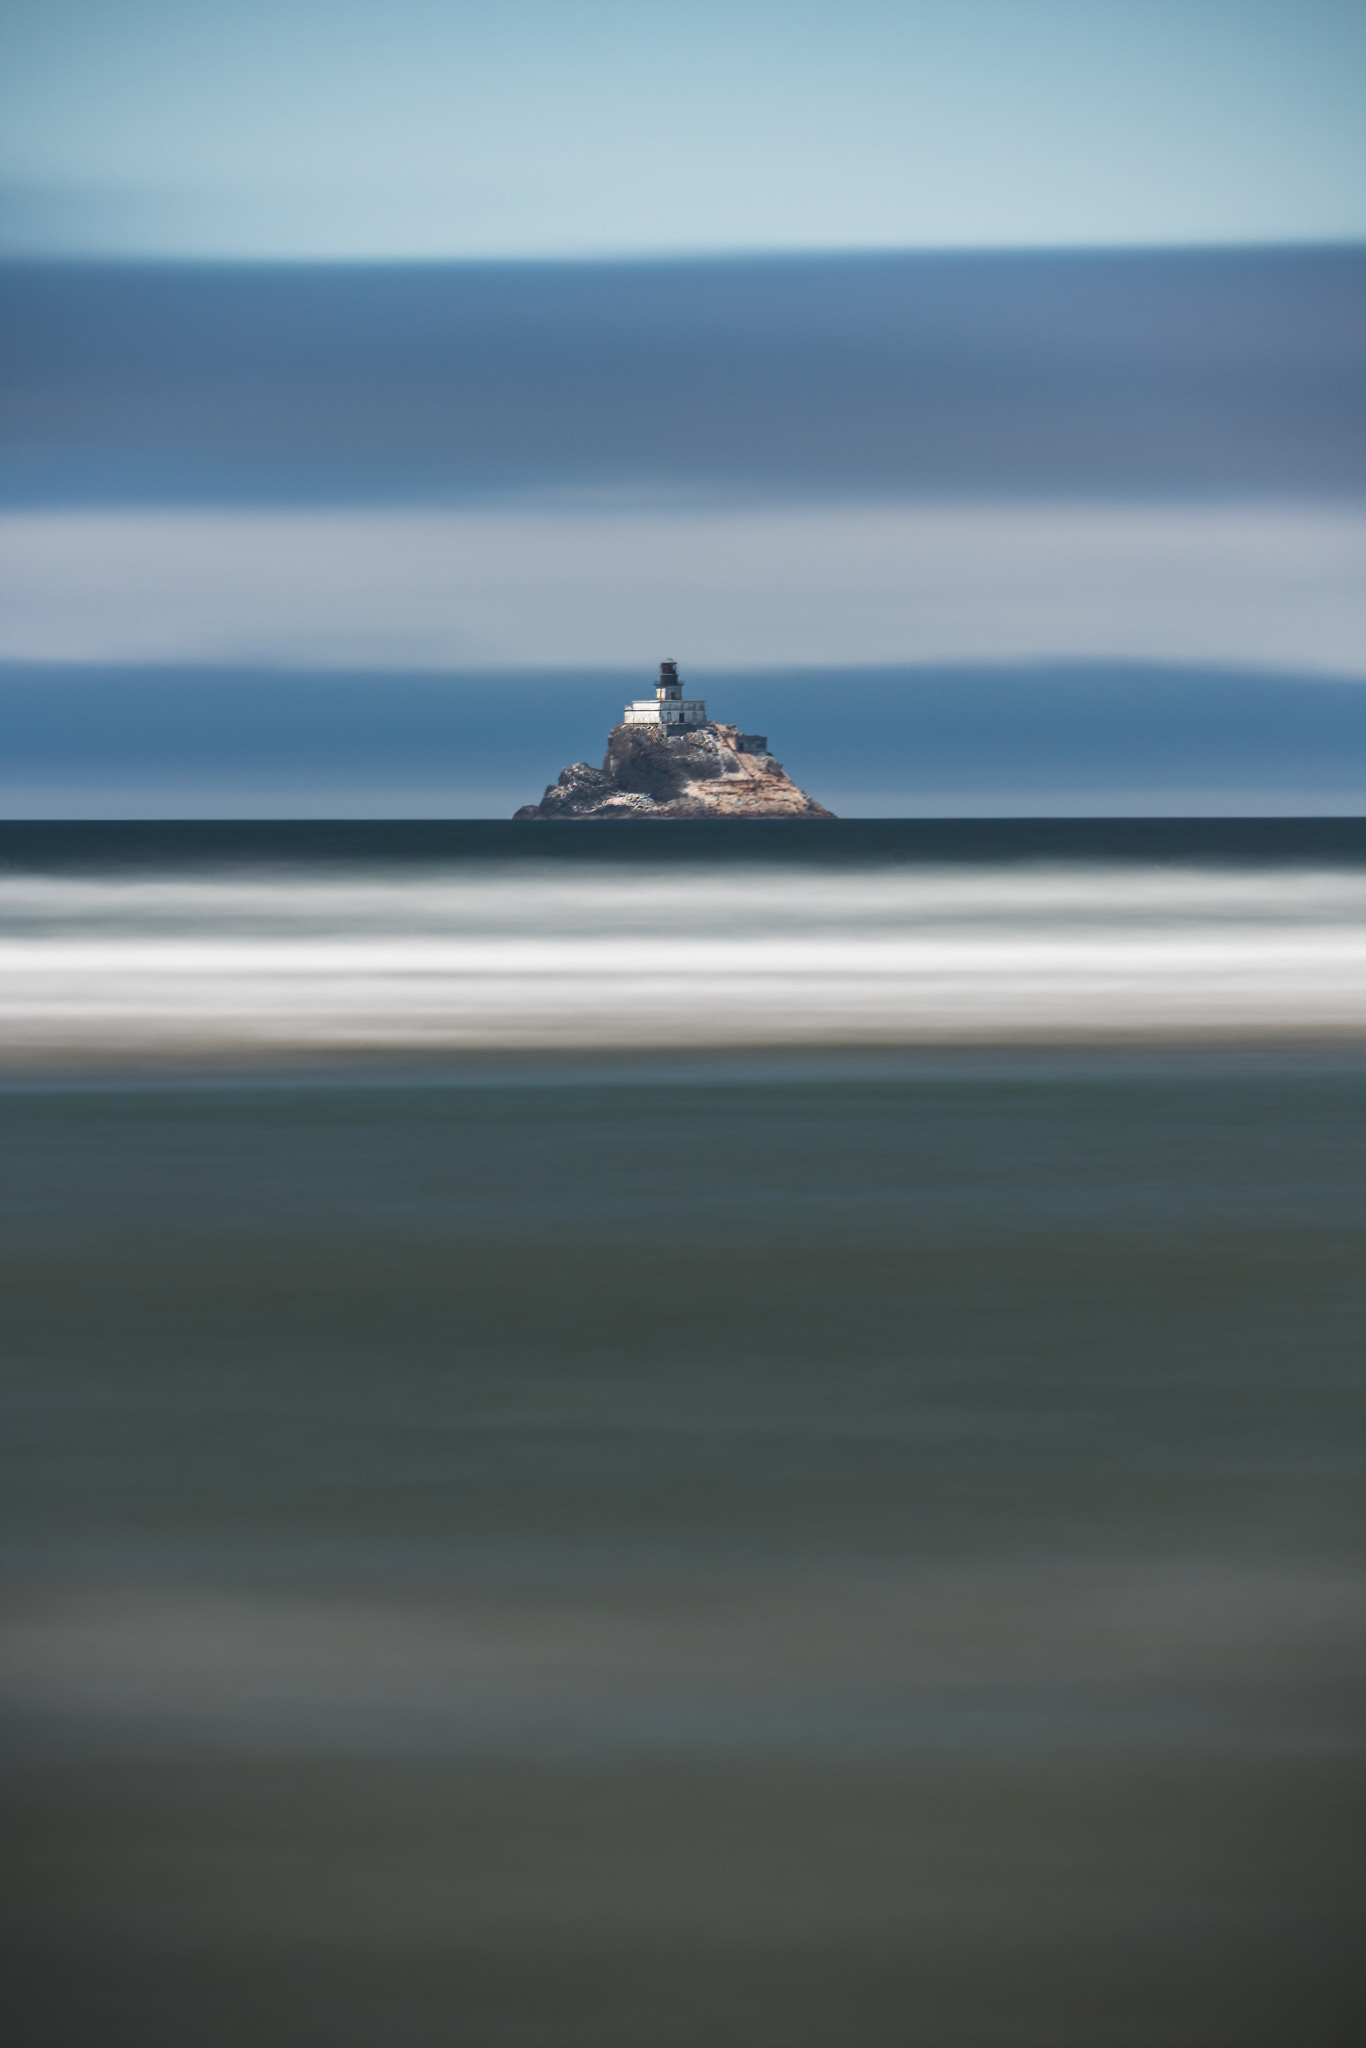
Probably the most common use case for a super long exposure, usually 30 seconds or longer, is to flatten out water or clouds. The ethereal visual qualities of such long exposure photos is unmistakable and, when used in the right context, it can seriously elevate the feel of it. This is the intent that I focused on almost exclusively when I got my first ND filter. I’d drag the shutter for as long as possible just to create a glassy surface from the moving water or turn clouds into wisps of vapor. While this intent is certainly a valid one, I would caution exercising some restraint as the look itself can get old pretty quickly. Although, I suppose that’s a fair point to make for each of the intents listed here.
So those are some of my most important shutter speeds along with the intent behind them. What about you? Do you have a certain intent that you rely on and, if so, what shutter speed do you typically dial in? Let me know in the comments.
Try our AI-powered applications out for yourself
Visit our product pages for DeNoise AI, Sharpen AI, and Gigapixel AI and click on the "Try for Free" button to download free trials that never expire.


Keep Learning
Pricing & Plans
new
Topaz Studio
Topaz Studio
All the apps. One low price.
Topaz Video, Topaz Photo, Topaz Gigapixel, Bloom, Astra, Express, Mosaic. All new apps on release. And more.
Cloud Apps
BloomAstraExpressGigapixel iOSMosaicCloud CreditsExpress Tools
New Video UpscaleProject Starlight4K Video ConverterHD Video ConverterVideo EnhancerVideo SharpenerFrame Interpolation3D Model UpscalerPhoto RestorationImage UnblurImage UpscaleImage DenoiseImage SharpenImage FacesImage LightingImage EnhancerImage EnlargerAI Art EnhancerAll Tools
Info
SupportNewsLearn PricingDownloadsResourcesPressUse Cases
For AI CreatorsFor PhotographersFor 3D CreatorsFor VideographersFor GenAI platforms
Sora 2 UpscalerVeo 3 UpscalerZ-Image UpscalerGrok Imagine UpscalerMidjourney Video UpscalerMidjourney Image UpscalerNano Banana Image Upscaler© 2005 - 2025 Topaz Labs. All rights reserved.
Close


Need product and account support?
Contact support team