4 surefire tips for tack sharp images

When it comes to photography, there's nothing I hate more than missing focus. Technology has come a long way in the last 10-15 years in helping to avoid that, but it's still up to us, as photographers, to know our gear and make missing a shot the exception, not the norm. Let me start with a quick story about “the one that got away,” and then I’ll share some tips to ensure this doesn’t happen to you.
When Sony came out with their first A7 mirrorless camera around 2012, I was an instant convert. I was transitioning my business at the time from photographing corporate events, weddings, and portraits to landscape and travel. I’ve always been a minimalist at heart, so the idea of trading in my heavy Canon gear for the new mirrorless Sony’s and their super-light f/4 lenses had me sold.

In addition to the weight savings, the technology at the time was just mind-boggling. Looking through the viewfinder and seeing a real-time digital preview of the image instead of simply looking through a mirror was revolutionary. On top of that, Sony had a new feature called “Focus Peaking,” which was brand new at the time. For those that don’t know, focus peaking is a feature where the camera will detect the edges within your frame that are sharp and in focus and will make those edges glow with a color of your choosing.
When I discovered this feature, I embraced it immediately. Gone were the days of trusting my camera's auto-focus or trying to “eyeball” it through a traditional viewfinder; now, I could rack my lenses' focus ring, watch the edges of my subject glow, and press the shutter.
At that time, I was also getting into storm chasing. I live in Texas, and every Spring season brings severe thunderstorms capable of damaging winds, large hail, and sometimes a tornado.
On one particularly stormy day, I found myself in Throckmorton, Texas with two of my storm-chasing buddies. A massive supercell had come through the area right at sunset and as night set in, the backside of the storm began dumping lightning at a rate I had never seen before. It seemed like every few seconds, the night sky would flash, and cloud-to-cloud lighting (known as anvil crawlers) would stretch out across the sky, illuminating the ominous clouds above. And every 30 seconds or so, cloud-to-ground lightning would strike around us.
This trip was one of my first outings with my new A7, and I felt like I had a huge advantage with all the new technology at my fingertips.
It was around 22:00 at the time, so full darkness had set in; and in west Texas with clouds stretching across the sky and blocking out the stars, it was particularly dark. So what do you focus on in such a situation, when you look through your viewfinder and see only darkness? Well, you start by getting your camera off “autofocus” and into manual, if you haven’t already. Step two is turning the focus ring on your lens to infinity (your lens should have an “∞” symbol on the far-right side of the focus window if you haven’t checked before).
In this setting, your lens “should” be set up in a way that everything in your camera's field of view will be in focus. Of course, there are exceptions though, and many of you already know where this is going.
At night, all your camera settings must be geared towards letting in as much light as possible in the shortest amount of time possible. This means wide-open apertures, long shutter speeds, and high ISO’s. My go-to settings for such a situation are f/2.8 (or wider if the lens allows it), a 30-second shutter, and at least 1600 ISO.
.jpeg)
The road we were parked on led straight towards where the lighting was striking, so I pointed my camera down the road, hoping to time a car driving down the road at the same time lightning struck. I would wait for a car to drive down the road, hit the shutter button, and just hope for a lighting strike.
The first few attempts had me very hopeful. While watching the flip-up screen, as lightning would strike, I’d see the edges of the lightning bolts glowing red from the focus peaking. Then, the moment of truth, a car drove down the road and I hit my two-second timer to start a 30-second exposure. Right around the halfway mark, a MASSIVE lightning strike happened at the end of the road. A massive lightning bolt came from the clouds, separating into three different bolts before smashing to the ground. My buddies and I all began jumping up and down in joy as we were all shooting in the same direction and all go our shots. I was ecstatic and the entire drive home I couldn’t wait to pull the images up on my editing station before going to bed.
And that’s just what I did. Around 0200 in the morning, I transferred my images to my 5k iMac and waited very impatiently for them to transfer into Lightroom. The transfer finished (after what felt like an eternity), I double-clicked the image to make it full screen, and my heart dropped into my stomach. I missed the focus, and the image was soft. And not just barely soft, but soft enough that I knew there was no hope in bringing it back.
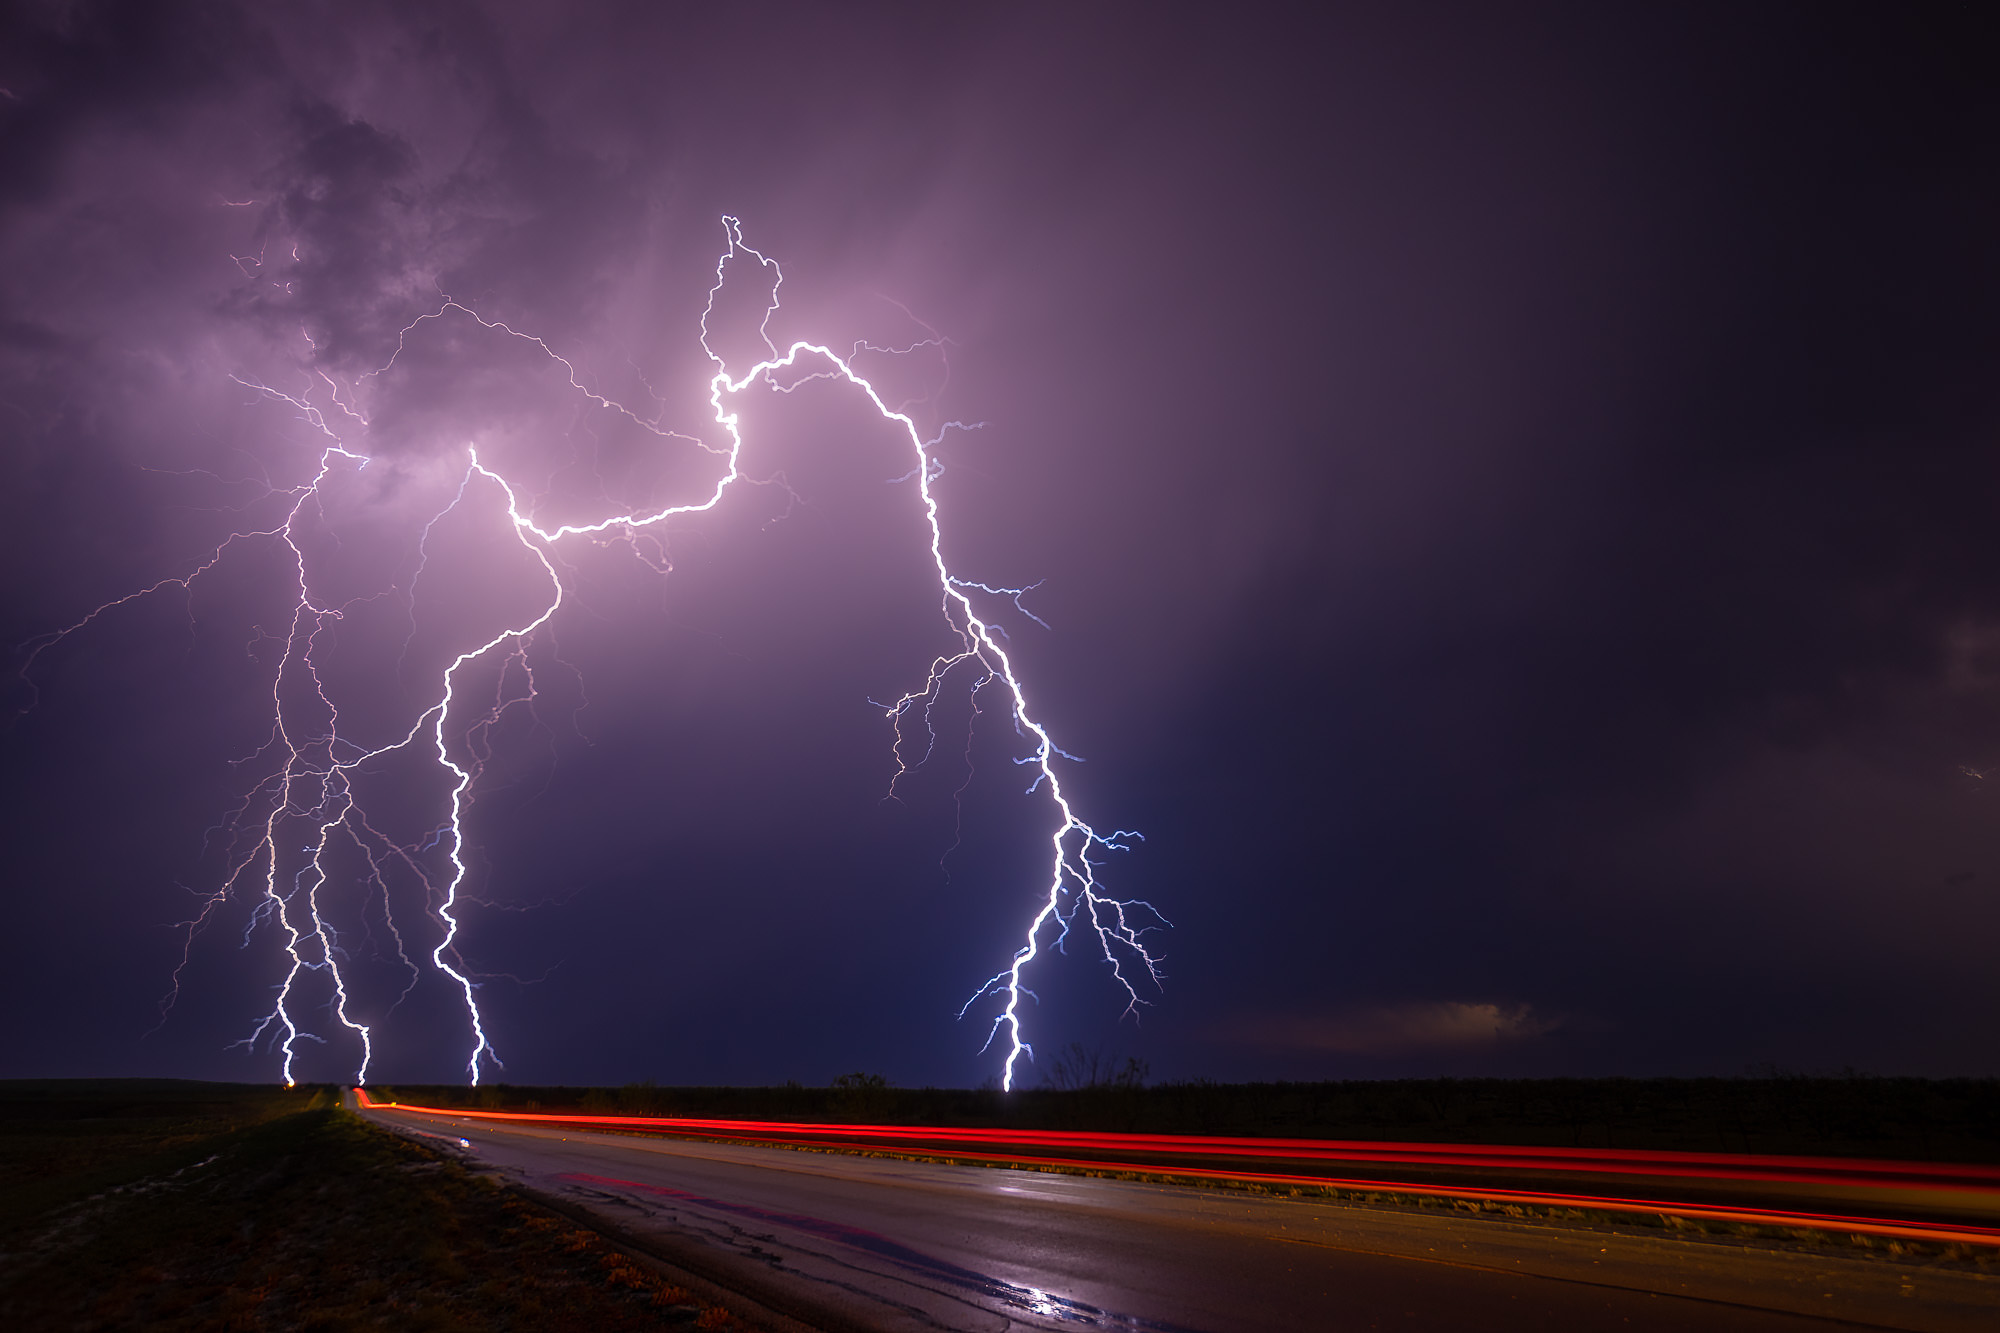
But how could this have happened!? My camera’s focus peaking setting was on, and I saw the edges glowing! Well, let me tell you what happened: Against a completely dark sky, even a slightly out-of-focus, super-bright lightning bolt might look sharp to a camera. On top of that, at f/2.8, infinite focus is not always going to be a certainty. Getting your lens to where the “∞” sign is right in the middle is not an exact science, especially not in the dark. And on top of all that, it was raining; so every now and again I’d have to wipe off my lens, which may have pushed the lens down and out of focus, which would be hard to tell at night. It could have been any number of things, but the point is, I missed it, and the moment was gone, forever.
Tip #1: Get Your Camera onto a Tripod
There are multiple ways to blow it when it comes to getting sharp images out of your camera. One is, of course, not having your focus dial properly set when you press the shutter. Another is when auto-focus just doesn’t work properly and misses focus on a shot; this could be the camera just not getting it right, or it could be user error from placing a focus point on the wrong part of the scene. Another way to blow focus is by camera movement on longer shutter speeds.

You can have every setting perfectly dialed in on your camera but if you accidentally move the camera enough while the sensor is gathering light, you’ll end up with a soft image. When it comes to landscapes, there are very few times when you SHOULDN’T have your camera on a tripod. In 99.99% of all situations, this will ensure that camera movement will be removed from the list of factors that might ruin your shot.
Tip #2: Use a Delayed Shutter
Sometimes with longer shutter speeds, getting your camera onto a tripod may not be enough. Especially with cheaper tripods, or even expensive travel-sized tripods, the vibrations induced by grabbing the tripod with your hand to press the shutter can be enough to cause an image to be soft. Setting a simple 2-second timer has been standard practice for me for over a decade and I highly suggest implementing this for yourself for most landscape situations.
Tip #3: Trust, But Verify
Technology has come a long way since that first Sony a7, but there are still times when technology will fail and let you down if you trust it too much, especially when you’re dealing with a shallow depth of field at wide-open apertures.
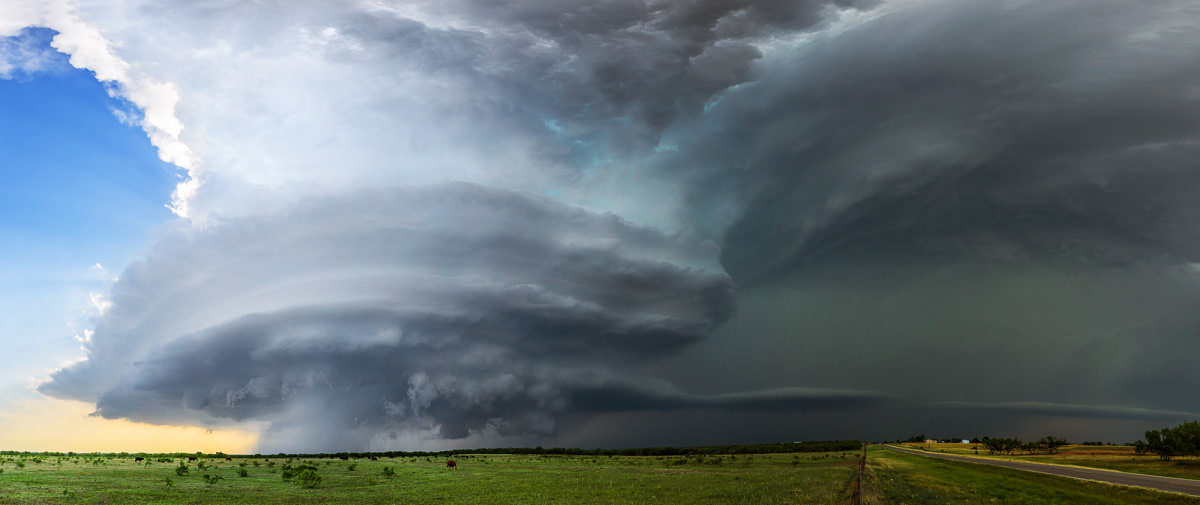
All digital cameras these days will have a feature where you can preview an image, then zoom in to 5x or even 10x to check focus and any other detail within the frame. On mirrorless cameras, you can even look through the viewfinder and do this, which really comes in handy on bright days when previewing images on the back of your camera can be tough.
Tip #4: Finish with Topaz Sharpen AI
Even if you nailed focus perfectly, you’ll want to finish your image off in post to increase the sharpness, contrast, color, and overall tones of your image; especially if you shoot in RAW (like you should). I really admire Topaz Labs because they focus on what they’re best at while letting other companies do what they’re best at. Topaz is hands down the best when it comes to sharpening images and noise reduction, so I take virtually every image I process through either Topaz Sharpen AI or DeNoise AI.
Storm chasing editing tutorial: Recovering missed focus with Sharpen AI
If you read the story above about my lightning image, you might have assumed that the image was a lost cause; destined for the darkest, dustiest corners of my Lightroom catalog, never to be seen again.
Well, so did I. I haven’t looked at that photo since I took it back in 2014! But because Topaz has gotten so good at sharpening images with their AI engine, I figured I’d dust it off and give it a go. If you’d like to see the results, watch the video below and leave a comment to let me know your thoughts!
Keep Learning

Pricing & Plans


