


This tutorial demonstrates how to use frame interpolation to create smooth slow-motion effects in Topaz Video. Learn how to apply different interpolation models, compare results using multiple tabs, and export your final video.
Loading Your Video
Once you have a video loaded in Topaz Video, you can add additional sources by either dragging and dropping files into the interface or using the source window to browse and select videos. For this example, we'll work with a rally car video that we want to slow down.
Understanding the Interface
When you first open the interface, it displays in single view. You can switch between three viewing modes:
- Single view
- Split view
- Side-by-side view
Choose the viewing mode that works best for your workflow. The right column contains presets and modules you can enable for different enhancement types.
Setting Up Frame Interpolation
Navigate to a point in your video where you want to preview the slow-motion effect. Then enable the Frame Interpolation module in the right panel.
The interface displays your original source frame rate—in this example, 30 frames per second. By default, no slow motion is applied, but you can adjust this using the slow motion multiplier.
Choosing Your Slow Motion Speed
For this demonstration, we'll apply 4x slow motion. You have multiple AI model options for frame interpolation in Topaz Video:
Apollo: Designed specifically for slow motion up to 8x. This is the recommended model for most slow-motion work.
Apollo Fast: A lightweight version of the Apollo model that runs faster but may produce artifacts or stuttering frames in challenging footage.
Chronos and Chronos Fast: Additional interpolation options for different use cases.
Aion: A high-quality model capable of up to 16x slow motion. This model requires significantly more memory and processing power, particularly on Mac systems. It processes efficiently on NVIDIA-equipped PCs and can deliver excellent results, though it may require checking system requirements before use.
For our initial test, we'll use Apollo at 4x slow motion.
Additional Settings for Frame Interpolation
Duplicate Frames: This setting detects and removes duplicate frames in your source footage, replacing them with newly interpolated frames. You can toggle this on or off depending on your footage. For this rally car example with lots of dust and particles, we'll initially test with duplicate frames turned off.
Scene Detection: If your video contains multiple shots or camera changes, enable scene detection to prevent interpolation artifacts at cut points. Since this rally car footage is a single continuous shot, scene detection isn't necessary.
Running a Preview
Before processing your entire video, run a preview to evaluate the results. Click the blue Preview button at the bottom of the interface.
You can set your preview duration in several ways:
- Quick presets from 1 to 30 seconds
- Custom duration
- In to Out points (by setting markers on the timeline)
For this test, we'll run a 2-second preview. The preview starts from wherever your playhead is positioned. If you set in and out points, the preview will cover that entire range, and you can enable looping playback to continuously review the results.
During processing, you'll see a dark green line on the timeline. When processing completes, the line turns bright green and you can play back the results.
Adjusting Your View
While reviewing, you can change the zoom level to inspect details:
- Use your mouse scroll wheel to zoom in and out
- Use the zoom dropdown to select fit, 100%, 200%, or 400%
This is helpful when you want to pixel-peep and examine fine details in your interpolated footage.
Comparing Results using Multiple Tabs
The original footage on the left will appear stuttery during comparison because it's playing at the same speed but with fewer frames. The interpolated version on the right plays smoothly because it contains four times as many frames.
If you want to test different settings, you can use multiple tabs to compare results:
- Click the new tab button at the top to create a new tab
- Your previous preview remains cached in the original tab
- Apply your new settings in the second tab
- Run another preview with the adjusted parameters
To view both tabs simultaneously, drag one tab to the left side and the other to the right side. Now you can compare both videos playing back at the same time and evaluate the differences.
For example, you might compare Apollo with duplicate frames off versus Apollo with duplicate frames on. Or you might want to compare Apollo at 4x versus Aion at 10x slow motion to see the quality differences between models.
Comparing Apollo to Aion
When comparing Aion at 10x against Apollo, keep in mind that Aion is a heavier model requiring more memory resources. It processes at approximately 23 frames per second on well-equipped systems.
Aion performs well with challenging footage like dust clouds, though it may show some softening and lose minor details in high-frequency areas. For a true apples-to-apples comparison, set both models to the same slow-motion multiplier (for example, 4x for both).
When zoomed in, you may notice that Aion can produce slight patterns or artifacts when trying to lock onto high-resolution details like text. However, at normal viewing distances, it retains excellent detail in backgrounds, trees, rocks, and other elements.
Frame Preview Feature (Beta)
The Frame Preview feature is available in beta and displays one-frame output updates in real-time. However, this feature doesn't work with frame interpolation because the video is being slowed down. Frame Preview is compatible with:
- Enhancement
- Motion Blur
- SDR to HDR
Frame Preview uses significant system resources so it's not recommended for most workflows. Test it if you're curious, but consider leaving it off for stability.
Exporting Your Video
Once you've selected the settings you want, make sure the correct tab is active—whichever version you want to export.
Click "Export As" to open the export dialog, where you can:
Export Settings
File Name: Rename your output file if desired.
Destination: Choose to save to the original location or browse to select a different folder.
Codec Options: Select from multiple codecs including:
- H.264 or H.265 (most common)
- ProRes
- DNxHR (recently added)
For most exports, H.265 in either MOV or MP4 format is recommended.
Profile Settings: Adjust the profile version depending on your specific needs.
Bitrate: Modify if needed for your workflow.
Audio Handling: If your video contains audio and you're changing the codec or container, it's recommended to set audio to "convert" rather than "copy" to avoid errors or compatibility issues. If there's no audio track, this option will be grayed out.
Starting the Video Export
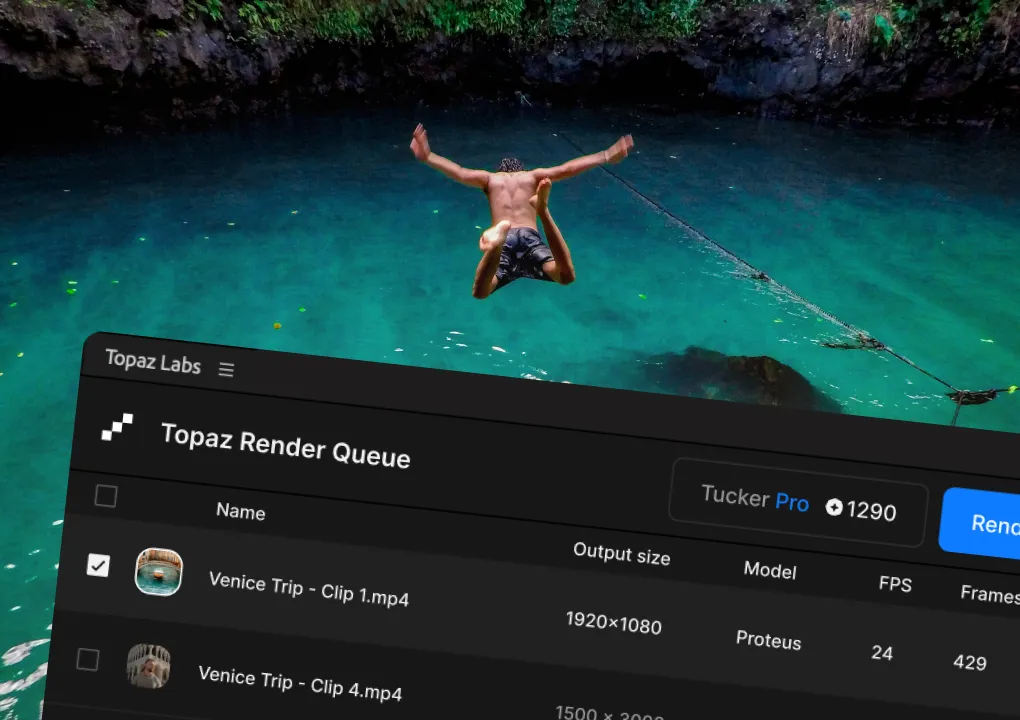
Click "Start Export" to send your video to the export queue. The export tab will open and show your video processing. The model will load and begin rendering.
Export Preview: This option is enabled by default and allows you to click on the exporting video to preview the actual export as it processes.
When your export completes, click "Show in Explorer" to open the folder containing your finished video.
That's the complete workflow for using frame interpolation in Topaz Video—from setting up your slow-motion effect to comparing different models and exporting your final result.