


Article Outline
- Introduction
- The Best Camera Settings for Sunset Photography
- Exposure
- ISO
- Aperture
- Shutter Speed
- Bracketing
- White Balance
- Focus
- JPEG vs RAW
- Exposure Compensation
- How to Take Sunset Pictures: Everything You Need to Know
- Camera Setup and Lenses
- The Best Time for Sunset Photos
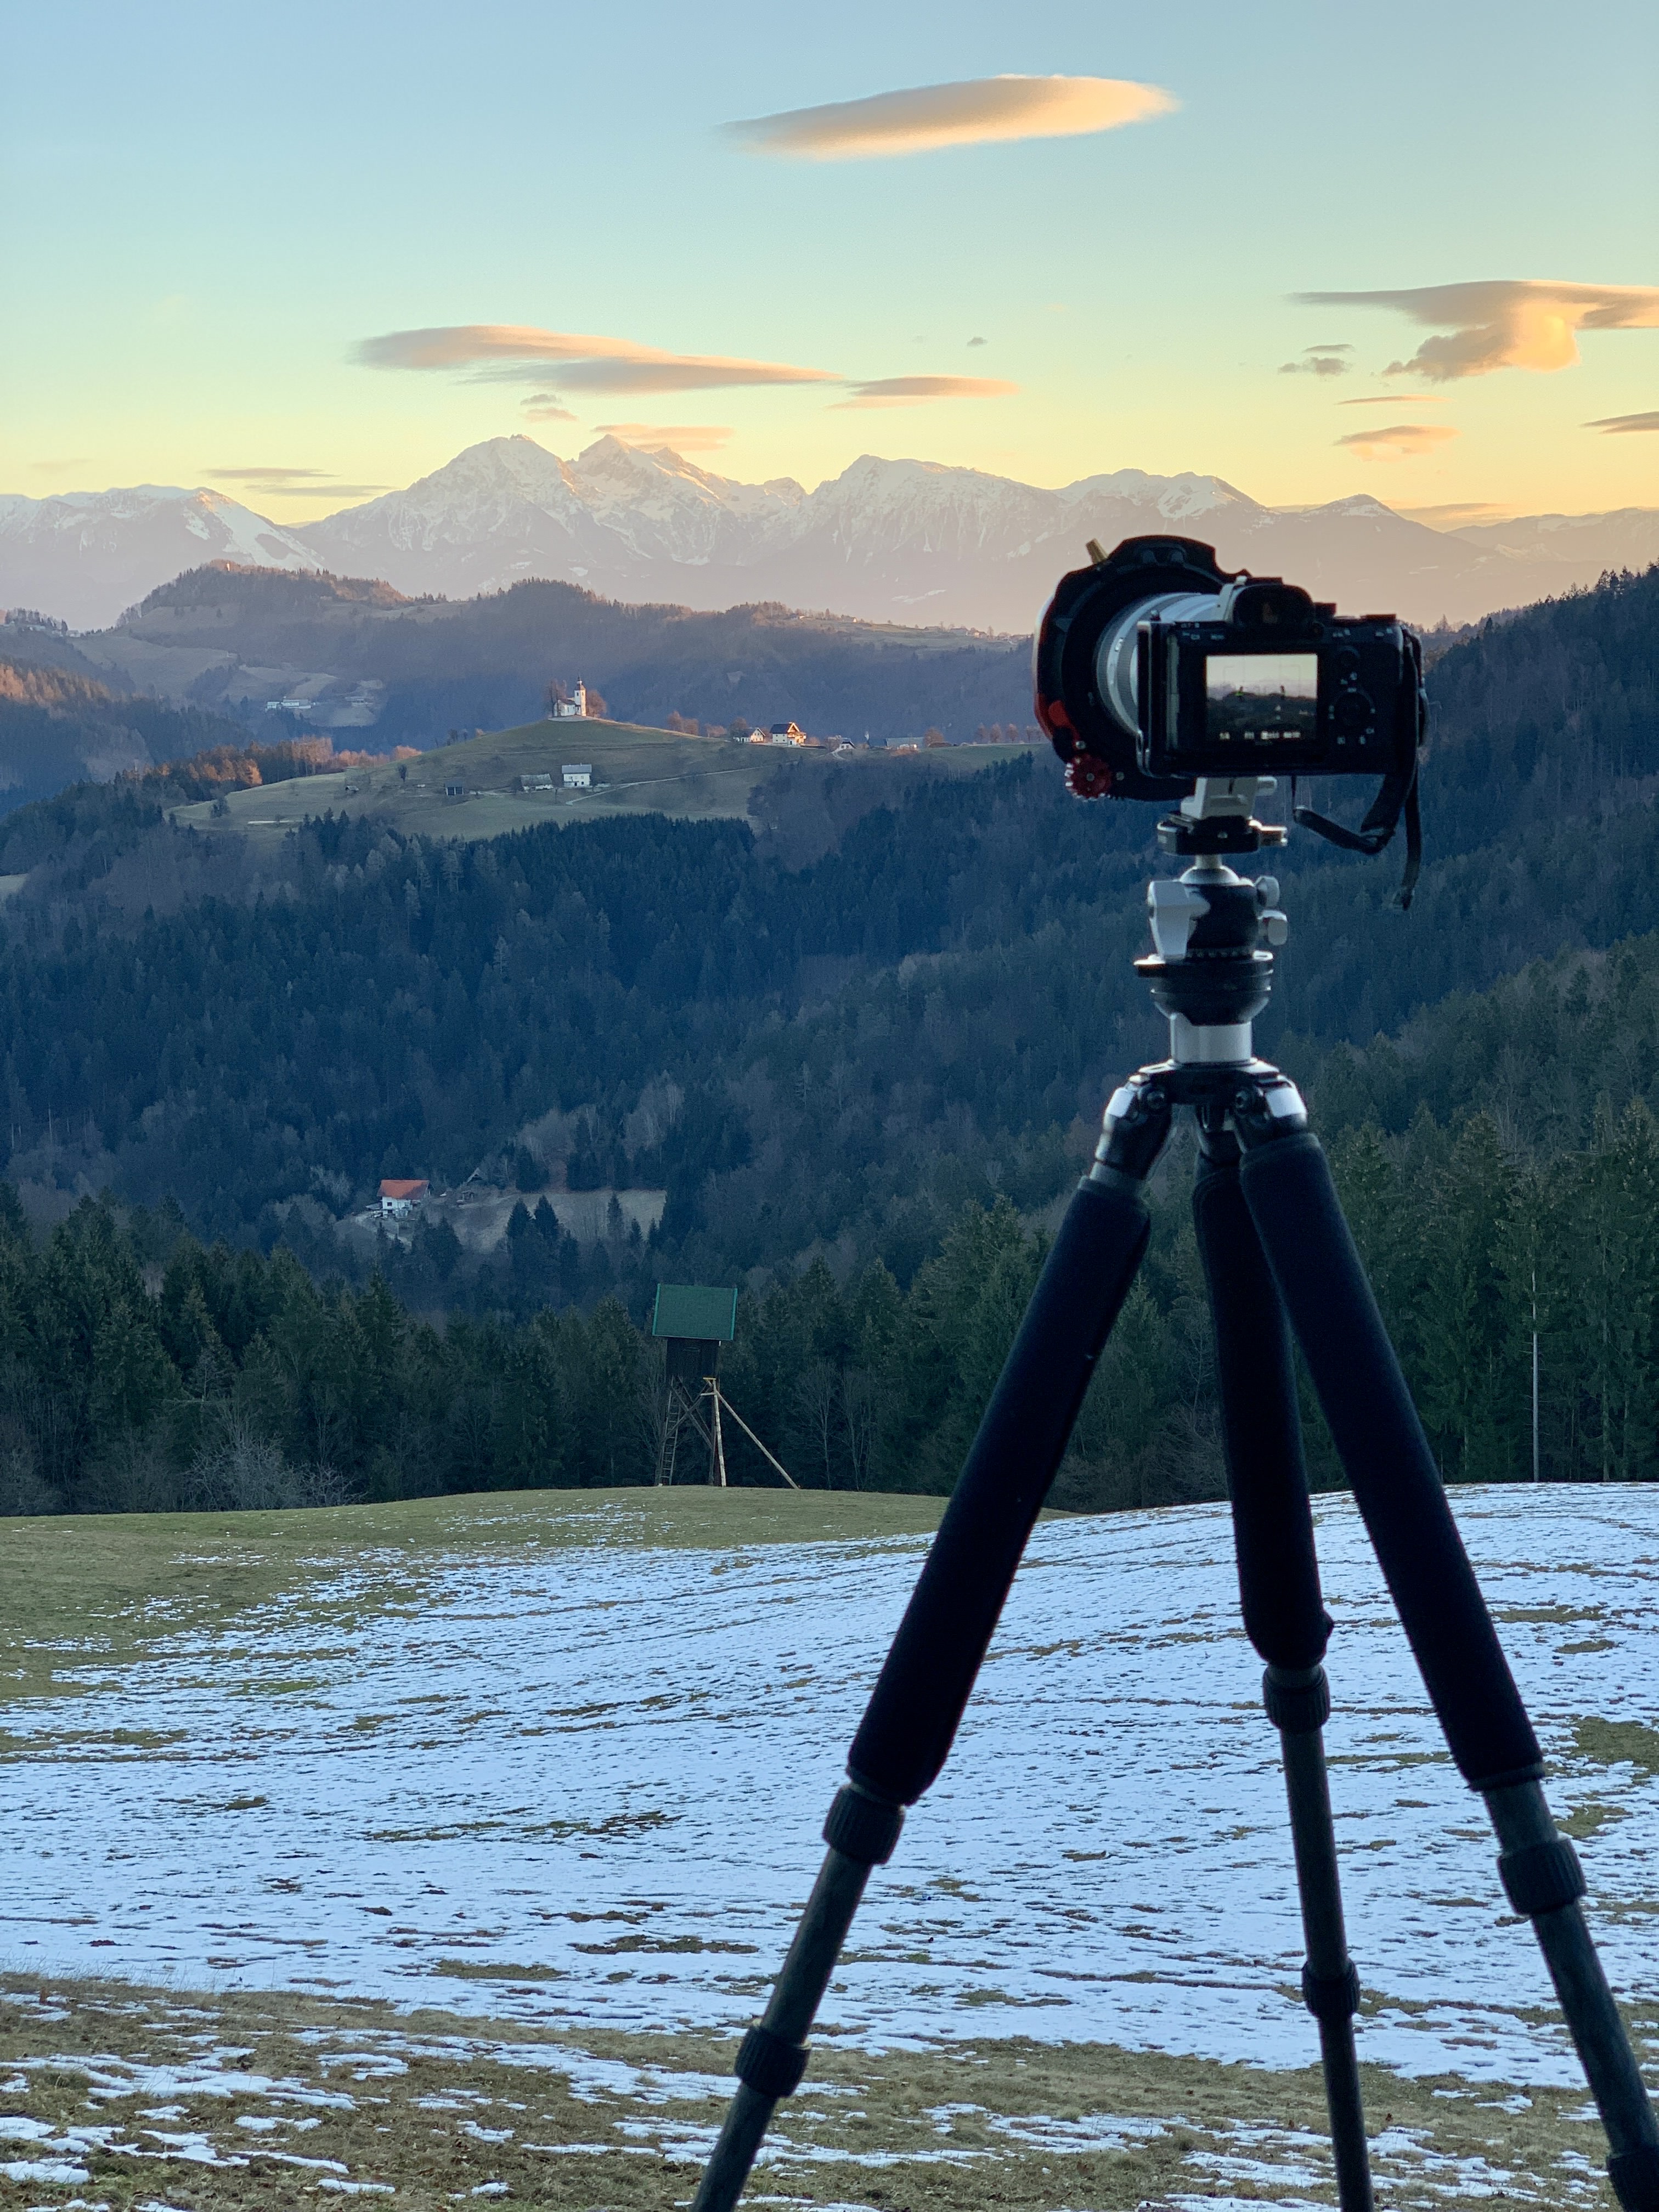
- Using a Tripod
- Getting the Shot
- Editing Sunset Photos
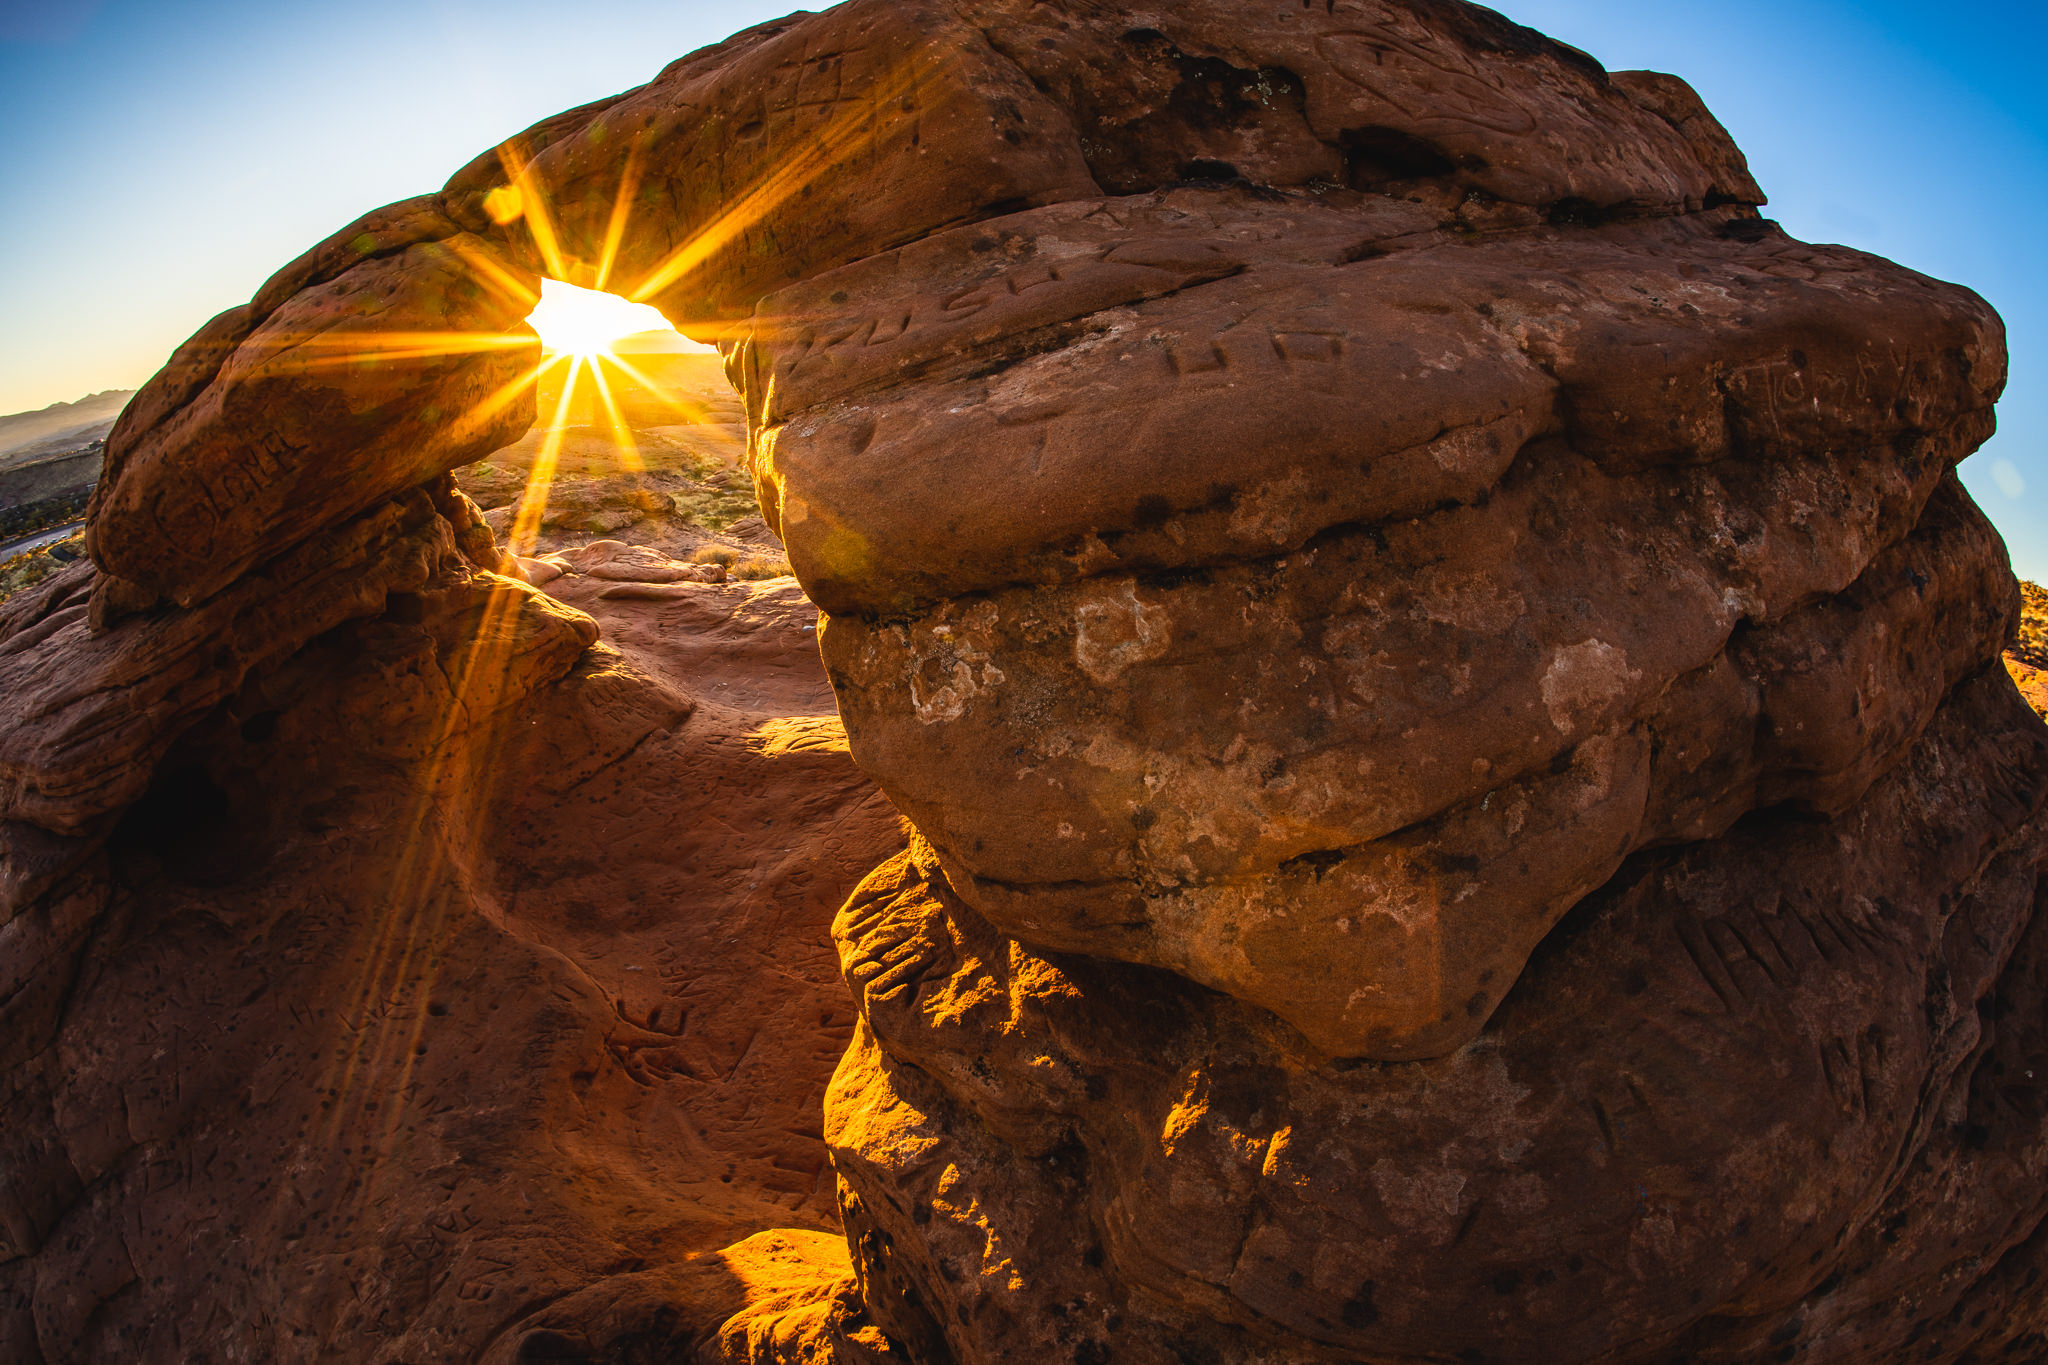
Sunset pictures are one of the most popular types of photographs and for good reason. Each sunset photo carries beauty and a story of its own. No matter how many you have seen before, a good sunset photo will evoke awe and make you want to know how to take sunset pictures. It’s not a surprise that #sunset is among the top 50 hashtags on Instagram.
Despite being popular, sunset pictures are also quite unique in their composition, causing a need for special camera settings. This is because sunset scenes have a large dynamic range, a challenge for both the camera and the photographer. However, with the right camera settings for sunset photography, the photographer can still come up with a beautiful, creative sunset picture.
So, what are the best camera settings for sunset photography? Well, that’s like asking what the length of a string is. There is no one-size-fits-all answer. It all depends on what we have before us.
The best camera settings for sunset photography get you the best picture under the conditions you’re shooting in, and with the lens and camera combination you’re using at the time. Each of these variables and the camera settings for sunset photography are bound to change from time to time.
However, there are some standard sunset photography settings you want to follow every time you set your camera to take a sunset photograph. Let’s take a look at them.
It is vital to keep the exposure triangle in mind when trying to capture the perfect sunset image. Your ISO, shutter speed, and aperture settings should balance each other out to prevent overexposed and under-exposed photos. For example, when using a small aperture, you may need to raise your ISO for more light sensitivity or increase exposure by extending your shutter speeds.
Sometimes, however, the creative expression takes precedence over technical perfection in sunset photography. You may want to use underexposure for added drama or overexposure for a gentler look and feel. Or you may want to create an effect like seamless waves or smooth clouds by having a long exposure.
You can get your camera to help you get the proper exposure by switching it to Aperture Priority Mode. In this mode, when you manually set the aperture, the camera automatically changes the shutter speed to maintain correct exposure.
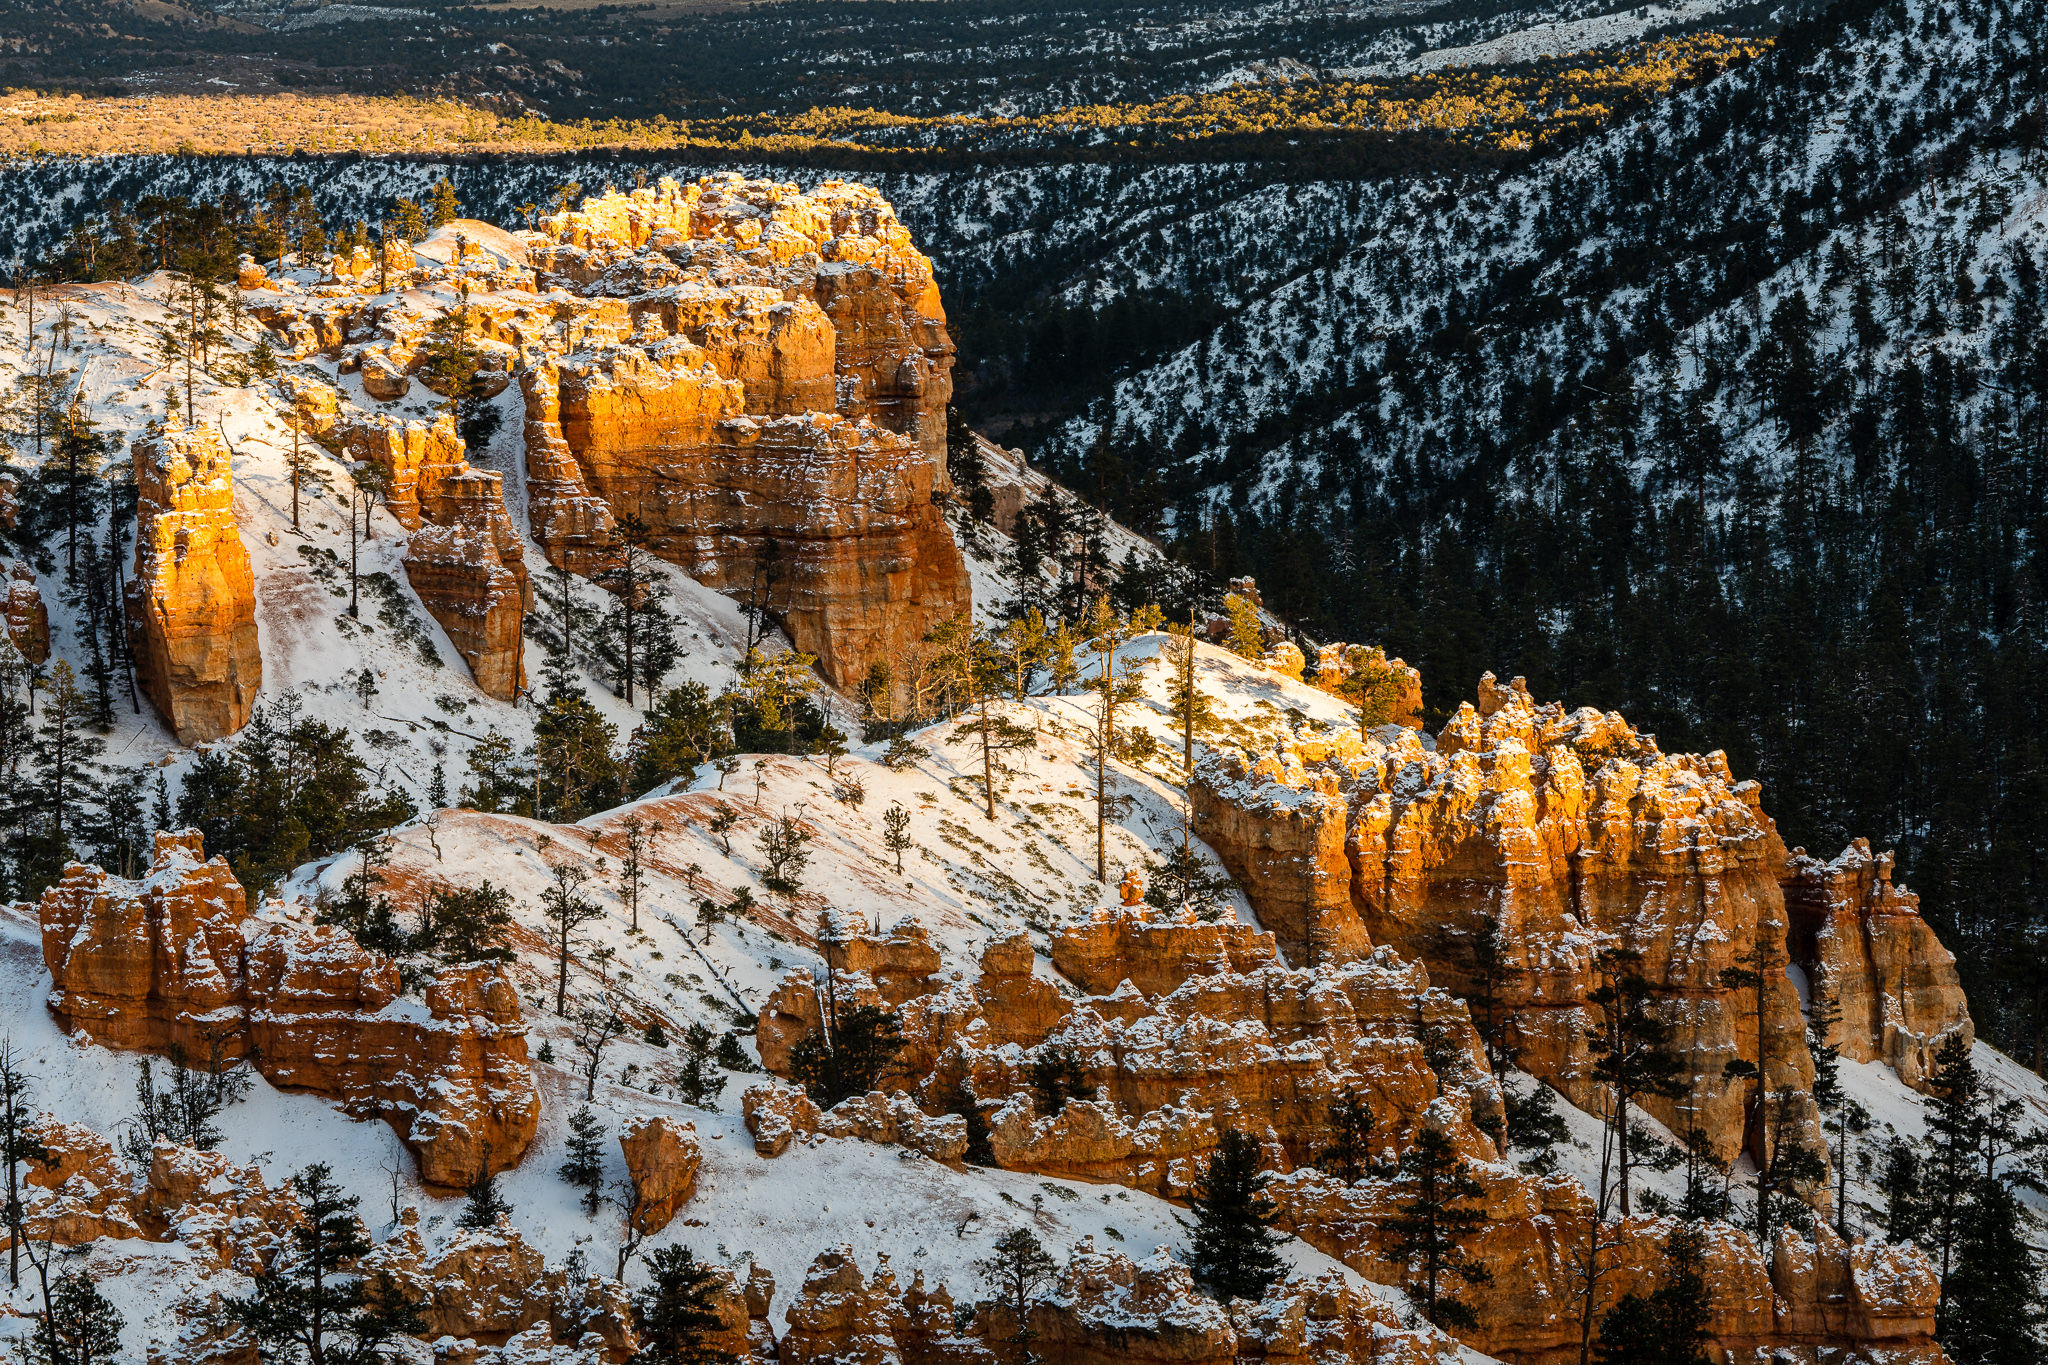
During sunset photography, you should set the ISO as low as possible. A low ISO is ideal for landscape photography, sunset photography especially because it prevents over-exposed photos. Another benefit of low ISO value is that it prevents graininess or noise in your pictures.
As the sun sinks into the horizon and the amount of light in your composition decreases, you can increase the ISO to compensate for the light reduction.
Increasing ISO may also be appropriate when the composition of your sunset picture is poorly lit due to a cloudy sky. Alternatively, instead of raising ISO, you can set your camera on a tripod and set a slow shutter speed to allow more light into the sensor.
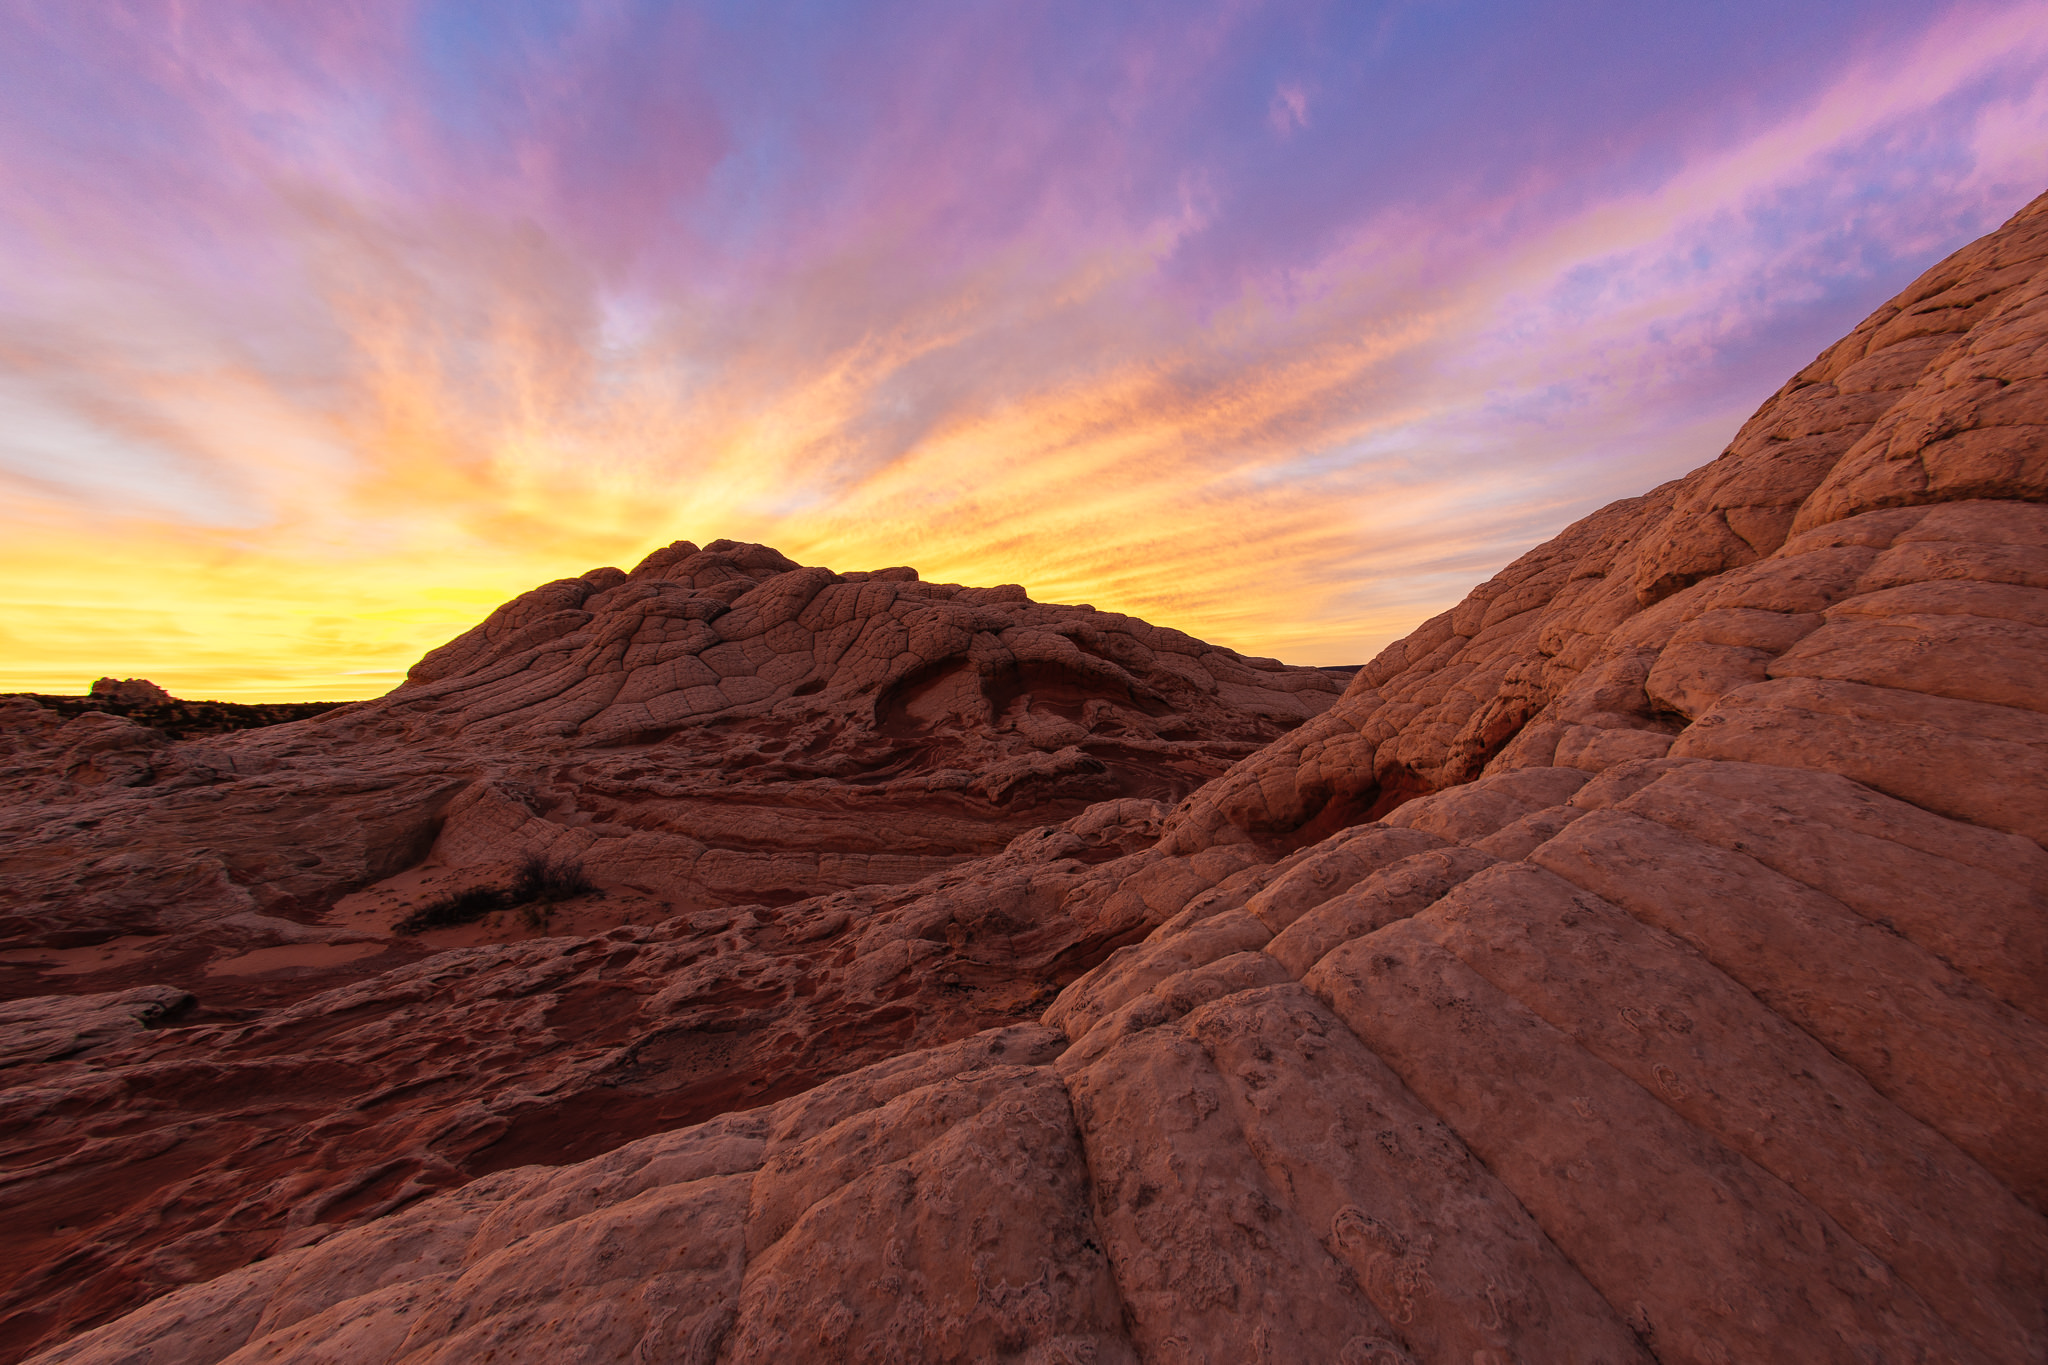
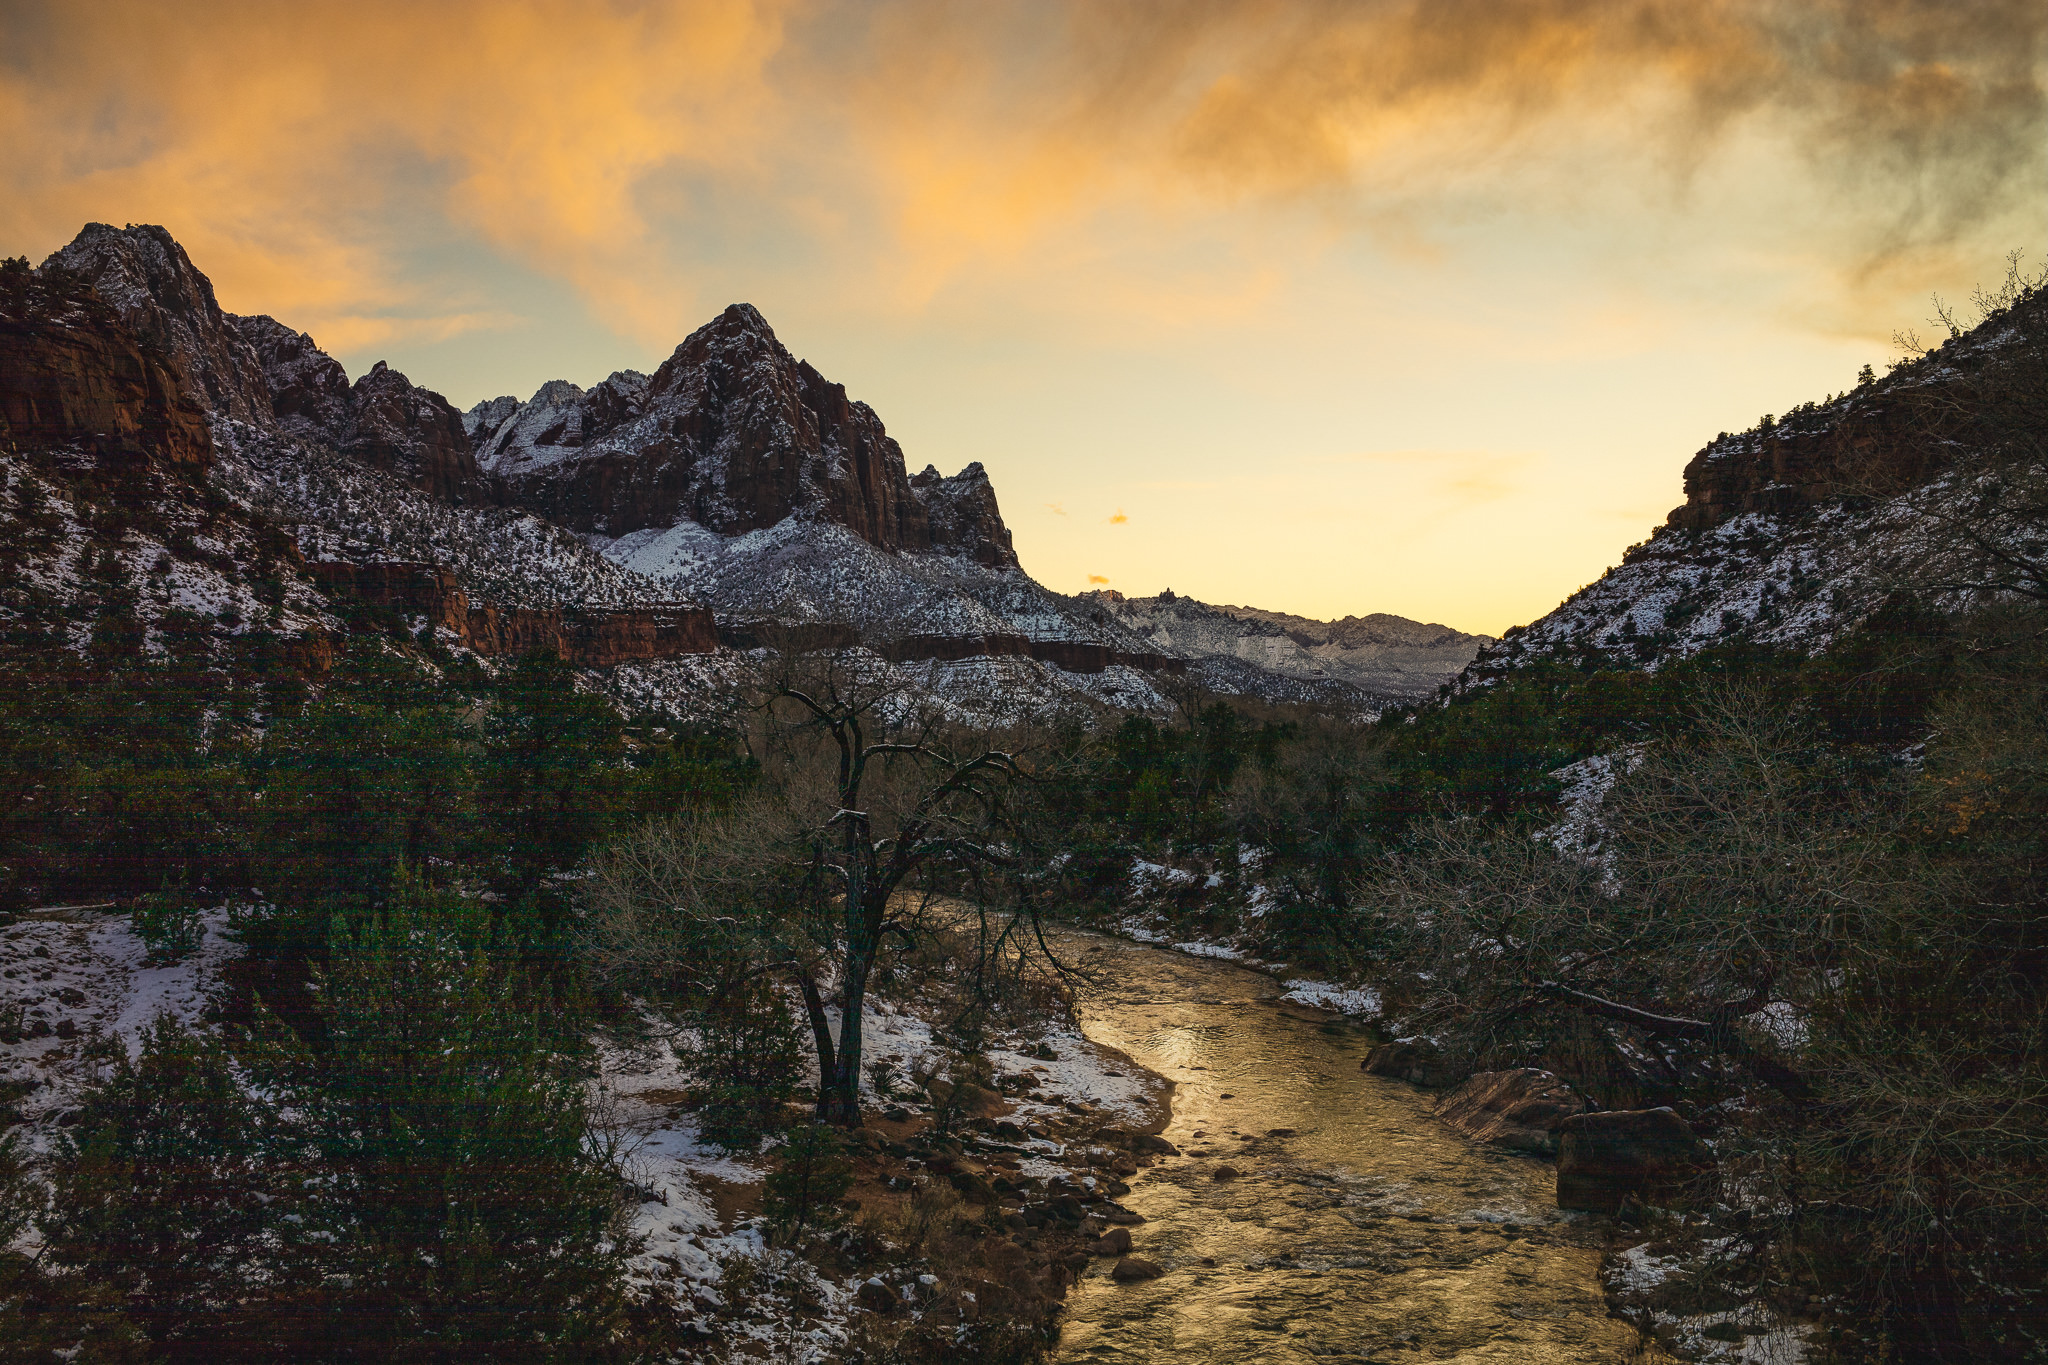
The aperture value you choose determines essential aspects of your sunset photography, including exposure, depth of field, and image sharpness. A large aperture reduces the depth of field, making the horizon background softer. On the other hand, a smaller aperture brings sharp focus to far and near objects.
Generally, for sunset photography, your camera’s aperture should be somewhere in the middle range, i.e., between f/8 and f/16. This range gives you the best depth of field, meaning everything from the background to the foreground will be in focus. At aperture values above f/16, diffraction will likely start to occur, making your images less sharp. However, the lens you use will determine the severity of the diffraction, so you may still be able to shoot at higher f values.
Now, this range doesn’t apply to all circumstances — sometimes, you may want to vary the aperture size to different levels to convey different moods or emphasize the subject. However, it applies to landscape photos taken at any time, from sunrise to sunset, because they all require a good depth of field.
The shutter speed you set will determine the sharpness as well as the exposure of your photograph. Given how bright the sun is, it is best to go for a quick shutter speed that minimizes exposure time to prevent blown-out sunset pictures.
If you have Aperture Priority Mode turned on, the camera automatically sets the shutter speed to match the aperture. Otherwise, you’ll have to set it manually. Whichever the case, you need to monitor the shutter speed to ensure it isn’t too slow or quick. If it is too slow, the image might be blurry due to either motion of objects in the composition or the movement of the camera if it is handheld. If the shutter speed is too quick, the image may be darker due to less light reaching the sensor.
Remember that according to the exposure triangle, adjusting the shutter speed will also compel you to change the value of ISO, the aperture, or both. Since the aperture is what is giving you the desired depth of field, it is best not to change it. Instead, adjust the ISO upwards if you’re increasing shutter speed and downwards if you’re lowering the shutter speed.
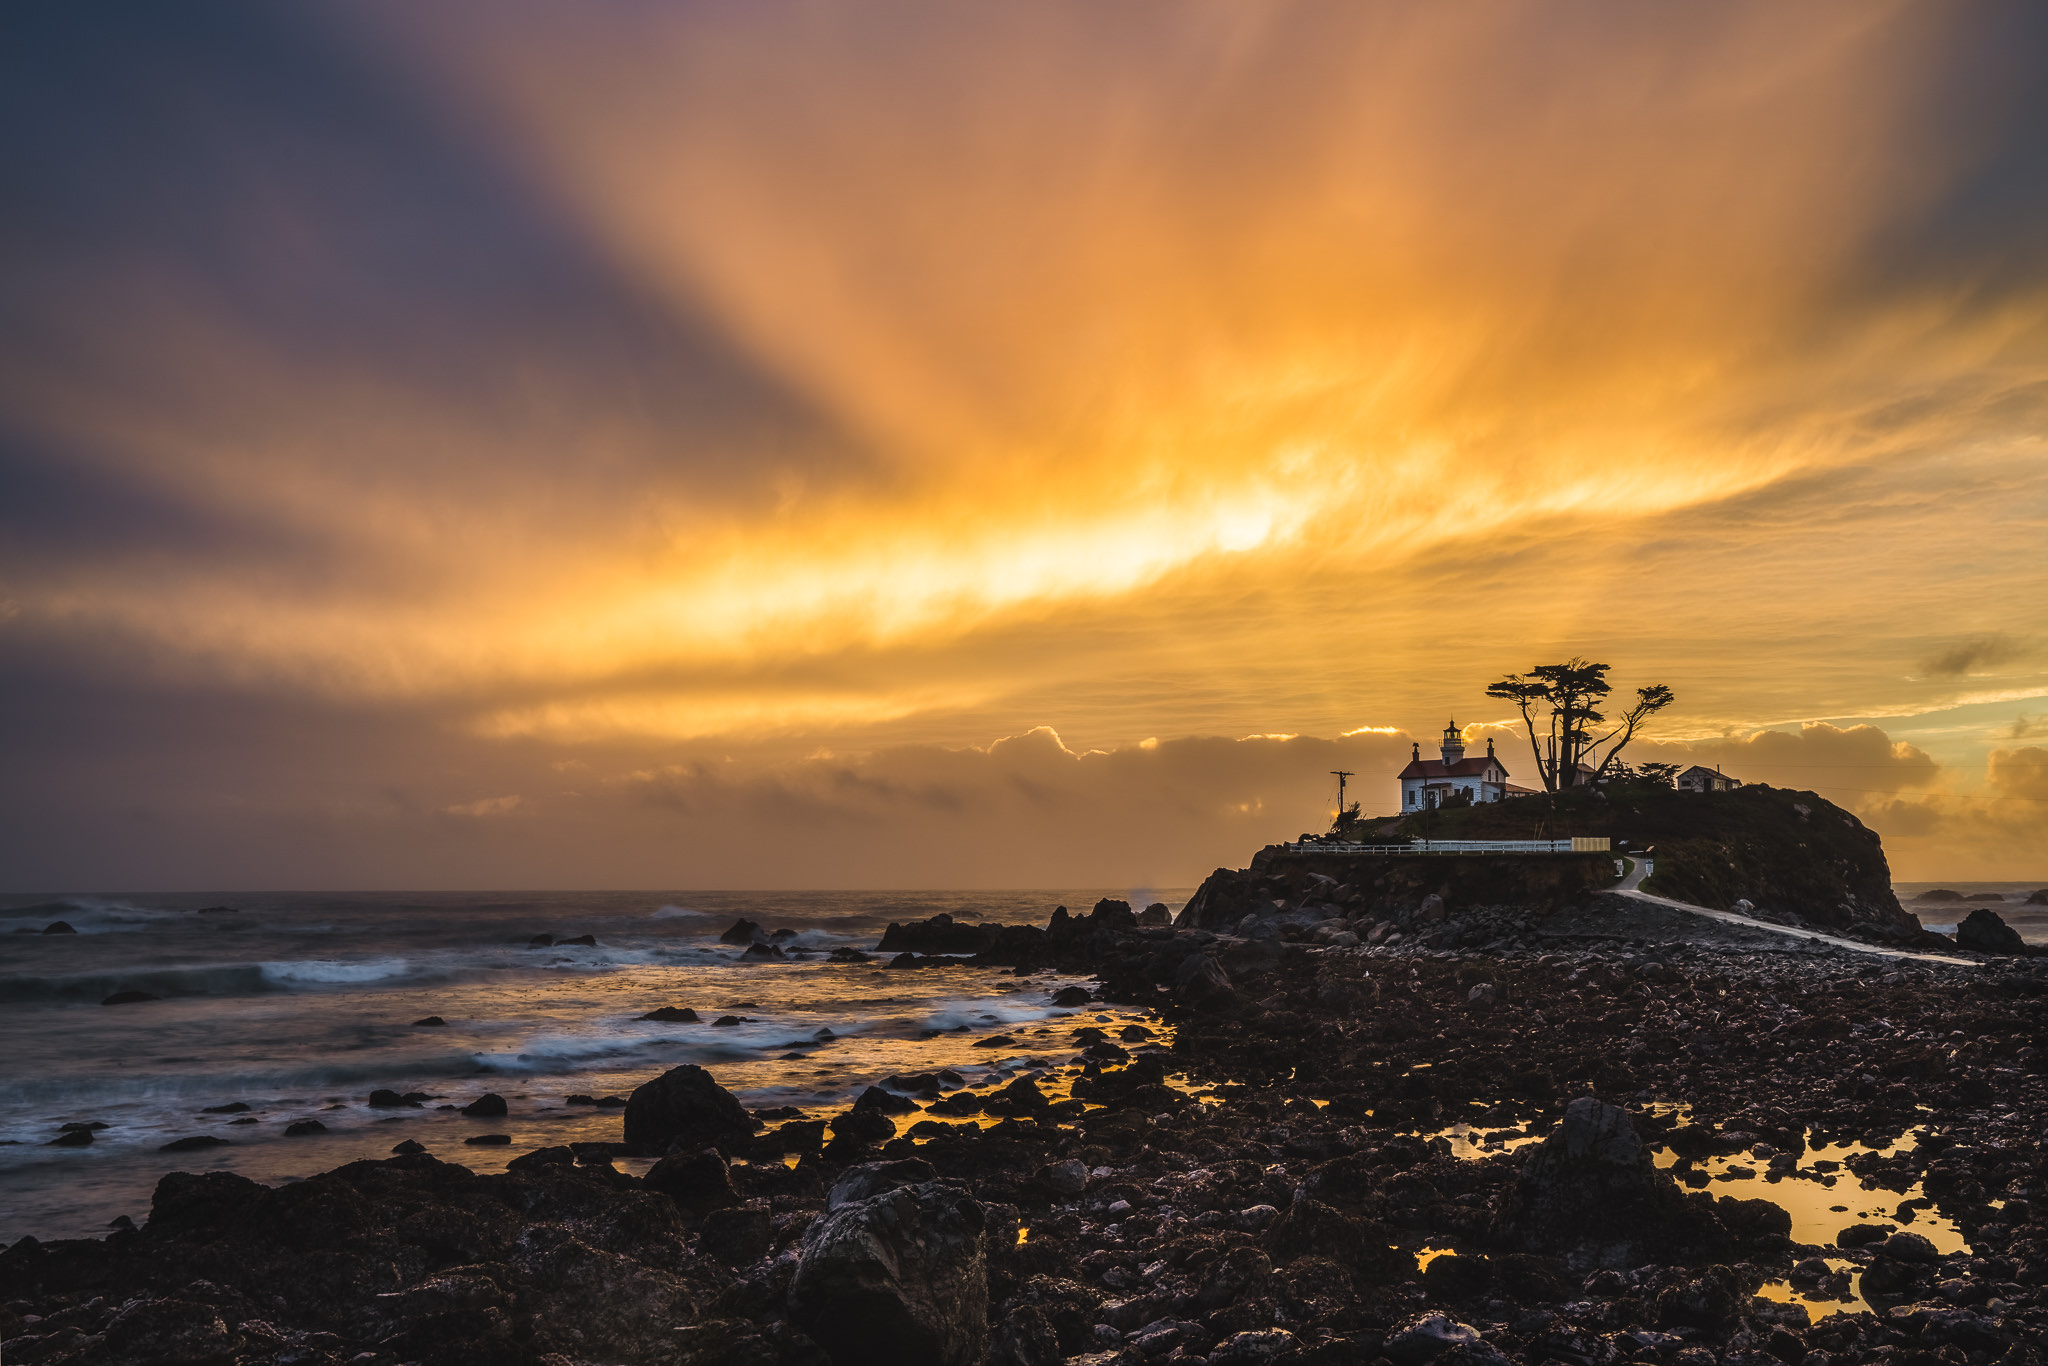
Sunsets are photographic scenes that have a very high dynamic range. This means that the difference in tone between the brightest and darkest parts of the scene is very large. This wide range in shades sometimes makes it difficult for cameras to capture everything as is at once. In such a situation, you can use the bracketing technique where you take several pictures of the same scene at different exposures. This can be done by manually adjusting exposure settings after each capture or using the automatic bracketing feature available in most modern cameras.

In automatic bracketing, the camera typically takes three images: one underexposed, another at the correct exposure, and the last overexposed. Some cameras take more pictures, but three is generally sufficient.
Once the images have been captured, they can be combined into one complete image using tone-mapping.
Achieving a correct White balance will allow you to have a sunset photograph that looks as close as possible to the real thing. Alternatively, you can use a white balance setting that brings out desired tones and hues, giving you more yellow, purple, pinkish, or red sunset pictures. You can use presets like auto, daylight, cloudy, or even shade settings to bring out different tones in the image. For beginners, auto white balance is ideal. However, the auto white balance sometimes doesn't give the bright warm colors we expect in a sunset shot. In such a situation, choose a white balance setting like cloudy.
Alternatively, you can manually adjust white balance using the Kelvin (K) temperature setting. Here are the steps to set white balance settings for sunset photography using the K temperature:
Navigate to the White Balance menu and look for Kelvin (K) temperature. Note that the scale of Kelvin temperature is from 1000K to 10000K. To adjust white balance well, always start at the neutral value of 5000K. From this point, you can increase the K value for warmer tones or decrease it for cooler tones.
Once you set your desired K temperature value, you must fine-tune the white balance. This is done by adjusting the White Balance Shift. You will find the White Balance Shift under the White Balance K Temperature in most cameras.
When you are happy with the white balance, click the shutter to see the result.
Cameras may struggle to focus during sunset photography due to the extreme lighting conditions and because sunset subjects don’t have a specific focal point. If you find your pictures are coming out blurry, switch to manual mode for better focal control and precision.
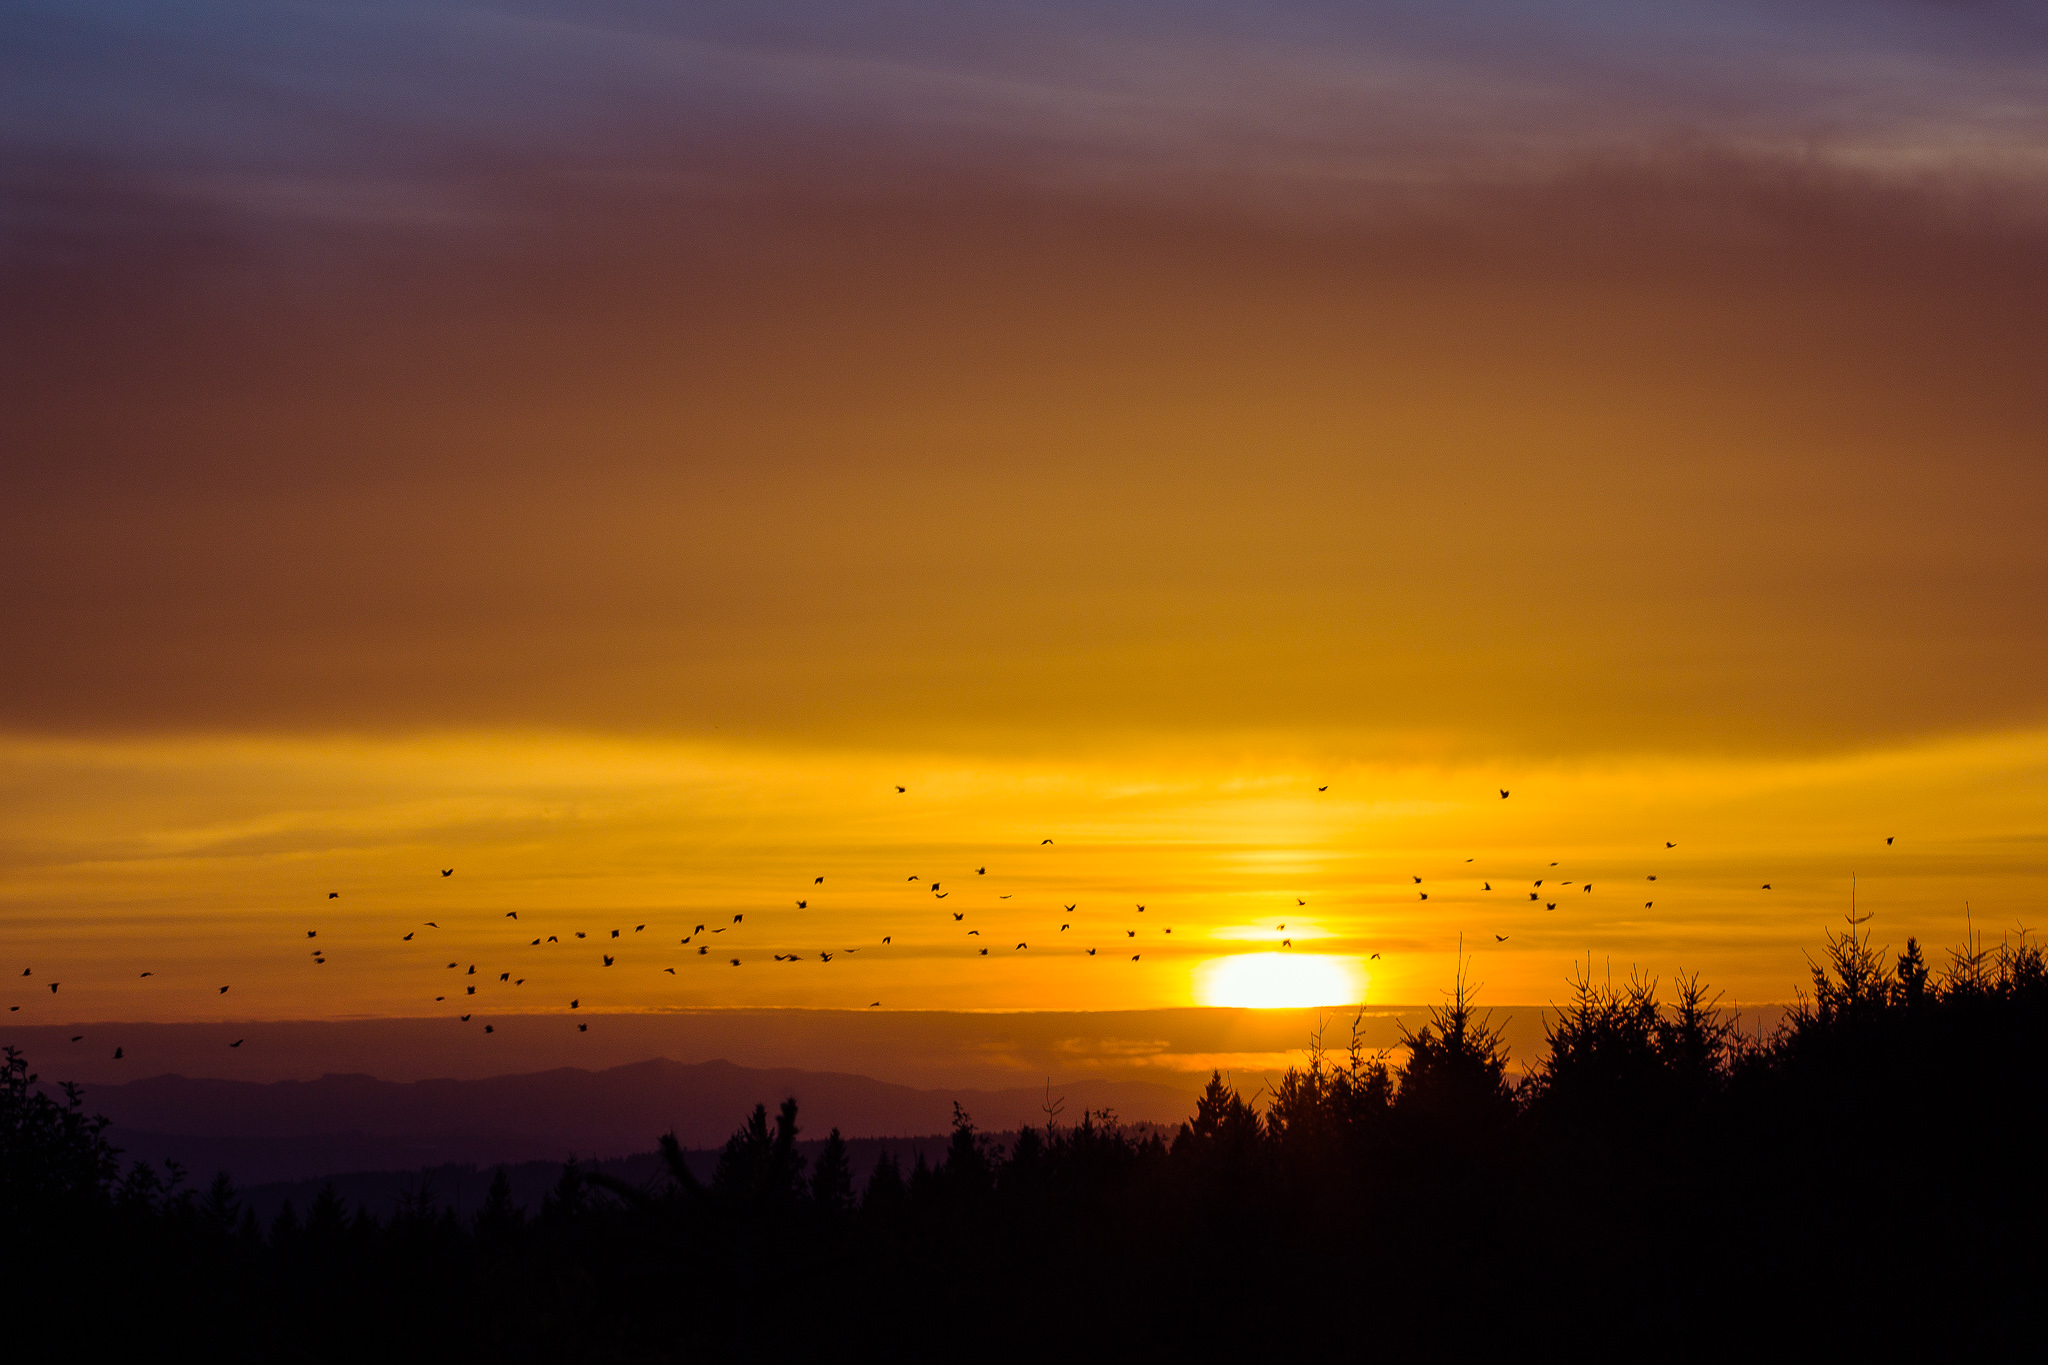
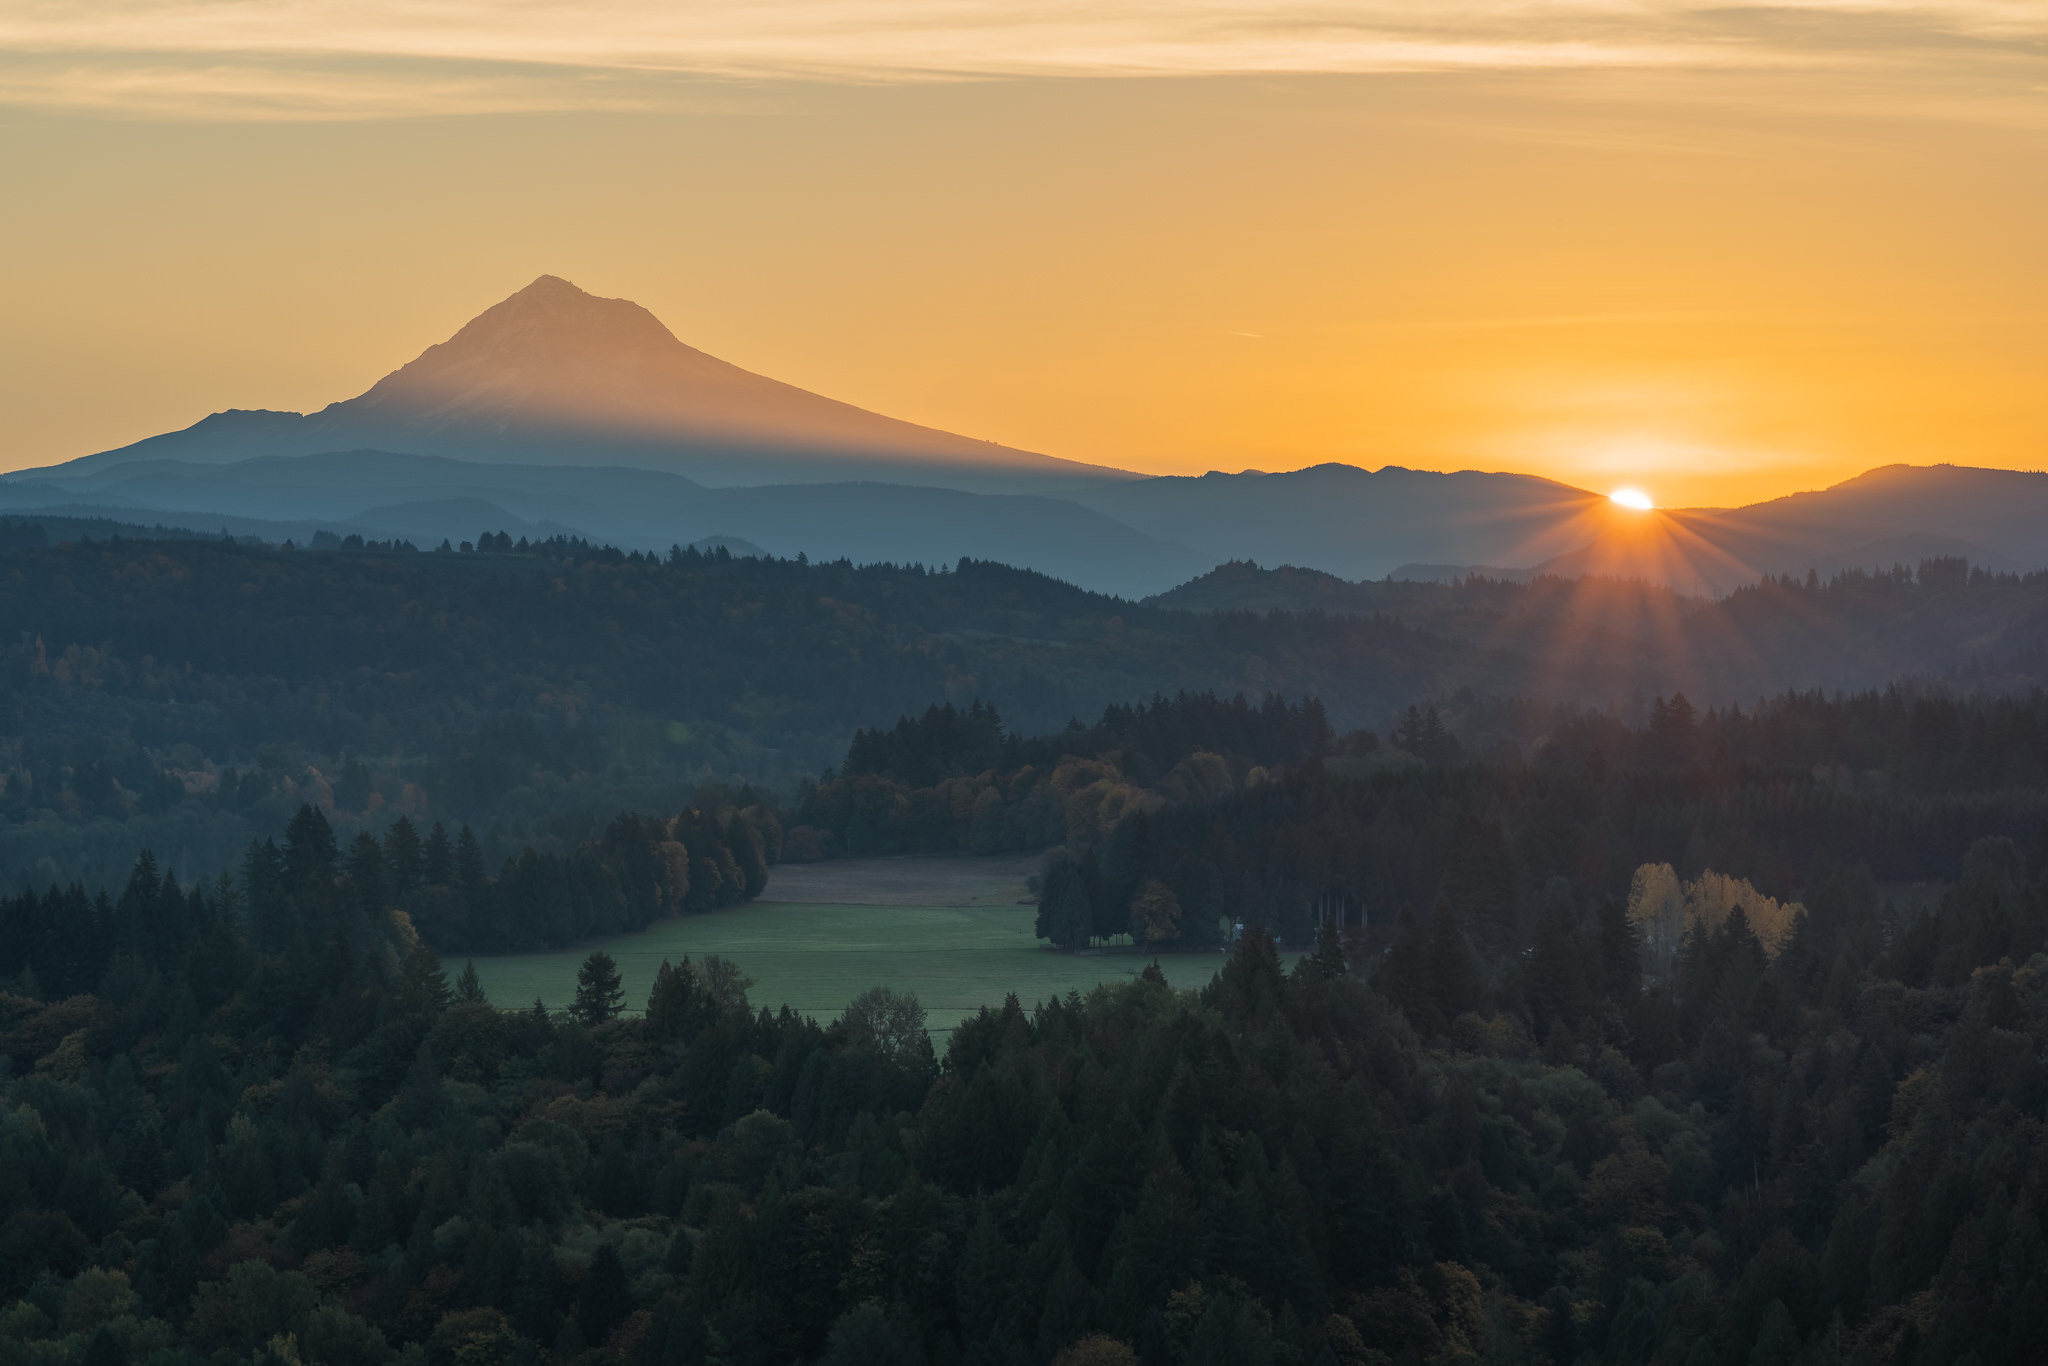
When you’re ready to capture those captivating landscape sunset pictures, you can choose a focal length range of 14 mm to roughly 24 mm. This range is a good starting point for composing your image and getting everything you want in the picture.
You can opt for a wide-angle focal length between 24mm and 35mm for a more dramatic effect. The sun will be relatively small in the image, but you’ll capture the beauty of the landscape and any clouds in the area. In addition, your camera doesn’t have to compensate for a wide dynamic range because the sun is a very small part of the image.
There are instances where shooting sunsets as JPEG is appropriate, such as when you don’t intend to edit the image afterward. However, in most cases, landscape photography, particularly sunset photography, achieves better results with some post-processing applied.
Shooting in RAW image format is helpful for editing because it preserves all the image data and therefore allows more capabilities during editing. This is very important, especially in high dynamic range scenes like sunsets. For JPEG, you have to nail exposure while taking the photo. With RAW images, you can easily pull up shadows or bring down highlights after the fact.
After capturing a few images, you should assess them using the camera’s LCD screen. If the exposure level is unsatisfactory, you can adjust it upwards or downwards using the exposure compensation setting. Depending on your camera, you may have a dedicated exposure compensation dial, or you may need to adjust exposure by pressing a button while turning one of the command dials.
Note: Exposure compensation is only available when you are shooting in Aperture Priority Mode. It won’t work when you are in Manual mode. For manual mode, you must change the exposure by independently adjusting the values of the exposure triangle components: ISO, Aperture, and Shutter Speed.
Having a vision for your dream sunset shot is critical. You can leave some room for spur-of-the-moment creativity, but even that needs some planning. Let’s take a look at some tips that will help you learn how to photograph sunsets effectively.
Despite their slight differences, all modern cameras will work well in shooting sunsets. Ideally, you want a camera that has manual functions, i.e., one that allows you to adjust the settings to your preference. Usually, these are found on the bridge, DSLR, and mirrorless cameras. Most people will have the kit lens that originally came with their camera drug purchase. The kit lens usually has a focal length range between 18mm and 55mm. You want to stick to the lower end of this range for that wide sunset shot for sunset photography.
For an even wider shot, you should consider investing in a wide-angle lens with a focal length down to about 10, 14, or 15mm. The lower the focal length, the wider the view. Another gear essential for sunset photography is a neutral density (ND) filter, which helps reduce the intensity of the light entering the camera, thereby preventing overexposure.
In sunset photography, it is usually the top part of the image that becomes overexposed. For this reason, sunset photographers require a particular ND filter, called the graduated neutral density filter. This type of ND filter differs from the normal one in that it is dark on one end and gradually becomes lighter towards the other end, hence the name ‘graduated’. It blocks more light in the top part of the subject than the lower part.
There isn’t a universal best time for sunset photography because the time the sun sets depends on various factors such as the time of year and your geographical location. You can observe the sun for two to three days to gauge the best time to take your shot. Planning is key. Even if you have an idea of the sunset time, use apps like Photopills to see where the sun will be at the time of your planned shoot. Make sure your camera bag is packed with all your gear, like fully charged batteries and memory cards.
Finally, ensure you arrive at the site early, 45 minutes to 1 hour before sunset. This gives you enough time to set up calmly. If anything is missing, you will have enough time to save the situation.
For short exposure shots where the shutter speed is low, the camera can be held in hand since the risk of blurring is low. However, for long-exposure sunset shots, the camera must be completely still since even slight hand movements can lead to a blurry picture.

Make sure you invest in a sturdy, high-quality tripod. Also, if your base is loose due to circumstances like sand during beach sunset photography, make sure you dig it in to ensure it is stable.
Before you set out on your photography adventure, try and get a general idea of the shot you’re trying to achieve. Get inspiration from magazines, portfolios of your favorite photographers, or Instagram pages. With a target image in mind, you can better plan the location and timing of your shoot.
Once you are on the ground, with the camera ready to go, you need to pay attention to the composition of your photo. The sunset may be picturesque in real life, but how you compose your photo will determine if the magic is reflected in the resulting image. Use composition techniques such as the rule of thirds, contrast, and leading lines to create impactful images.
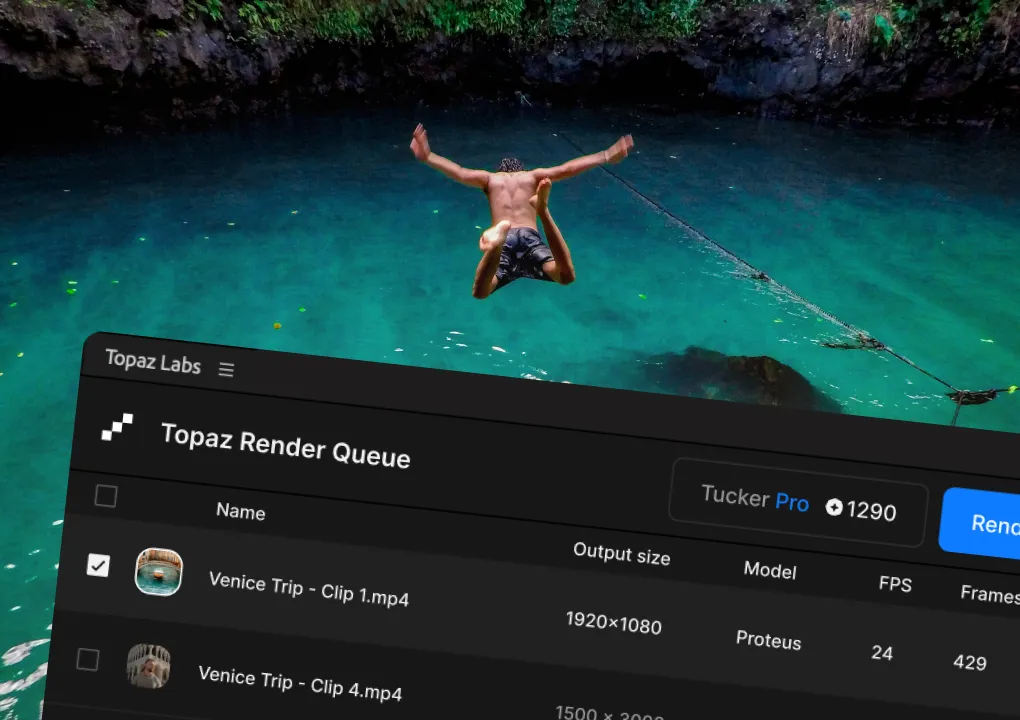
After all the hard work, you have the perfect sunset photo. All that’s left is a bit of post-processing to make it truly shine. You can open your image using basic editing software and change the vibrance, exposure, color profile, and color grading. Changing these properties can have a dramatic effect on the final image.
Traditional editing software can really enhance your images. However, with the emergence of AI technologies, you can improve your image with less time and effort. For example, our Topaz Labs AI software can help you eliminate noise from your images, sharpen them, and upscale them by up to 600%.
And now that you know the best tips and settings for sunset photography, it’s time to put them to use with the right photo enhancer. Go out and capture your perfect sunset shot, then edit it to perfection with the latest desktop AI image-editing software. Or, try it right in your browser for free.