


Article outline
- Introduction
- Tip #1: Always check the weather and do a thorough risk assessment
- Tip #2: If there’s a chance of getting wet, plan accordingly
- Tip #3: Bring a solid tripod
- Tip #4: Be ready to experiment and have fun
- Conclusion
As soon as I saw the wave out of the corner of my eye, I knew we were in danger. We had left the tree line moments before, and we were completely exposed. As the 20-25 ft wave came over the 15 ft ledge, all we could do was brace for impact and pray…
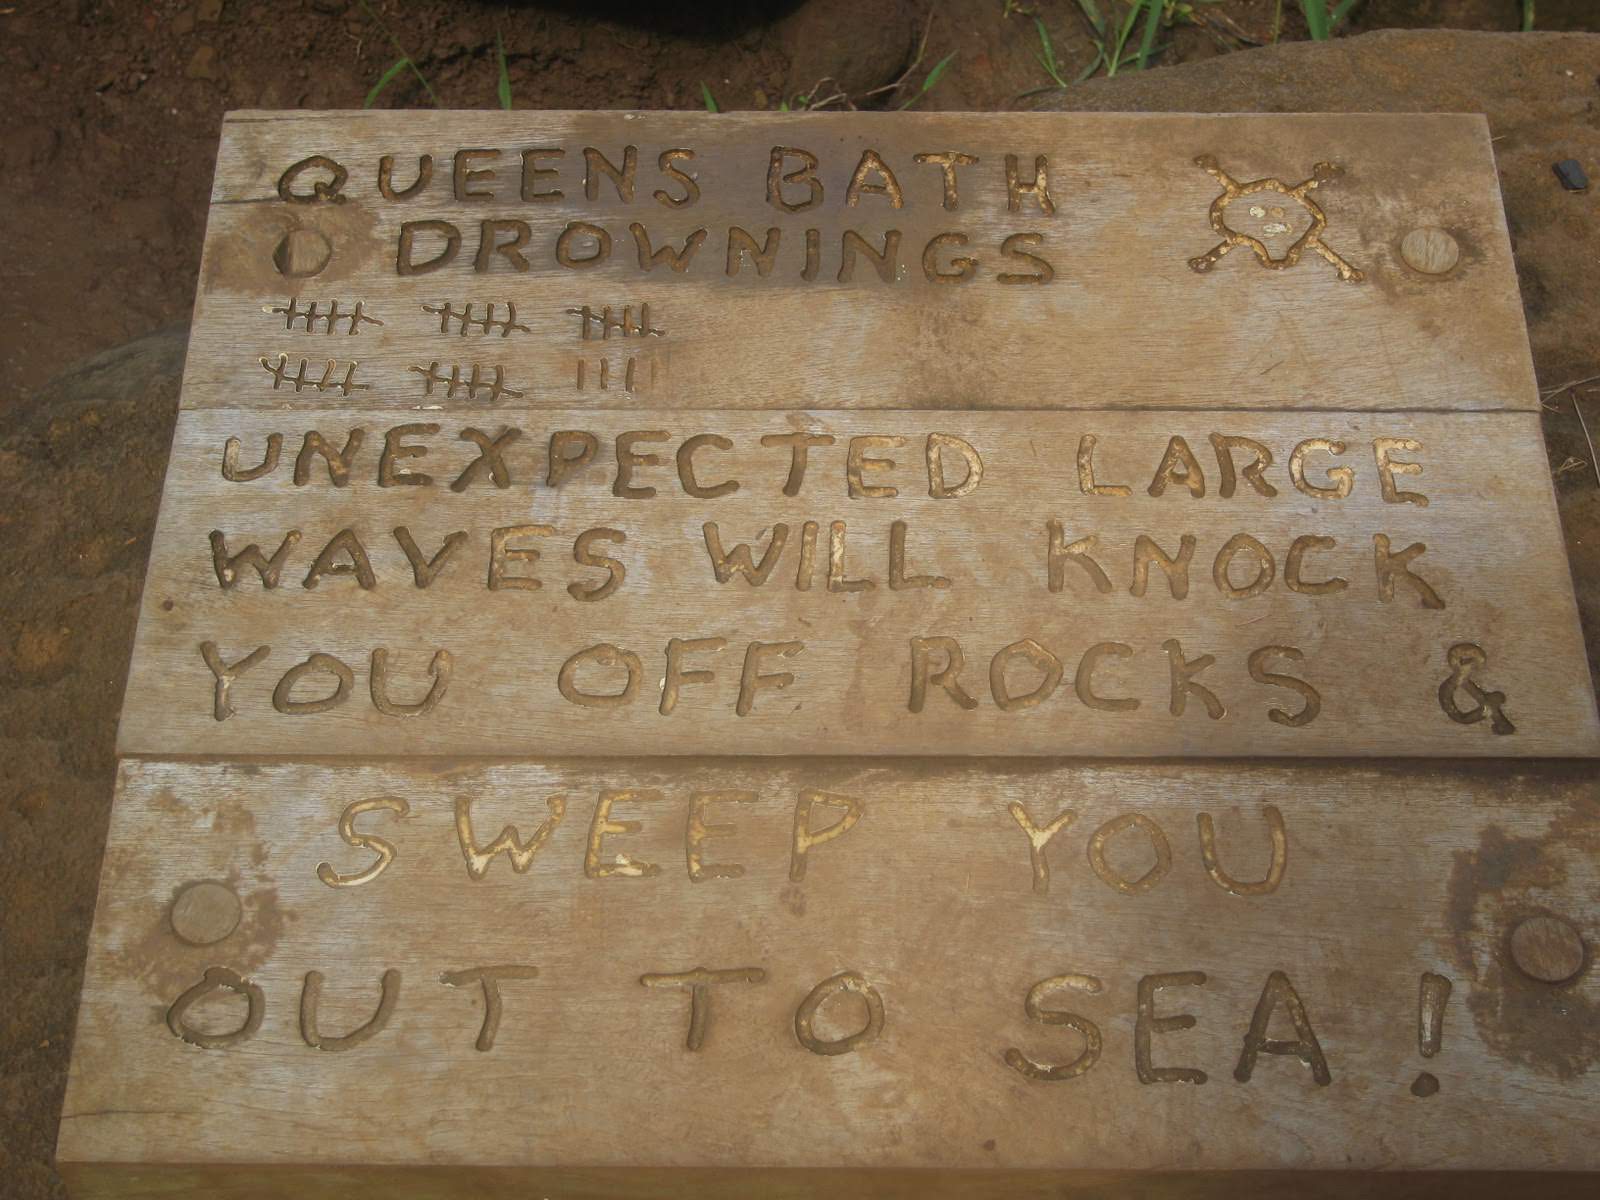
The north shore of Kauai can be treacherous any time of year, but especially between October and May. As you walk down the path toward Queen's Bath in Princeville (a natural tide pool carved into the lava rocks), you'll see a sign on the ground with tally marks carved into it. Those tally marks indicate the current number of deaths at that location; at that time, it was approaching thirty. Is the body count real, or is it just a way to scare a certain percentage of tourists away? Who knows, but I always pause at the sign and take 5-10 minutes to observe the waves before stepping onto the rocks, even after checking the surf reports.
That day was different. I knew I shouldn’t have gone out onto the rocks. I was with my wife and a local friend who assured us it was safe, but the ocean was angry that evening. I’ve heard from other locals not to go out if the waves are over five feet. That day they had to be around fifteen on average. To be as cautious as possible, we stuck as close to the tree line, but at a certain point, you must leave the tree line to get to Queen’s Bath. As we approached the bath, I looked toward the ocean and saw one of the largest swells I’ve ever seen. I didn’t have time to react, though, because just as soon as I saw the swell, it crested into a wave. The waves up to that point were as high or shorter than the ledge, and although they were violently crashing against the ledge and overflowing onto the rocks, we were far enough away to still stay dry. This one came right over the ledge, and seconds later, it was on top of us.
My wife was in front of me, and as the wave hit, the thought of losing her consumed me. The wave hit right at my chest, and there was no chance of escaping it. I reached for her, but she was too far away, and for the next few seconds (which seemed like an eternity), I was being thrown to the ground and dragged across the lava rocks. As the wave receded, I saw my wife and, miraculously, she was fine. We were both drenched, and my camera gear was as well, but we were ok. The local we were with was up ahead and somehow avoided the wave altogether. He asked us if we were ok, and we said yes. He laughed and waved us over, but we decided to head back to the car and call it a night.
That was my 5th trip to Queen’s Bath, and while I didn’t take a single picture that night, I learned some important lessons which are just as valuable. I’ve spent a lot of time photographing waves, waterfalls, rivers, storms, and all the other types of water in-between. So in this article, I want to share a few of the less talked about, but most important, ones.
If there is any potential danger, you should take the time to check the conditions before you go. I’ve seen many photographers get into bad situations for underestimating mother nature. For a beach with potentially dangerous waves, it’s simply not enough to observe the wave with your own eyes for a few minutes before heading out. You need the full picture: When is high tide? When is low tide? What time will you be near the water in relation to that schedule? What time of year is it? Are you at higher risk than usual or lower risk? Are locals willing to go out during the time you’re there? These are all questions you can, and should, ask yourself before going to any location with waves.
The best place I’ve found to get the most accurate weather information—whether I’m chasing waves in Hawaii or storms on the plains of Texas—is the National Weather Service. Here you can view current surf conditions for just about anywhere in the United States. To get information for locations around the world, just do a Google search for surf conditions at your location.
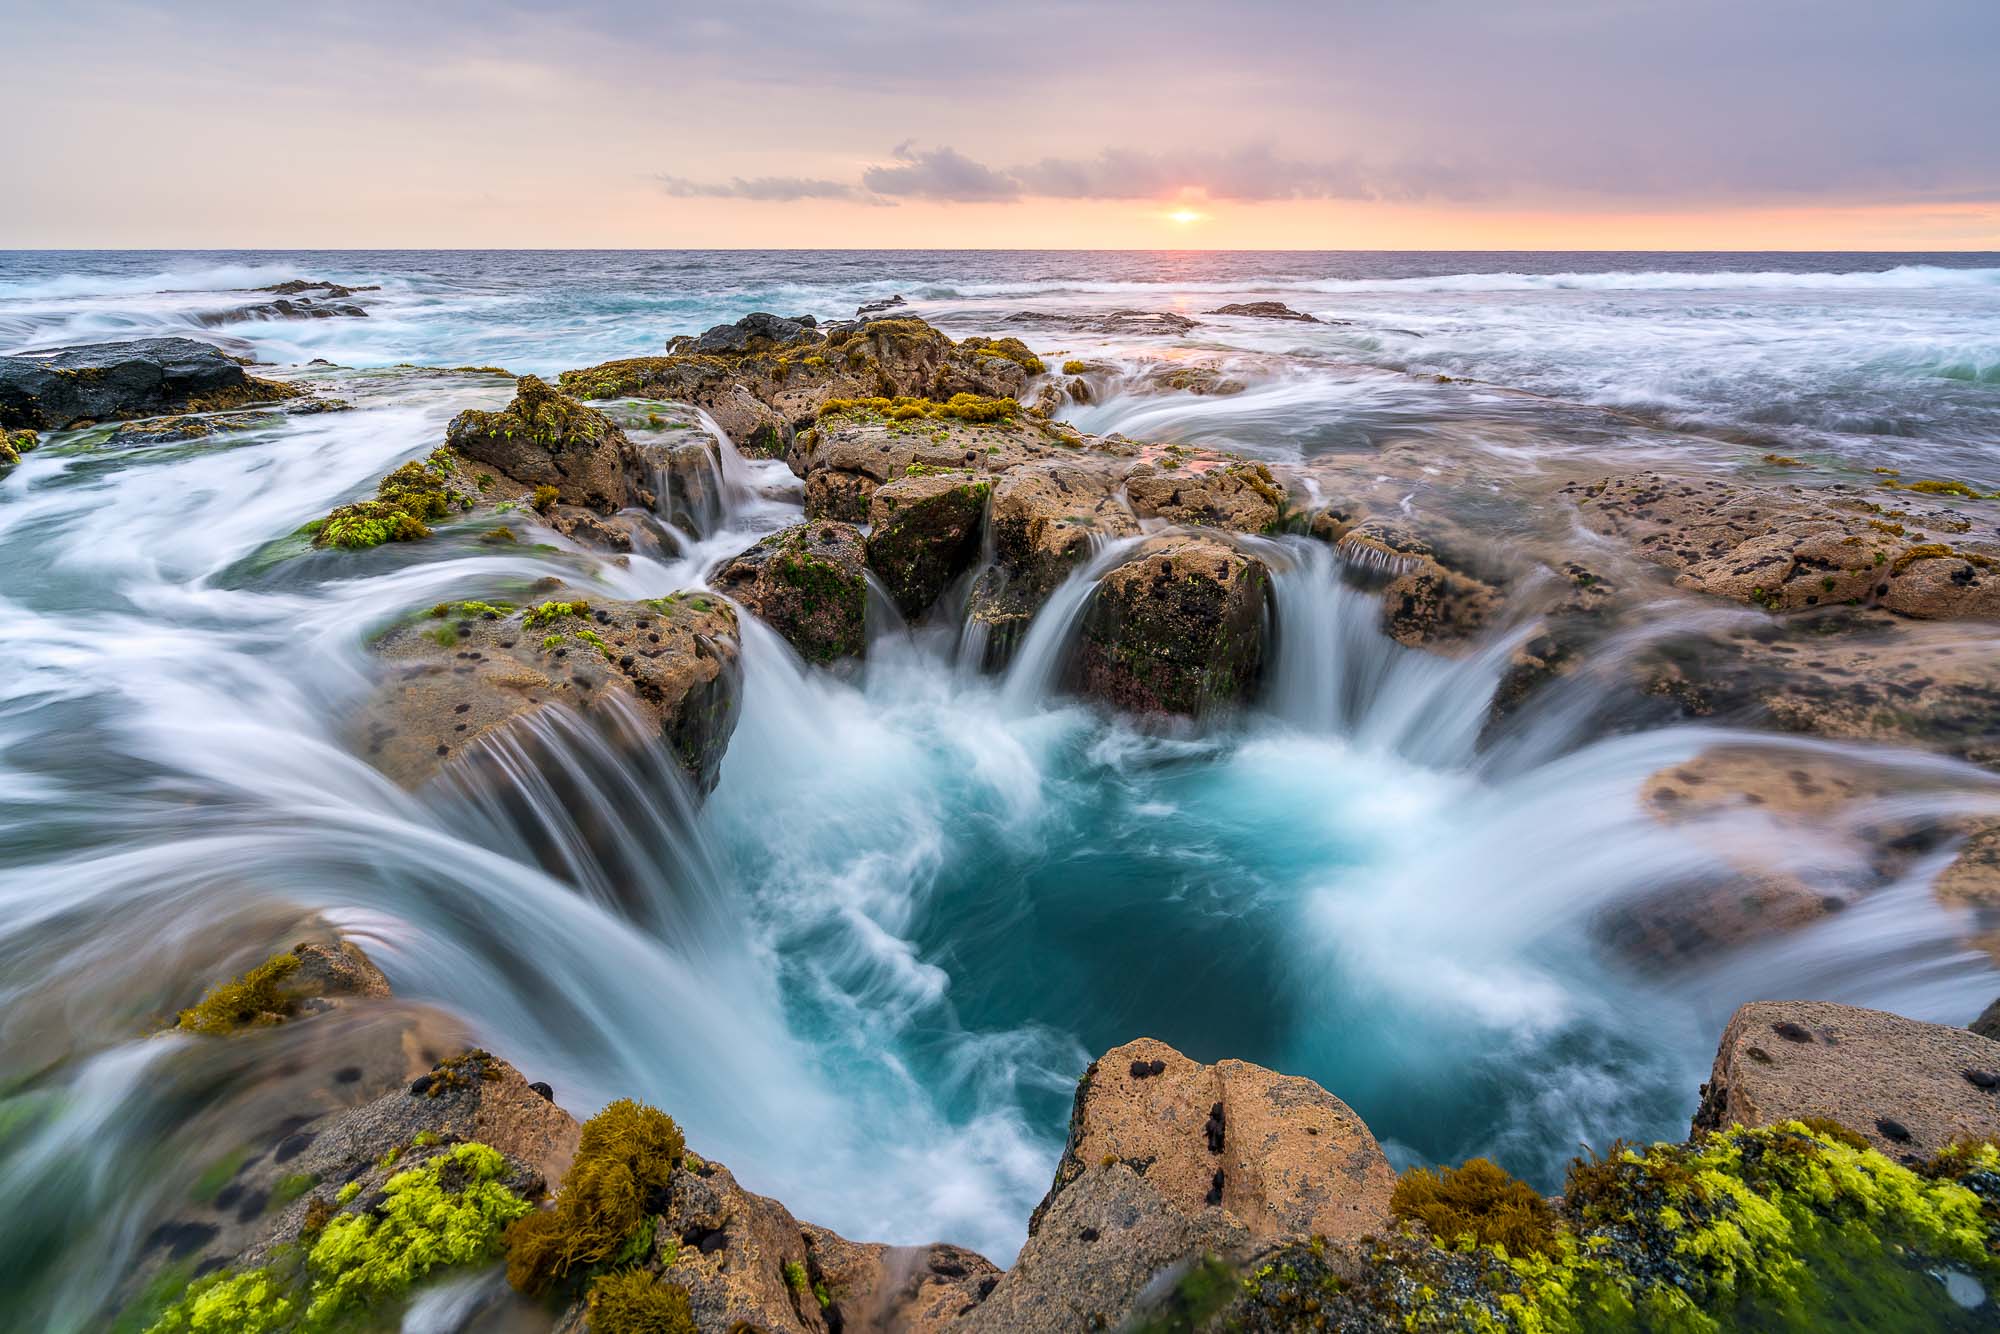
Cameras generally don’t like water, and they especially don’t like salt water. I remember years ago taking my new Sony a7 on a separate trip to the Big Island of Hawaii. There’s a little-known spot near Kailua-Kona where a lava tube goes straight down and then out toward the water. As waves come in, the lava tube fills and overflows with water. If timed just right, you can get some incredible shots of the water draining back down into the lava tube. The problem is, the waves are always different, and in a very similar fashion to the story above, a much larger wave than usual came in and soaked me along with my brand new “water resistant” Sony a7.
I had watched videos of other photographers pouring bottles of water over this same camera, and it was totally fine. So, at first, I wasn’t all that concerned. But after a few minutes, the dials on the camera stopped working, and the camera started changing settings sporadically without any input from me. By the end of the night, the camera was nearly useless. I would try to shoot on manual mode, and the shutter speed would increase on its own. Then I’d fix the shutter, and the ISO would change. I had to photograph the rest of the trip with my a7s, which was a bummer because the resolution was so small, and I had only planned on using it for astrophotography.
There are many ways to protect your gear from the elements. If you have a decent camera and you’re not dealing with salt water, a simple plastic bag or even a spare jacket can be all you need to keep the camera dry. But if you’re near the ocean, just know that even the best cameras will be susceptible to salt water. It’s better to be safe than sorry, so I always carry a camera cover for my specific camera just in case. These are generally very easy to pack in your backpack and pull out if things start getting sketchy.
I cannot stress enough the importance of having a good tripod. It’s the one piece of gear that causes the most frustration in the field for students when they bring a cheap one.
A cheap tripod cannot be trusted to do the one thing a tripod is supposed to do: Keep your camera still. A cheap tripod will not stand up to strong winds or waves. I’ve seen $100 flimsy tripods tip over into the water with a $3000 camera on top. I’ve also seen $2000 tripods stay still in gale force winds.
The gold standard for tripods will always be Really Right Stuff, in my opinion. They’re on the expensive side, but I’ve only bought one, and it was one of the best pieces of gear I’ve ever purchased. I’ve had it on (and IN) frozen lakes in Canada, submerged in rivers, dug into beaches around the world, beneath supercell thunderstorms on the Texas plains, hanging over molten lava, and in just about every extreme situation you can imagine. It hasn’t let me down yet.
One of my favorite things to do around waterfalls and waves is just experiment. I’ve come to realize that there is no such thing as a magic shutter speed or a magic list of settings for water. One of the most common questions I get from workshop students has always been, “What should my shutter speed be for waves?” The truth is that there are simply too many variables to answer without more information.
What kind of look are you going for? Do you want to freeze the wave, add a little motion blur to the wave, or make the waves disappear altogether? How fast is the water moving? How much ambient light is there? These questions and more will determine your settings, so it’s better just get as close as you can, based on the information you have, and then start experimenting.
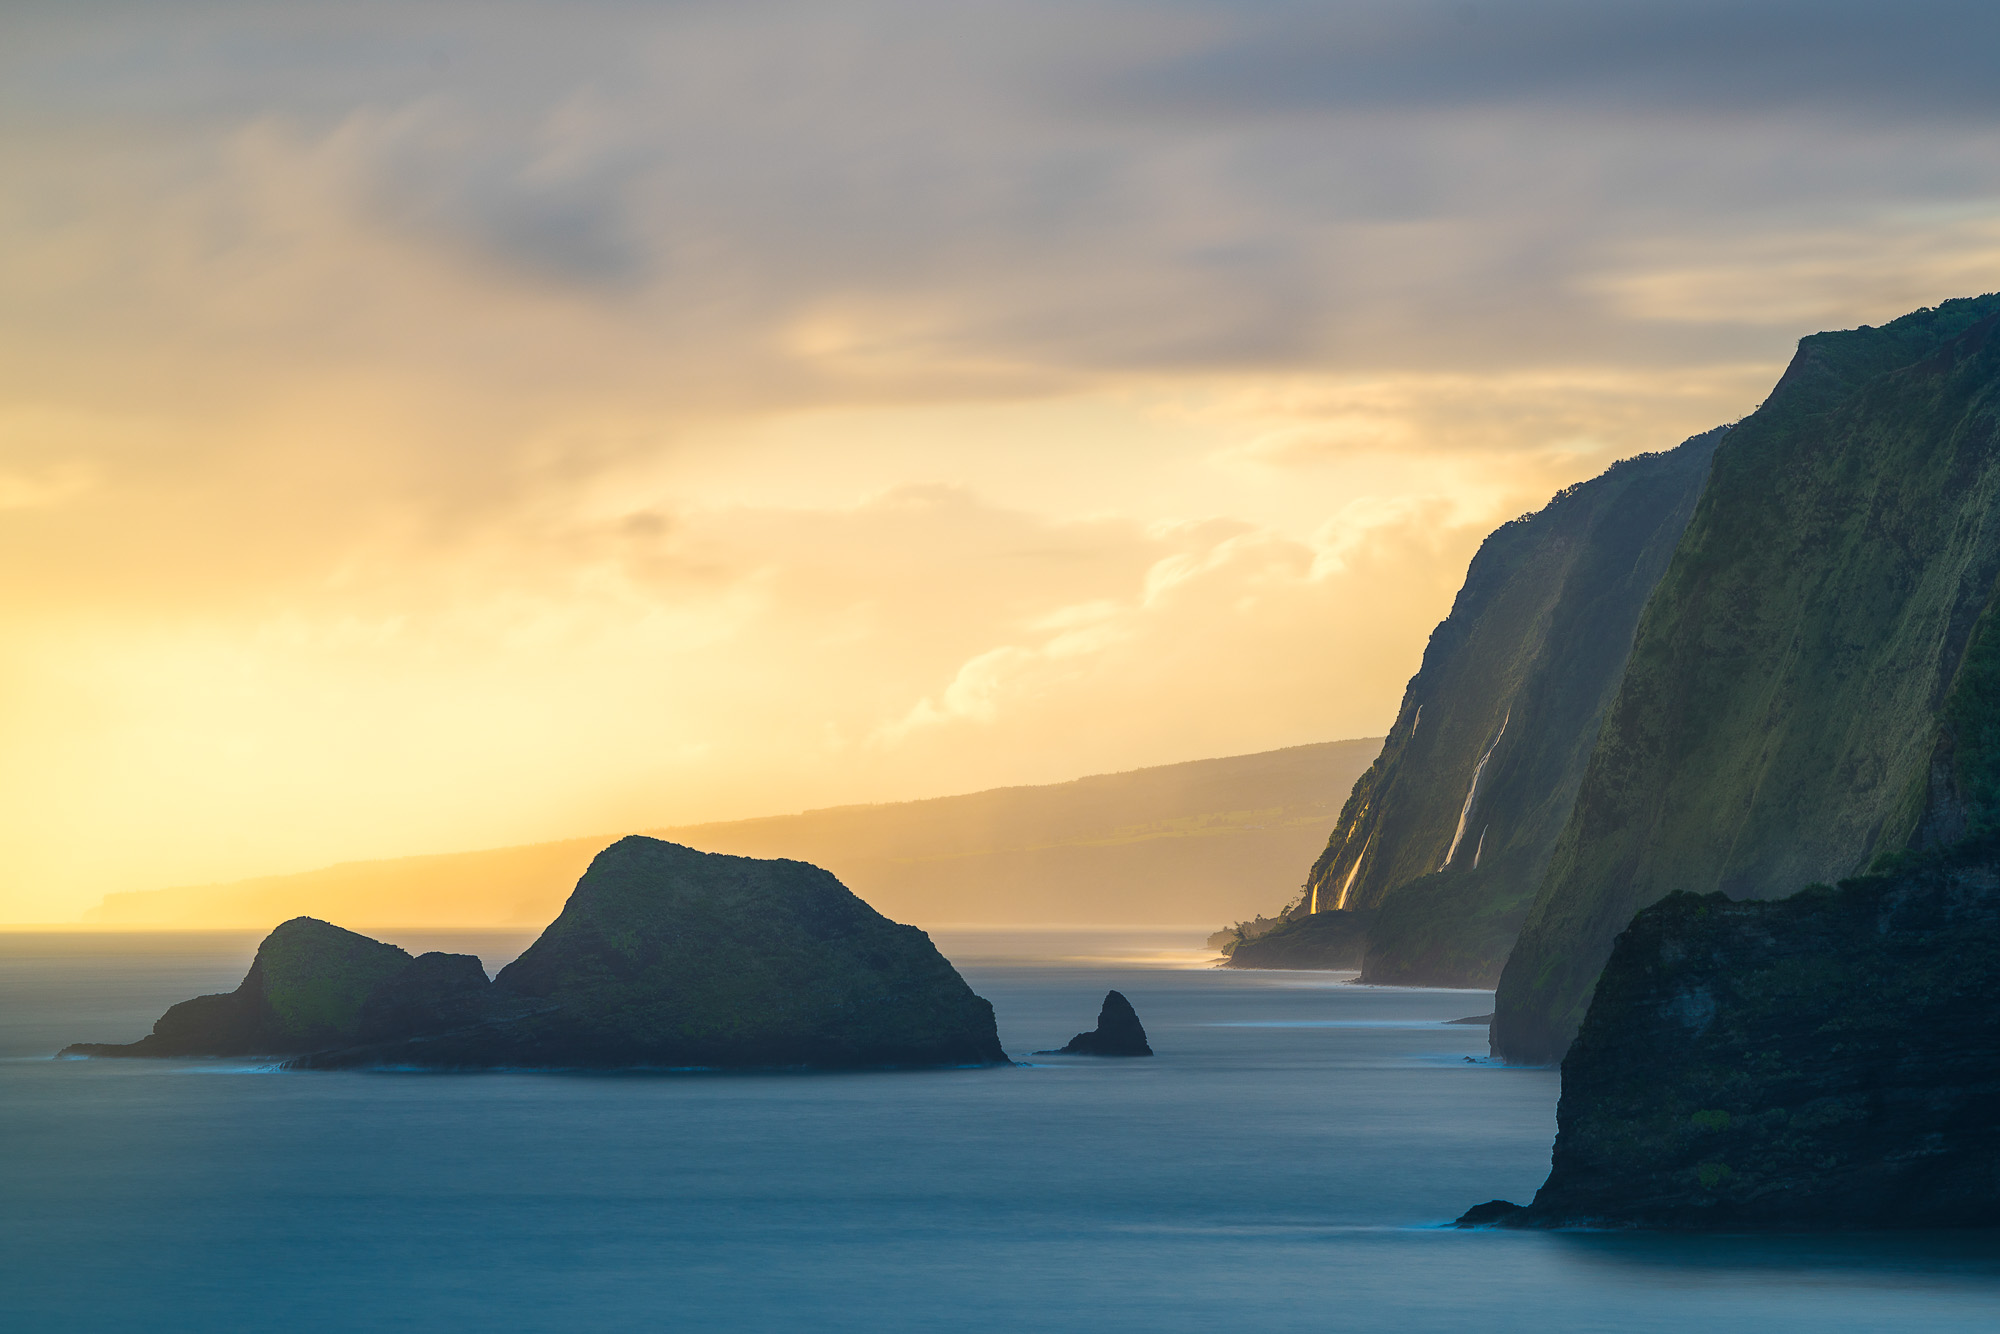
If I’m trying to create an ethereal long exposure that turns the ocean or river to glass, I will do whatever I can to get an exposure of 30 seconds or longer. That will typically mean having some neutral density filters with me, like a 10-stop or a few 2-3 stop filters, that I can stack. From there, I will get as long of a shutter as I can in-camera by stopping down to f/18 or smaller, setting my ISO to the bare minimum at ISO 50, and my shutter speed at 30 seconds. Then I’ll place the filter on to see whether the camera thinks the scene will be over or underexposed. If it’s under-exposed by two stops, I switch to bulb mode and do a 2-minute exposure. If it’s overexposed, I’ll add more ND to get the exposure down.
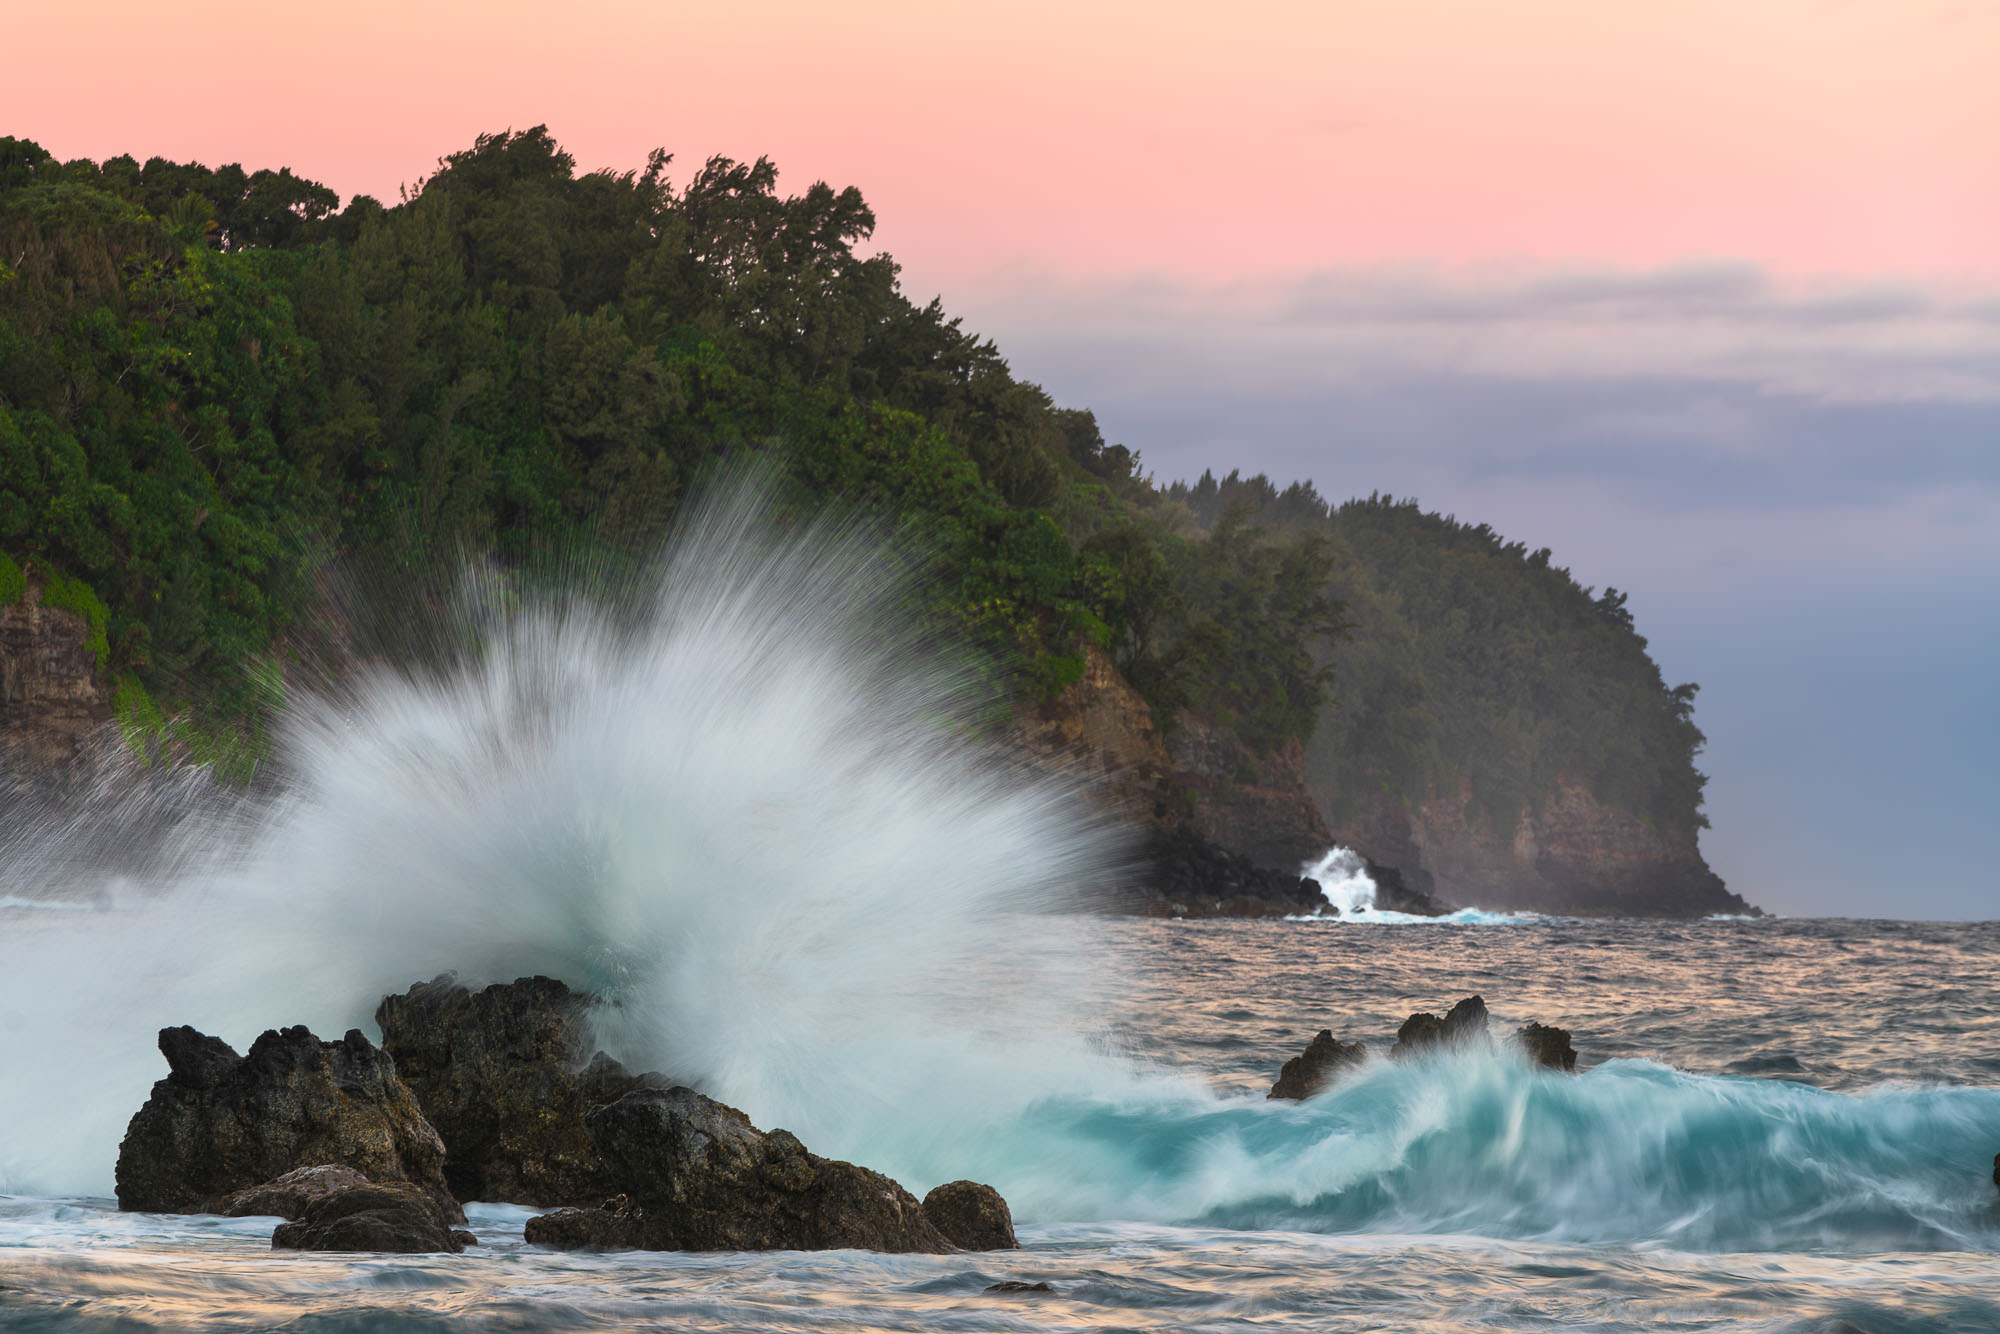
If I’m trying to catch a wave crashing against a rock feature or something similar, I’m usually going to start in the 1/2-second range on my shutter and just go from there. If the waves are coming in hard and there’s not enough detail in the water, I’ll increase the speed a little. If the waves are too crisp, I’ll slow it down.
Photographing water, just like any other subject, is an art form. The best way to approach this art form is with the mindset of having fun, relaxing, and just trying new things. It’s ok to go in with expectations but let the scene and the conditions dictate how to photograph it.