The process of learning how to expose, develop, and even digitize film photography can be long and expensive. But at the same time, it can also be incredibly fun, rewarding, and leave you with images that evoke more emotion than anything you can get with a modern digital camera.
Because of these factors, I’ve been suckered into shooting film almost exclusively for the past three years. I’ve shot hundreds of rolls of film, collected dozens of different cameras, and even set up a small dark room in the basement of my apartment. It’s a bit obsessive, but that's typically what happens once you begin the journey into film photography.
As you can imagine, there have been peaks and valleys in my process. Sometimes I’m game to develop and scan my images myself. Other times,I just want to sit back, pay a little extra cash, and let a lab handle all the hard work. But no matter which route I take, there’s always some drawback that I need to optimize.
A lot of the time, I want to make sure my development is spot on, but I also want more control over my scans. There are instances when I’ll shell out the extra money for a scan, but I'll almost always need to do some extra work to get my images where I want them. In this article, I want to break down my process for each of these scenarios. Over time, I’ve managed to find a good balance between cost and quality to extract the best possible images from my film photographs.
Option 1: Developing and scanning film photos myself
Probably the most common method I’ll use to extract images from my film is to develop them at my local lab followed by a self-scan at home. Besides developing the film myself at home, which if I'm being completely honest, I’m still terrible at, this is the most cost-effective method of getting a good image from the film strip.

35mm film
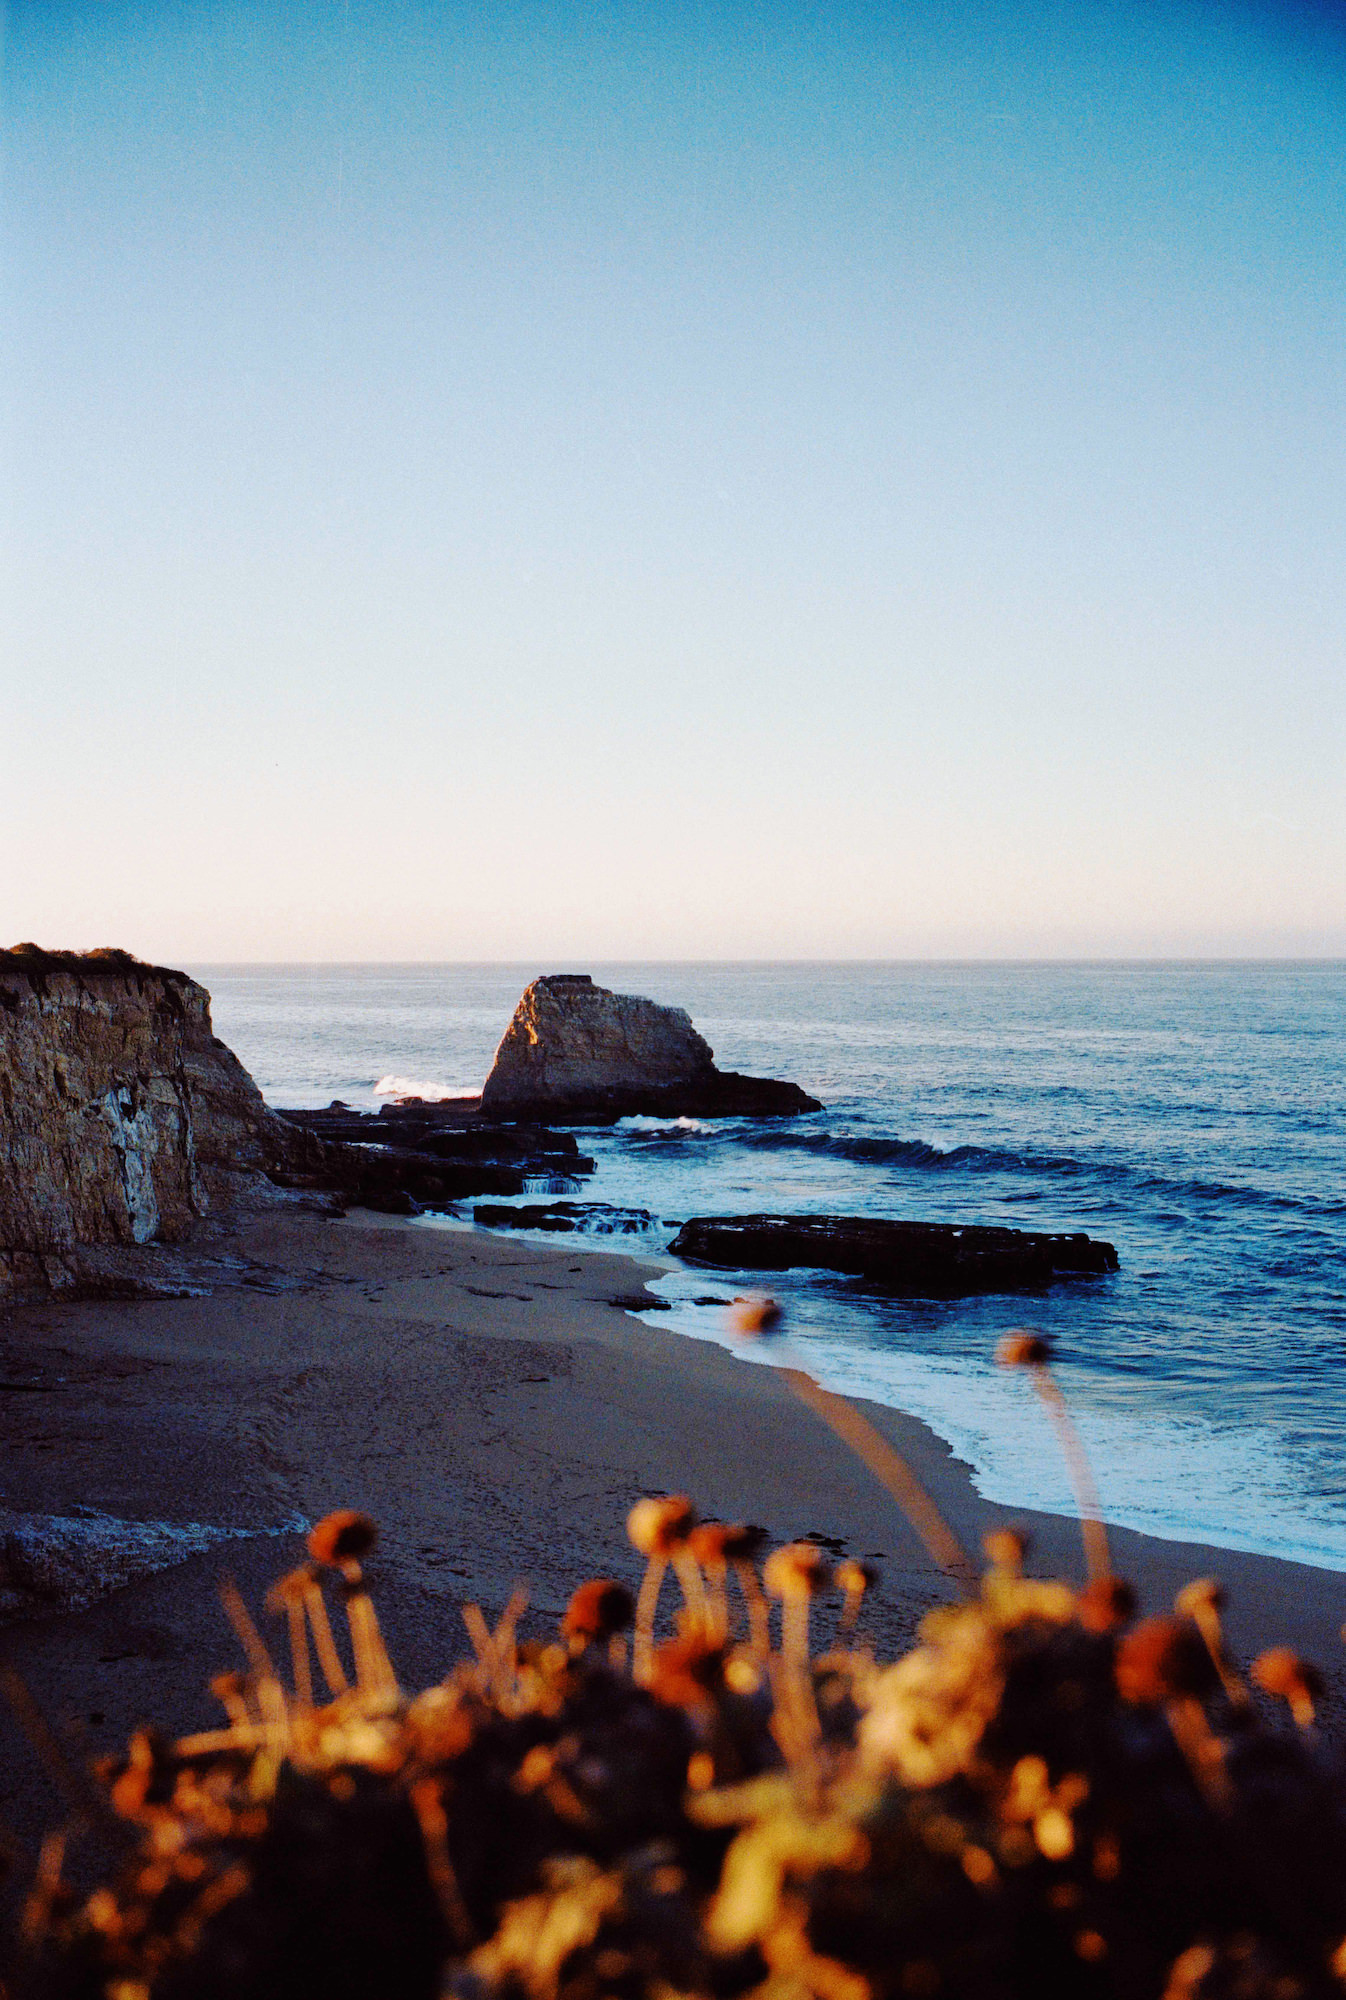
For 35mm film, I used to use a Epson V600 flatbed photo scanner, but I recently upgraded to a dedicated Pacific Image Prime Film XAs 35mm film scanner. This scanner has an effective resolution of 4,300 dpi, which gives me the flexibility to extract a crazy amount of detail from my film. The Epson V600 has an effective resolution of 2,400 dpi, so the new dedicated scanner can produce much higher quality images.

I scan my images using ViewScan software. While you may normally assume you’d want to scan your negative film as a negative, I actually use a third party Lightroom plugin called Negative Lab Pro to convert my negatives into positive images, which gives me a lot more flexibility in the edit. Because of this, I scan them as positives, which actually keeps the file as a negative image.
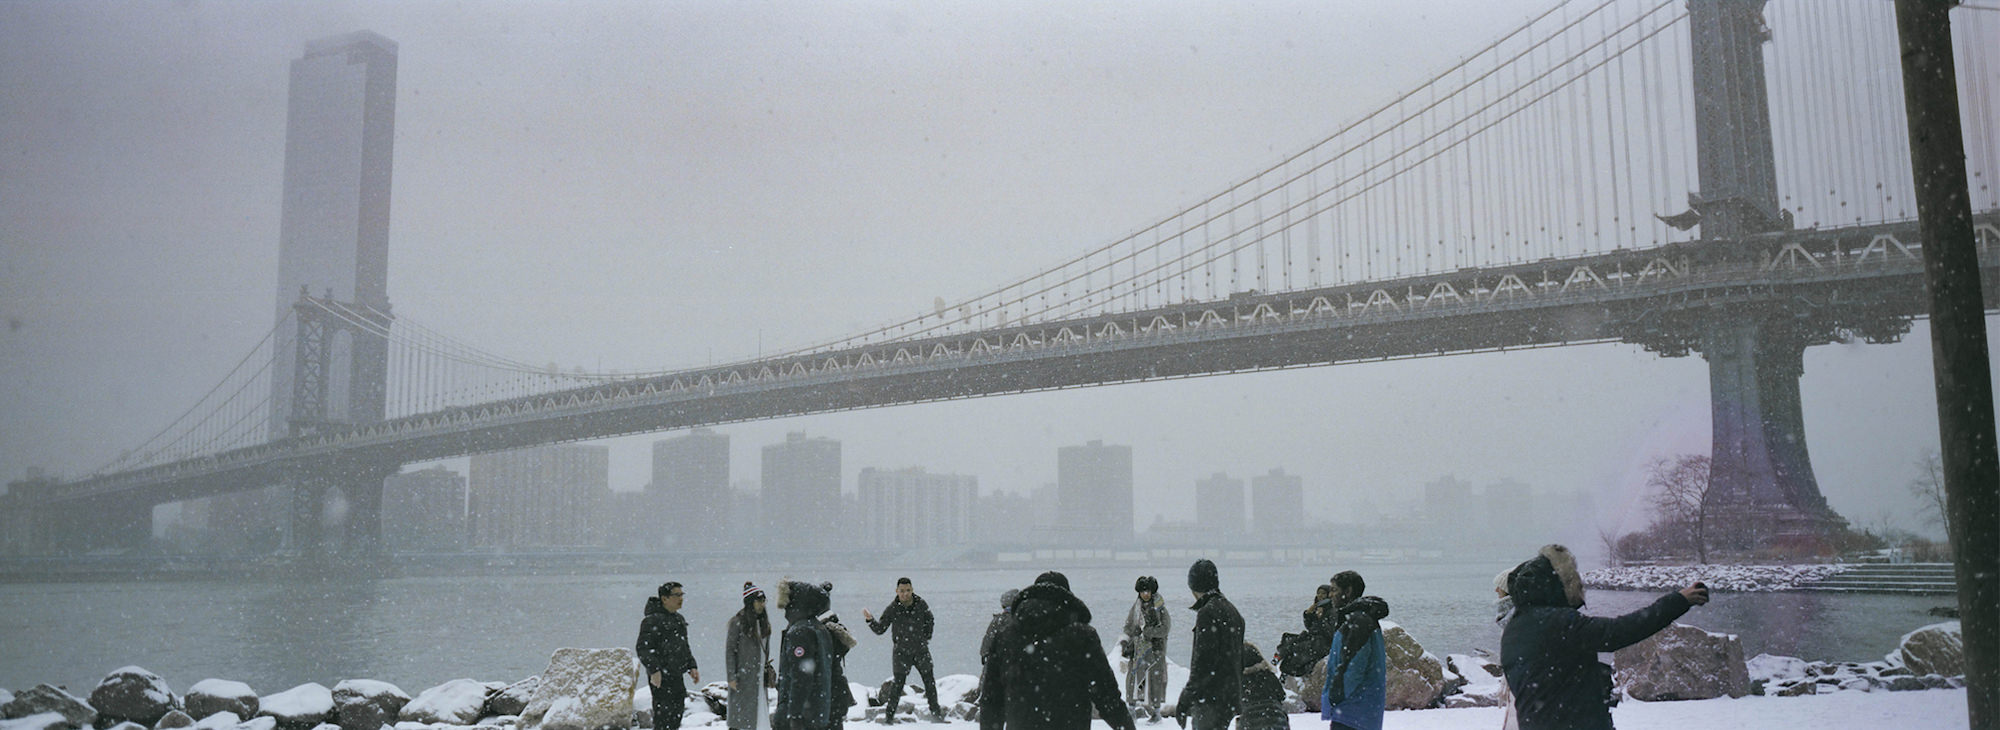
Once I have my scans, I import them into Adobe Lightroom Classic. From there, Negative Lab Pro can work its magic. The plugin allows you to emulate different kinds of traditional lab scanners, from Fuji to Noritsu, which each achieve different looks. From there, the plugin gives you a huge amount of control over while balance and individualized color balance, and I can honestly do most of my edits within Negative Lab Pro itself. If I need to do more to the photo, I can export the image, and then take it into Adobe Photoshop.
120 film
120 film doesn’t work with my Pacific Image scanner, and I still don’t like the quality of my Epson V600. Because of this, I use a method called DSLR scanning. To do this, I bought a cheap light table off of Amazon, paired with a Lomography 120 film holder to keep my film flat.
Next, I set up my Fujifilm X-T3 with an 80mm macro lens directly above the film and light table with a tripod. I manually focus on the film grain with the macro lens and then I use a cable release (to avoid camera shake) to take an exposure (I’m lucky Fujifilm cameras still have cable release sockets built-in).
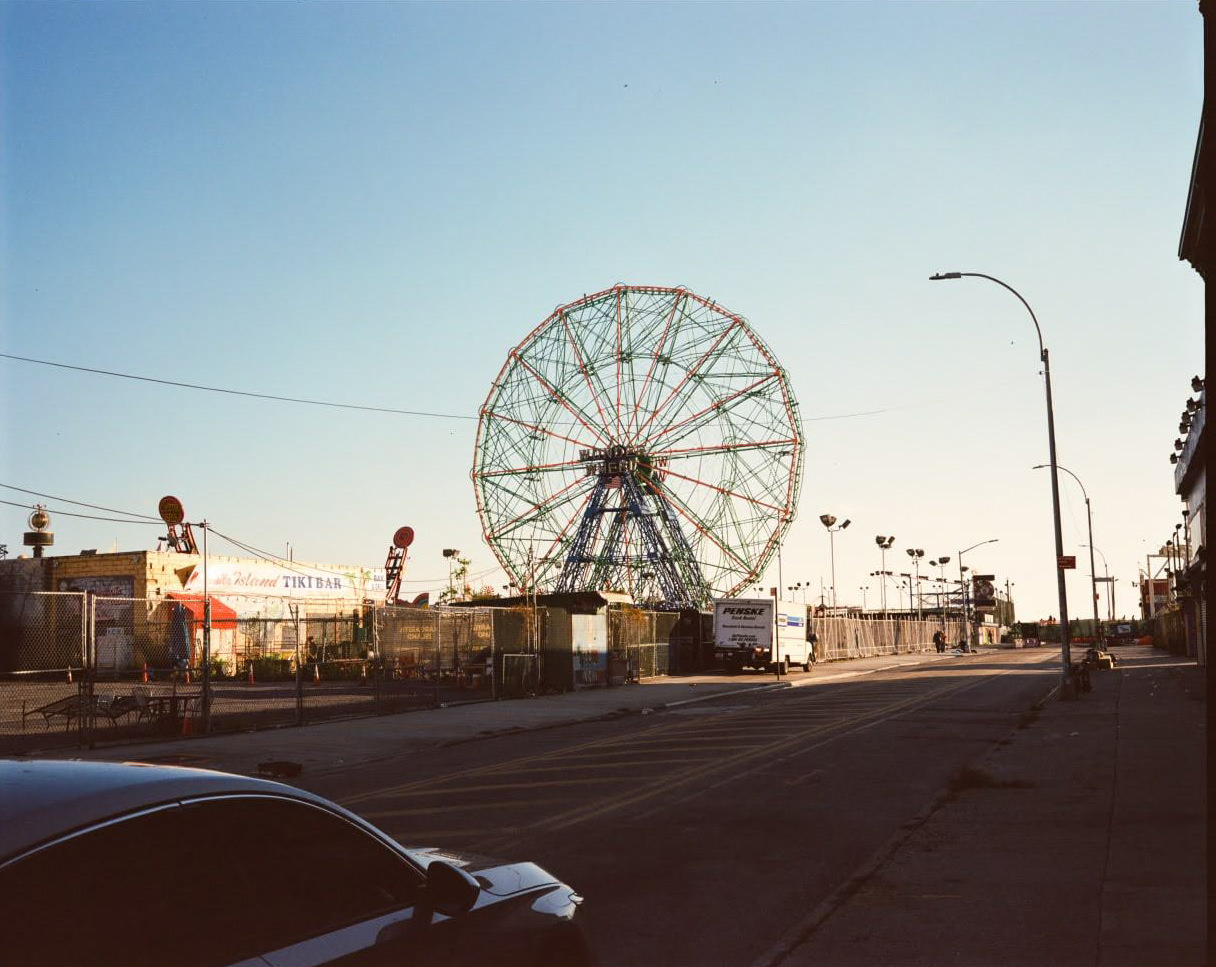
From here, I’m able to bring my RAW negatives into Lightroom and run them through Negative Lab Pro, the same as I would do with my 35mm scans. DSLR scans can actually produce some incredible quality, and the Fujifilm X-T3 can shoot 6k RAW images on its 26MP sensor.
Option 2: Developing and scanning film photos using a lab
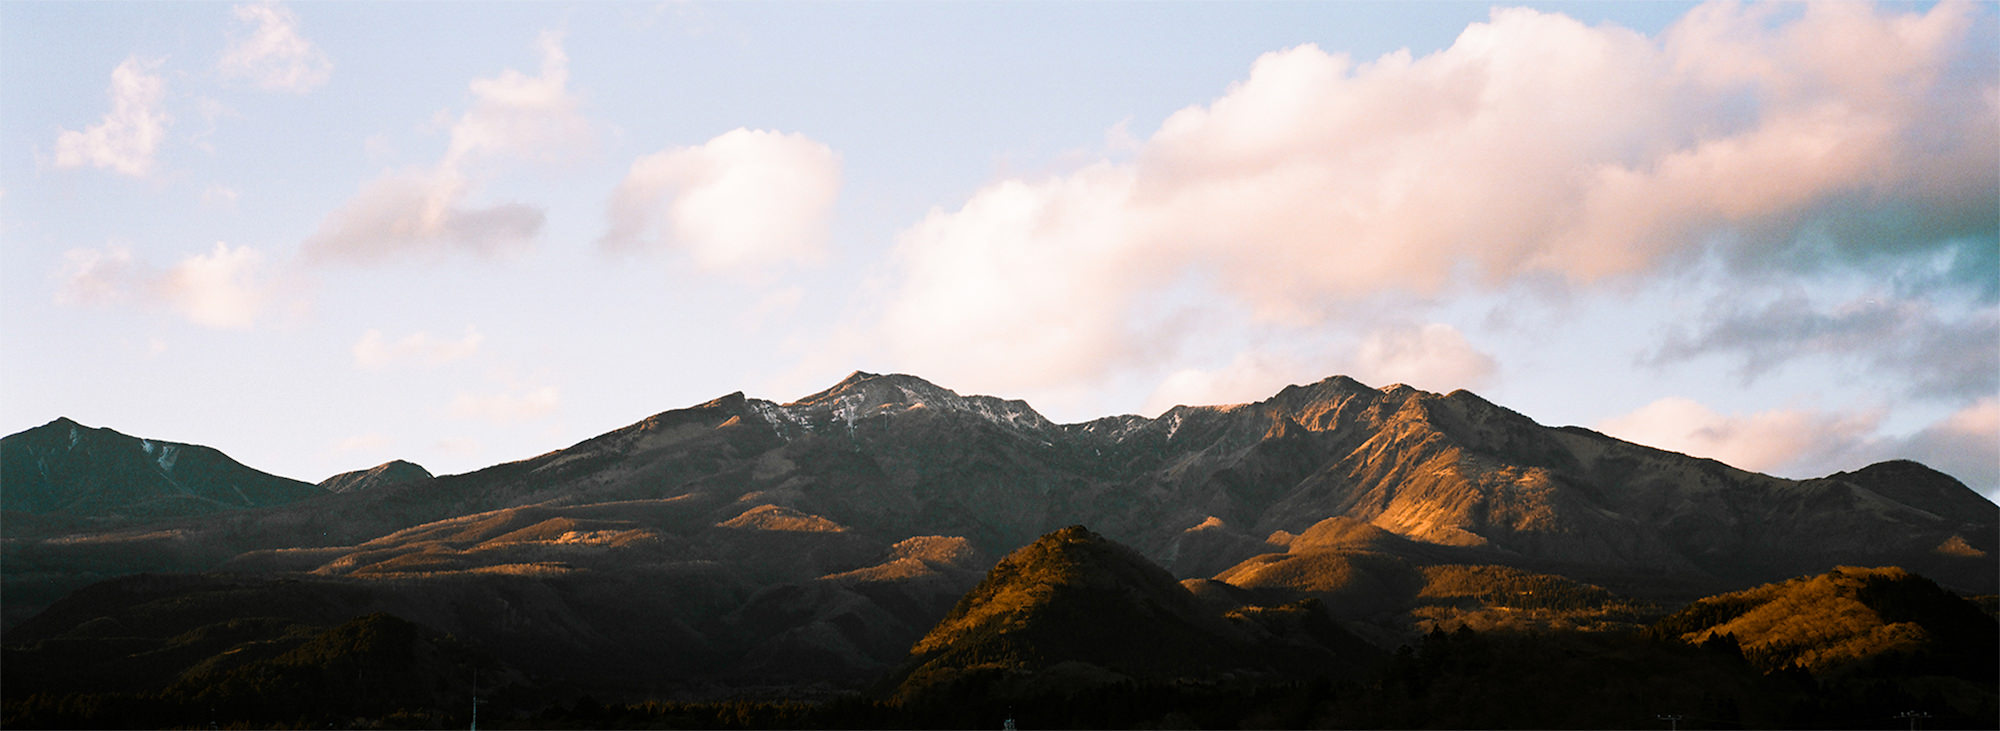
If I’m feeling lazy, I’ll opt to pay for a scan of the exposures at the lab that I’m already getting my film developed at. The problem with this is that most labs will charge for scans based on the desired resolution.
For example, negative color film costs $8 to develop, but my lab charges an extra $10 USD for a 10MB scan, an additional $12 USD for a 30MB scan, and an additional $10 USD on top of that for a 50MB scan. Black and white film is even more expensive, costing $15 for development, an additional $8 USD for a 10MB scan, and an additional $17 USD on top of that for a 50MB scan.
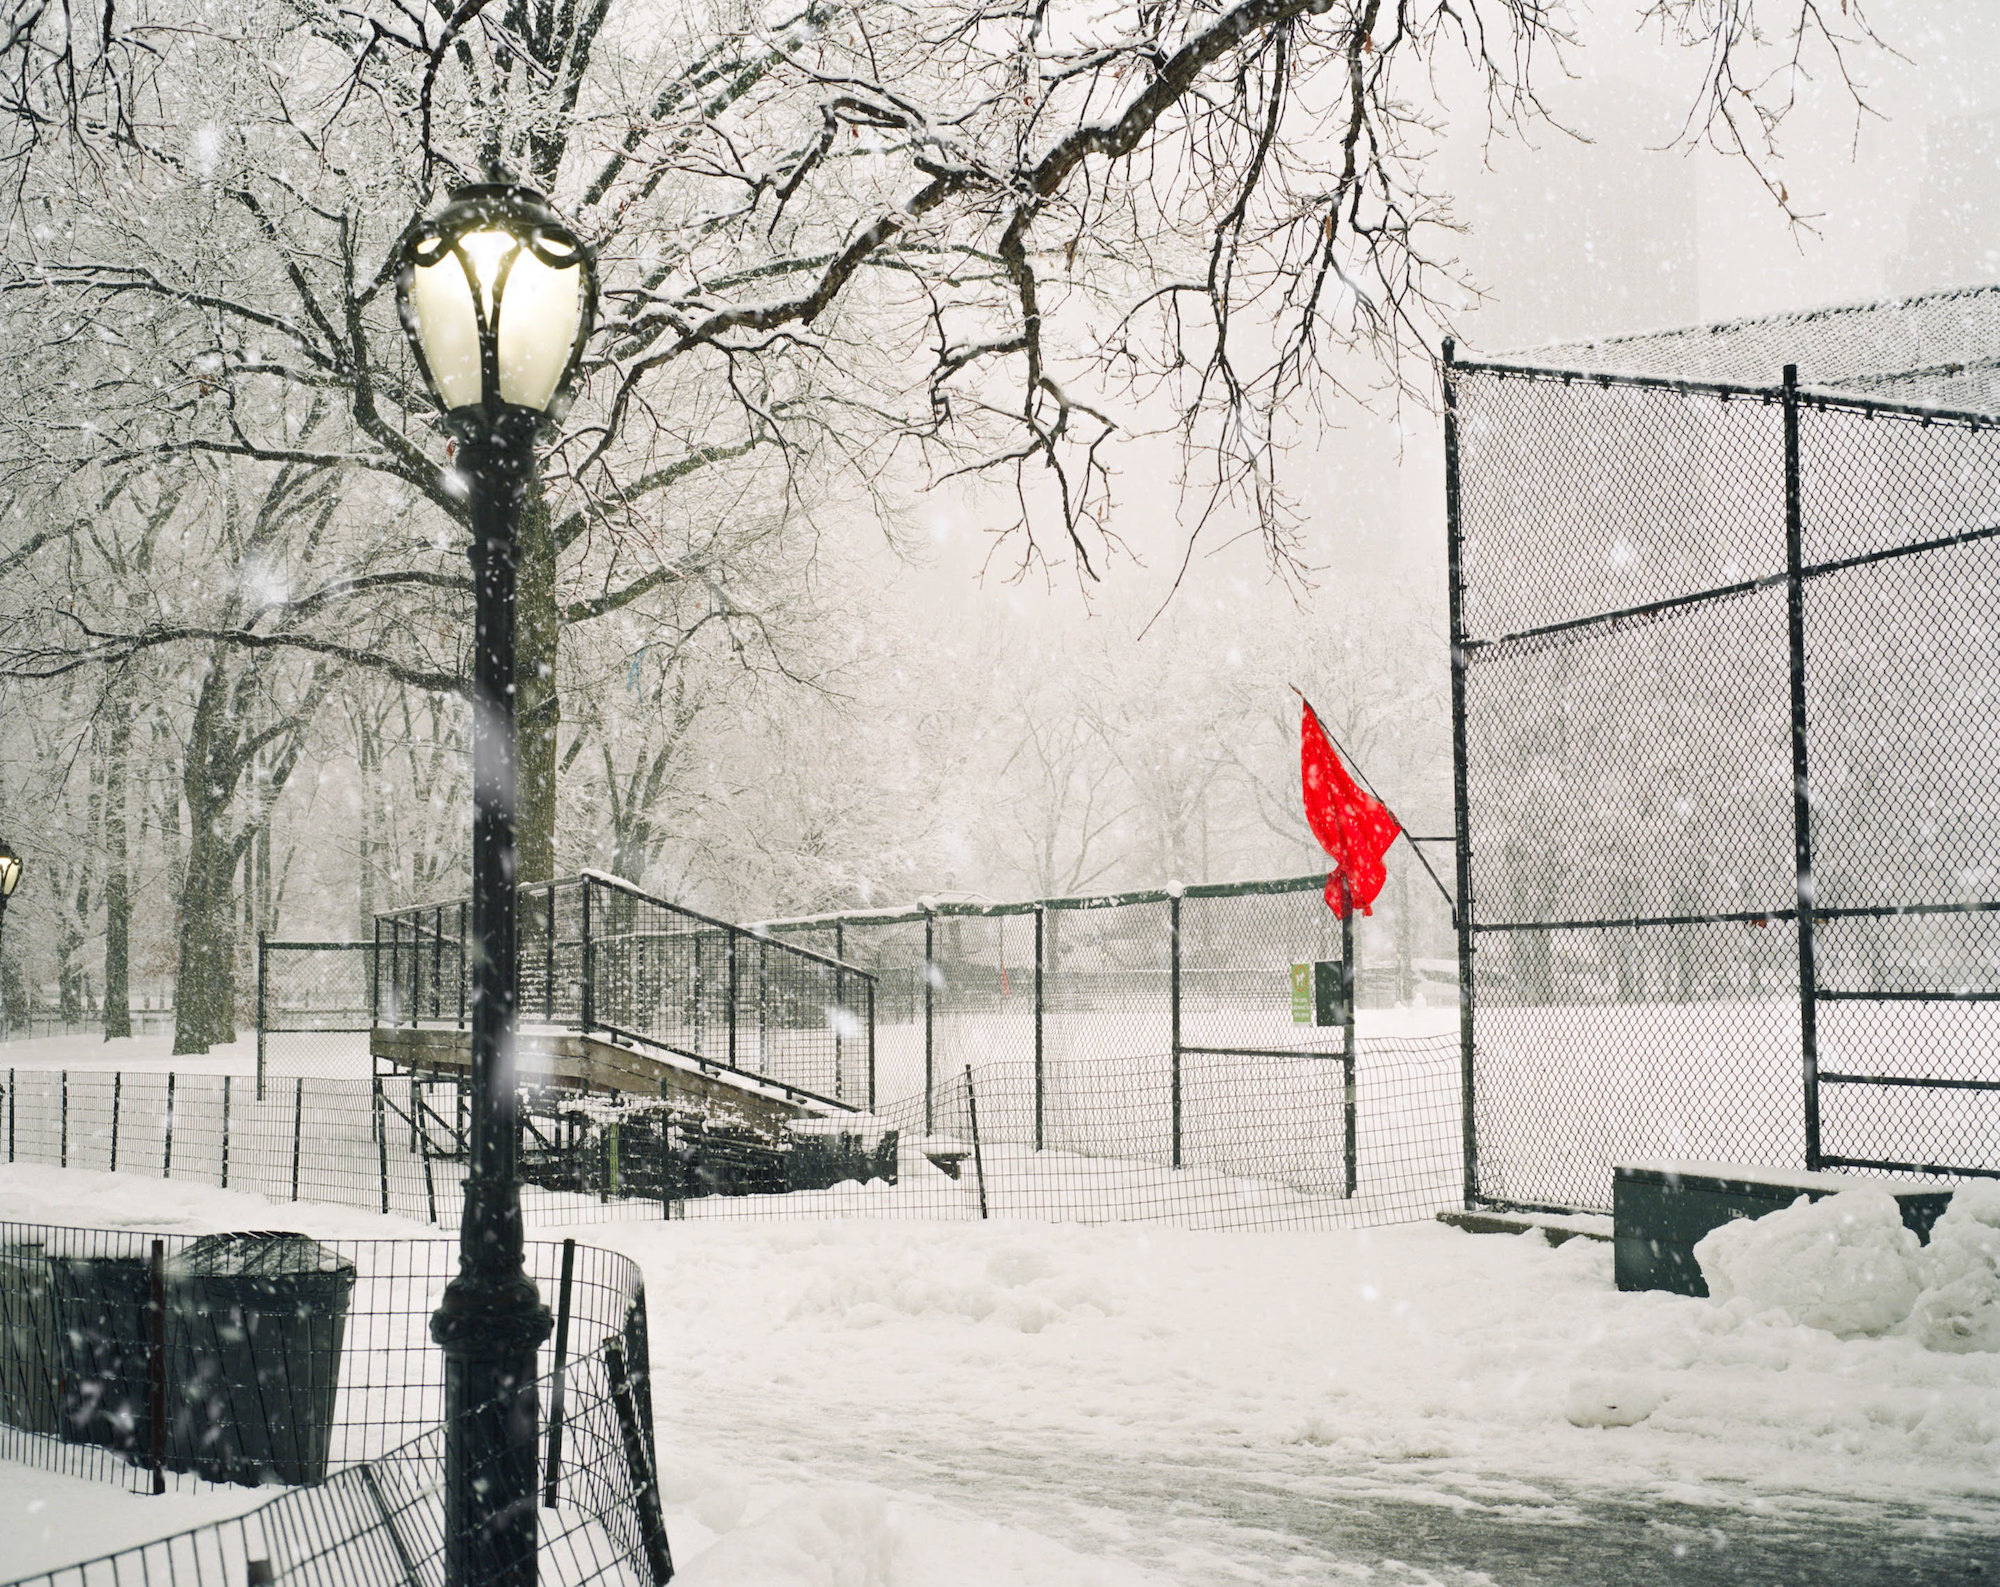
Upscaling film photos using Gigapixel AI
Because of this, I’ll often get the lowest-price, lowest resolution 10MB scan and then use Topaz Labs Gigapixel AI to upscale my images for my portfolio or professional use. This allows me to only upscale the images I want, and I won’t have to pay nearly as much to have the images I’m passing on scanned at a higher resolution.
For settings, I generally just use the Standard AI model with auto settings, and change the resolution scaler based on how high resolution my image was initially scanned. Often I’ll use a 2x upscale factor, just so I can properly showcase it on my website.
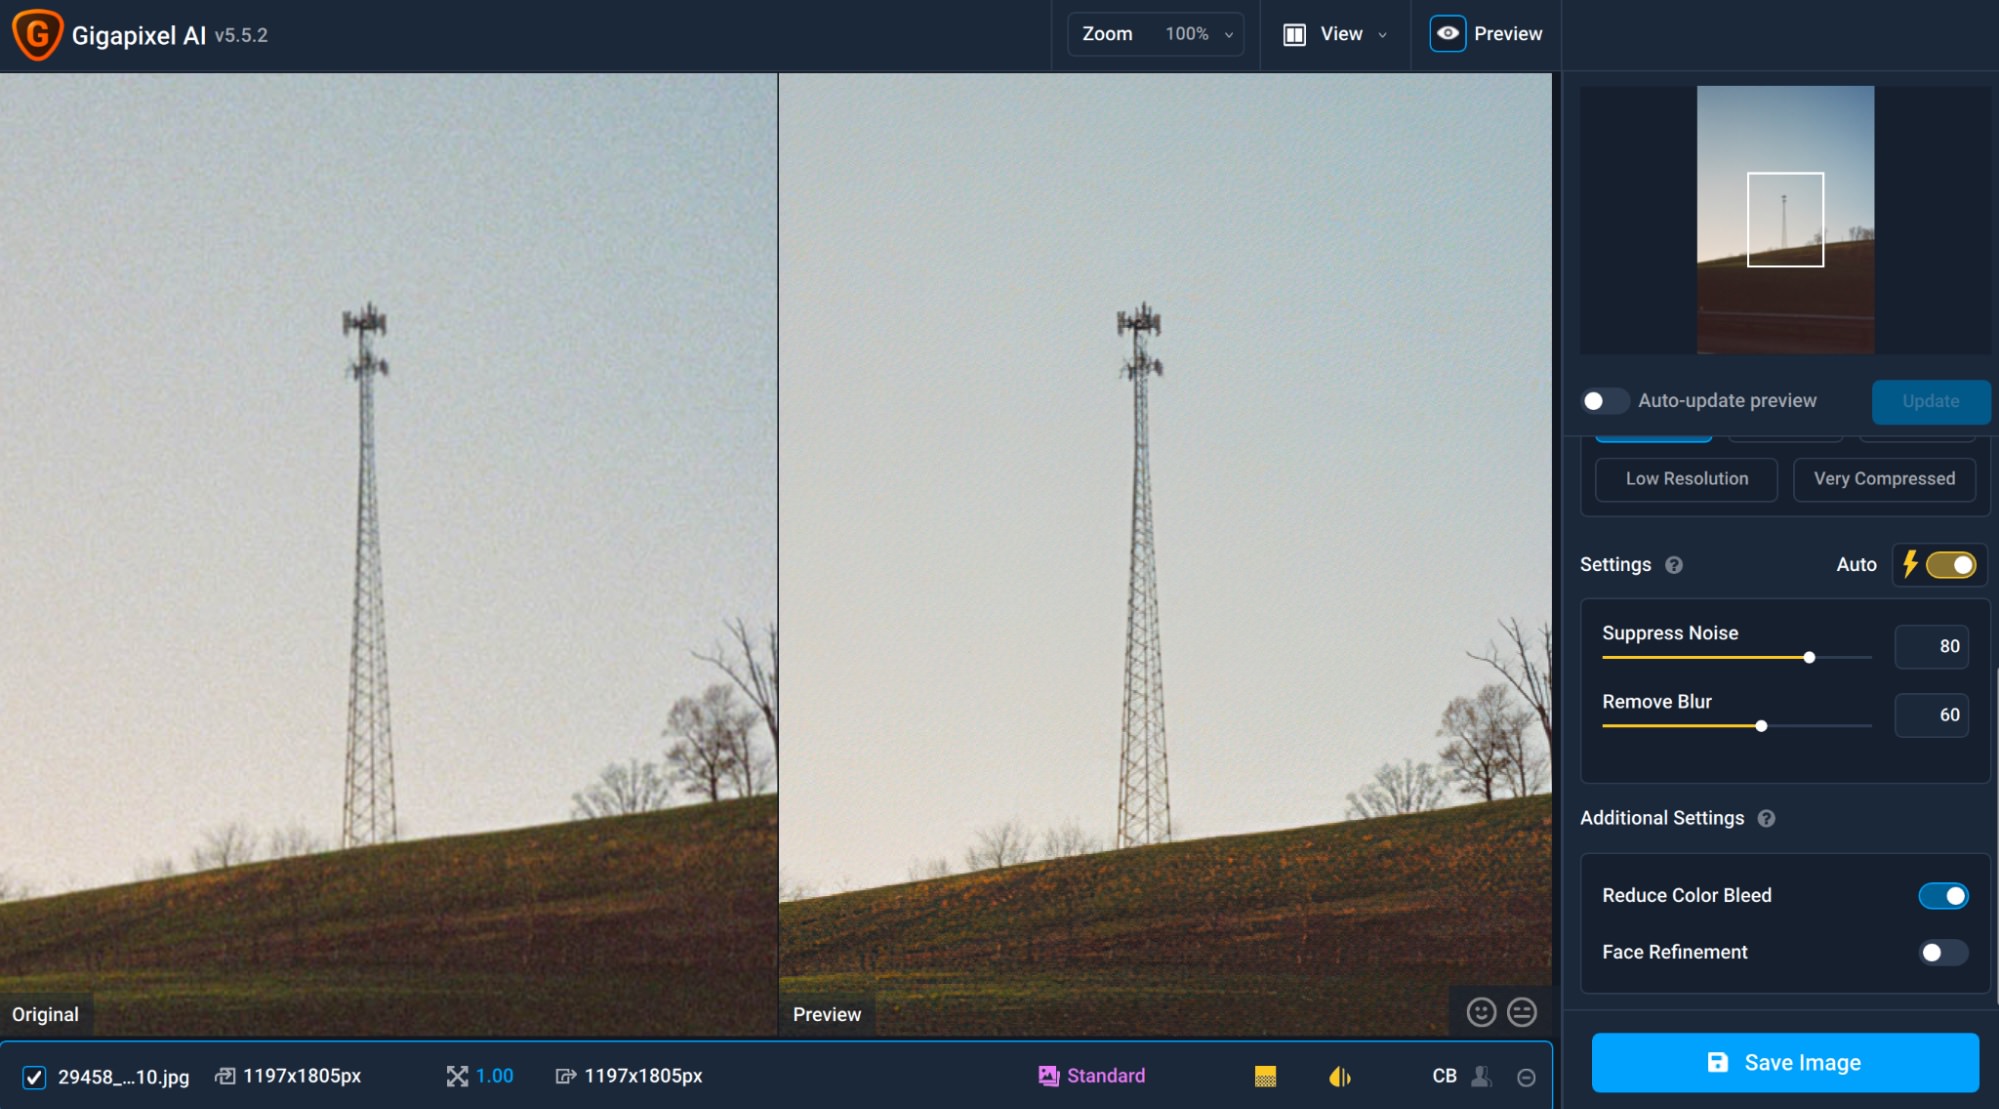
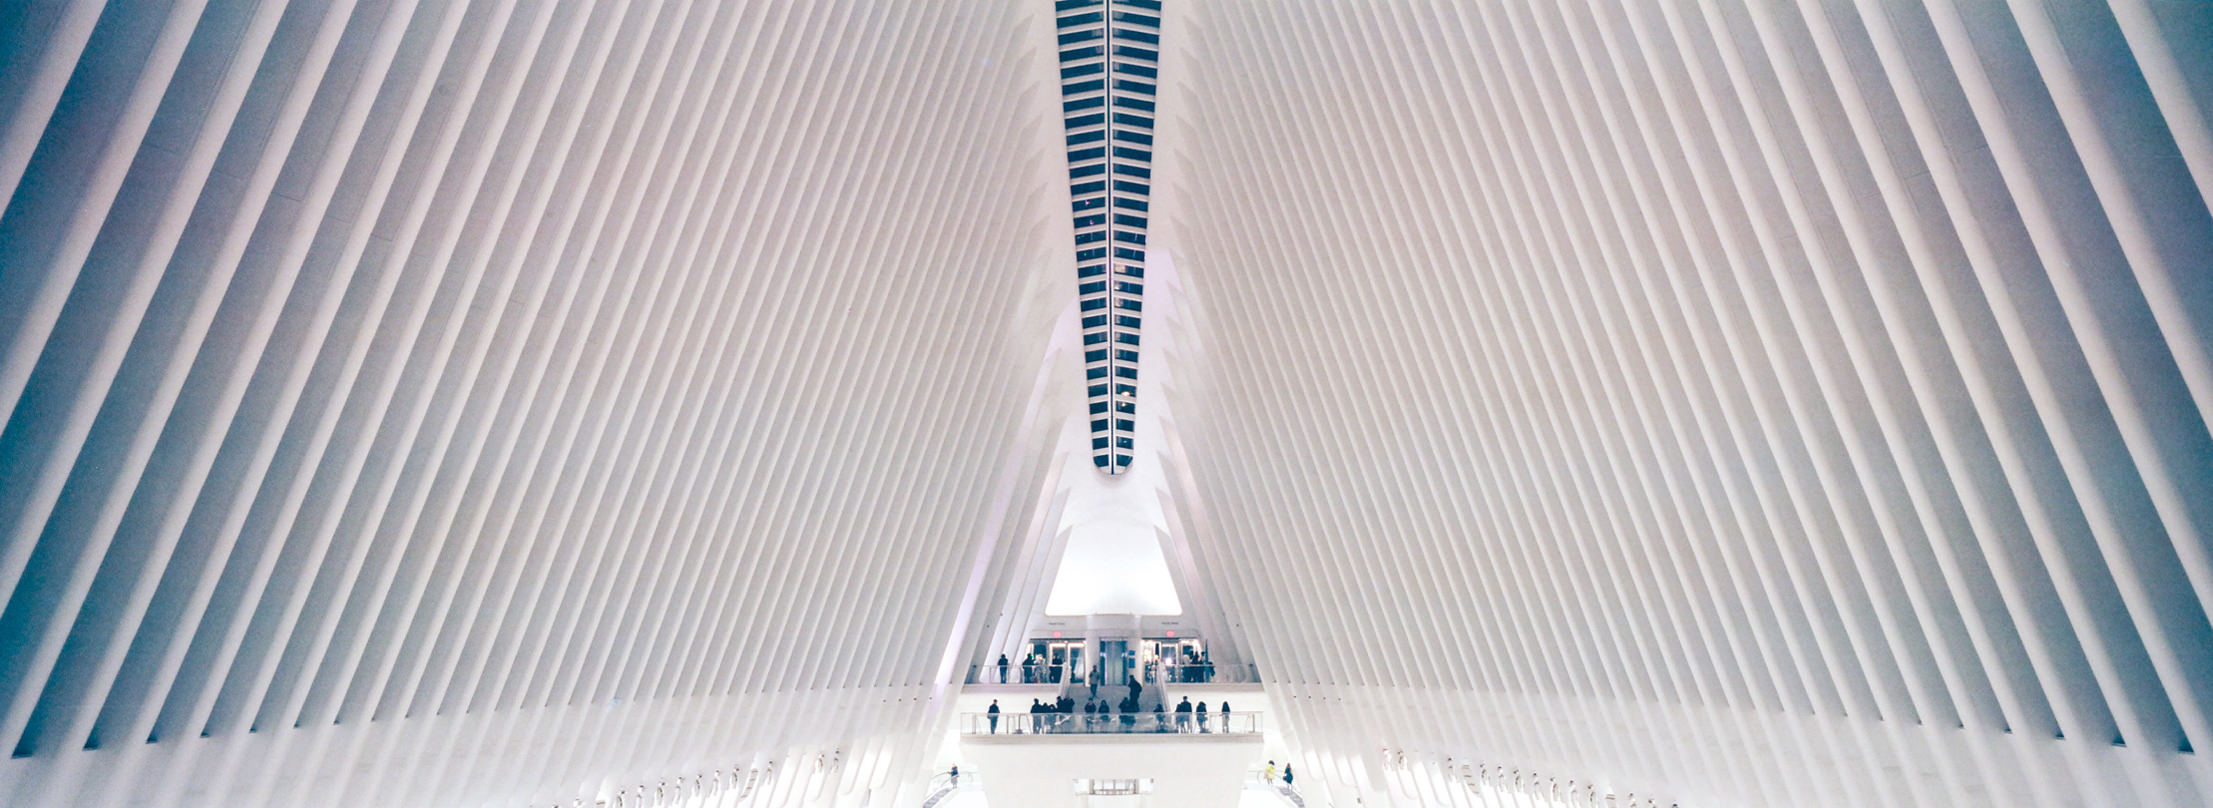
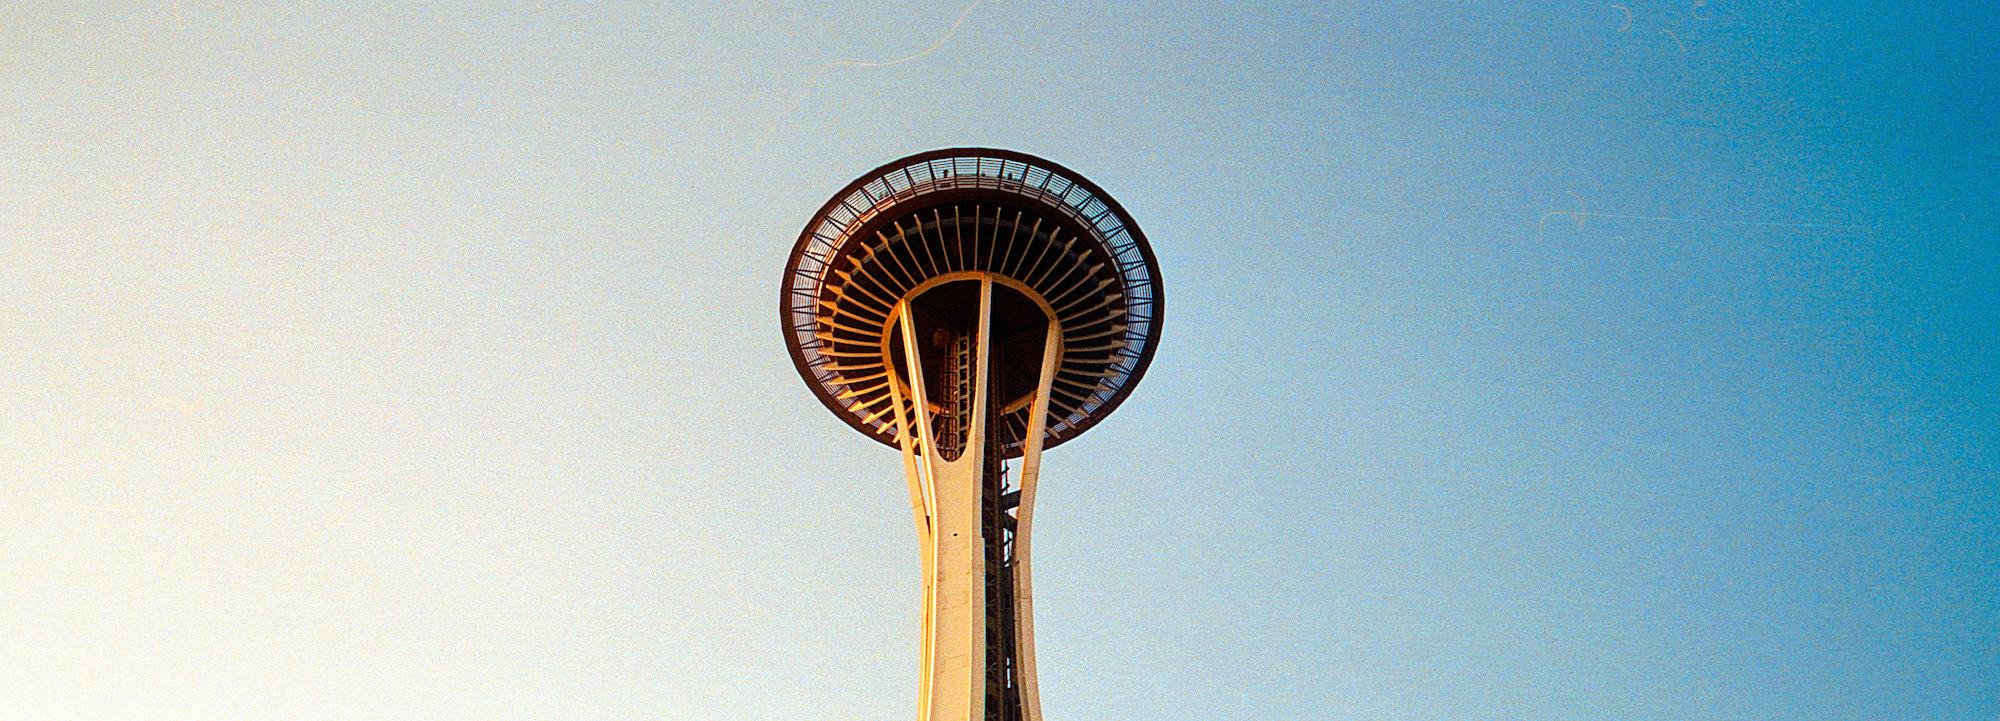
After processing, images have much more detail, and Gigapixel maintains a tasteful amount of grain while still cleaning up the image a bit, as you can see in the screenshot above. This, coupled with the higher resolution of the output image, is why I generally use Gigapixel AI over other upscaling tools.
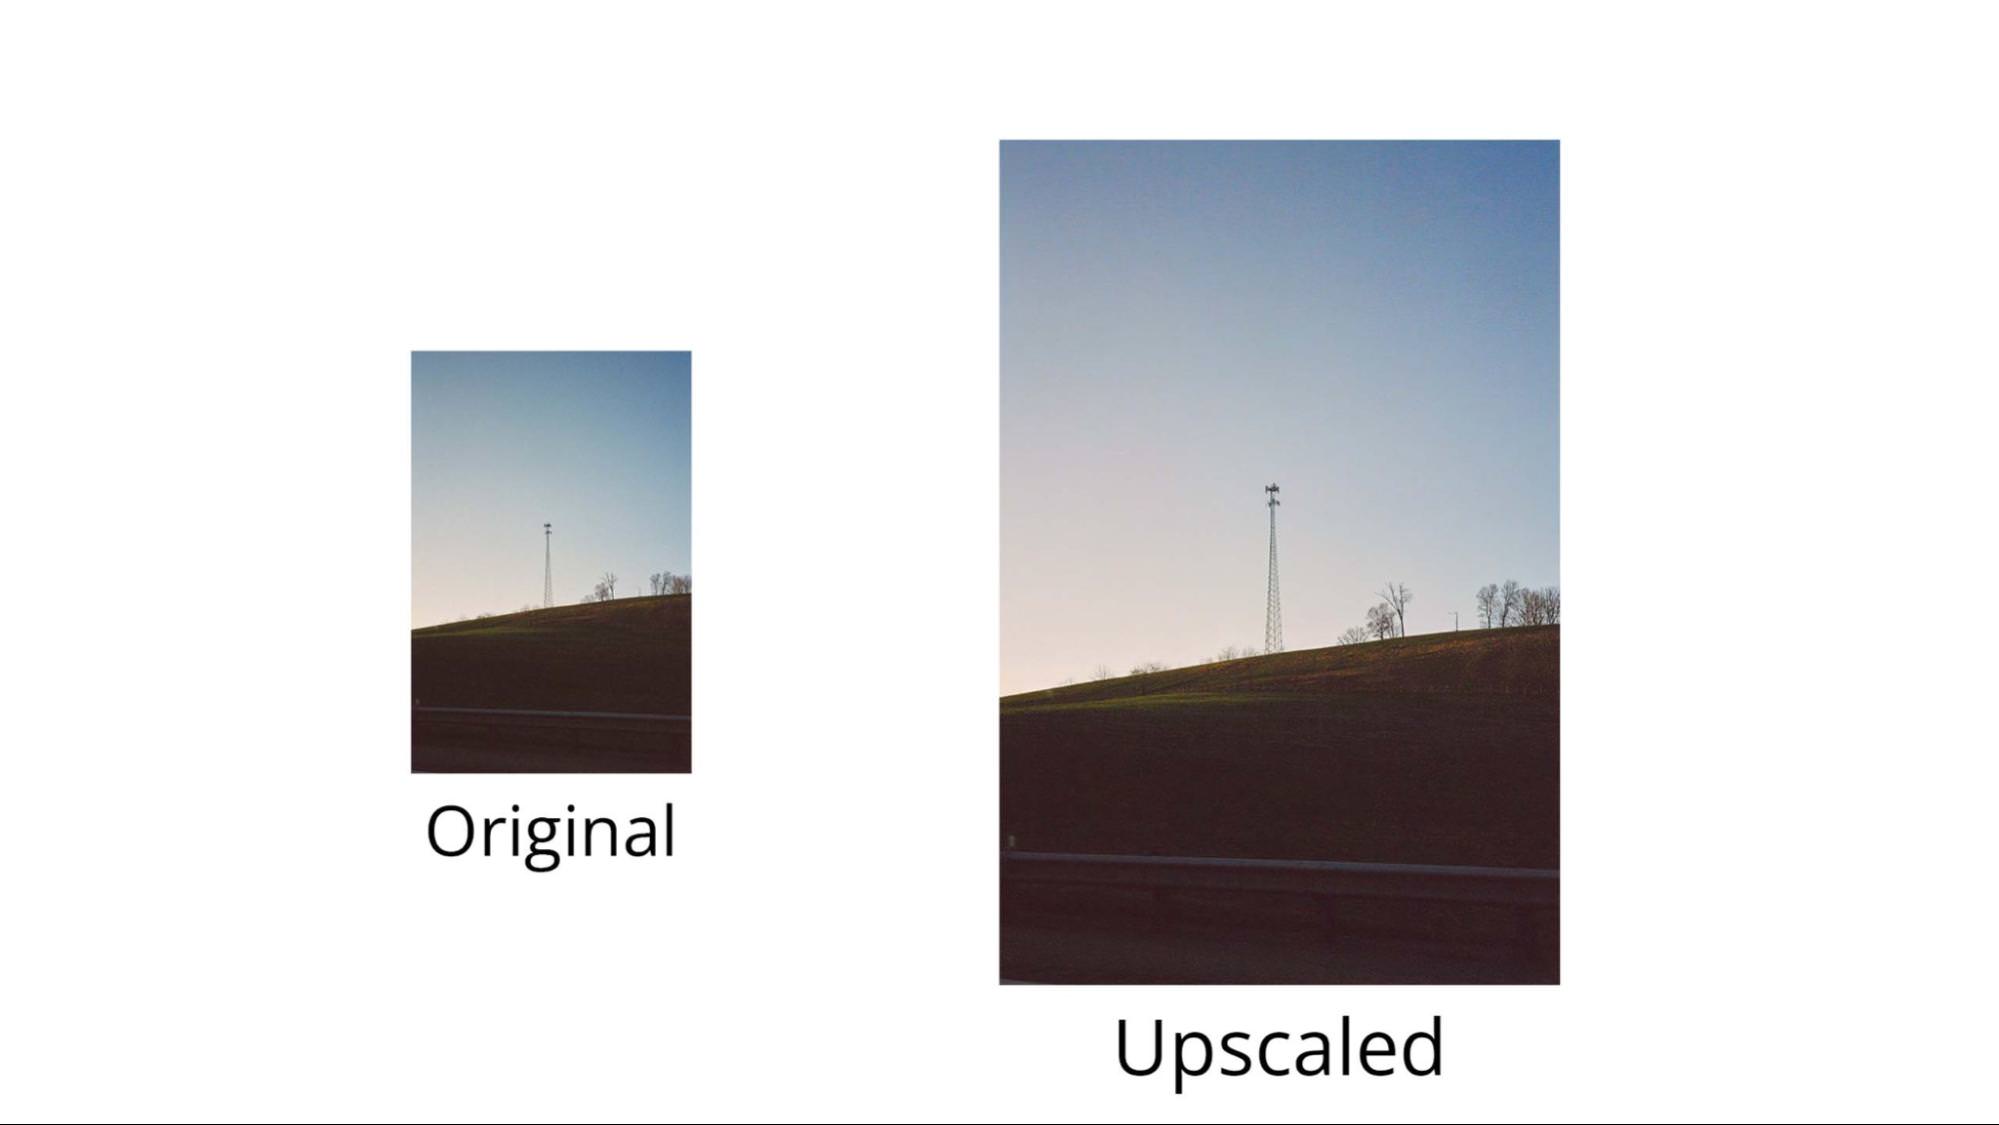
Gigapixel AI v5.9 has also been optimized for the new Apple M1, M1 Pro, and M1 Max computers, which makes batch processing of images absolutely fly. I recently purchased an Apple M1 Max Macbook Pro 16 and I can upscale and clean up sets of images incredibly quickly.
So there you have it! That’s how I scan and prepare my film for display on my website, Instagram, and Twitter. Even though most people might not notice the finer details that get cleaned up using these methods, as photographers, we want to get as much quality out of our images as possible. And self fulfillment is what photography is all about, after all.
Try Gigapixel AI for free.
Visit our product page for Gigapixel AI and click on the "Try for Free" button to download free trials that never expire.


