

September 3, 2025
Desktop Apps
Cloud Apps
Enterprise

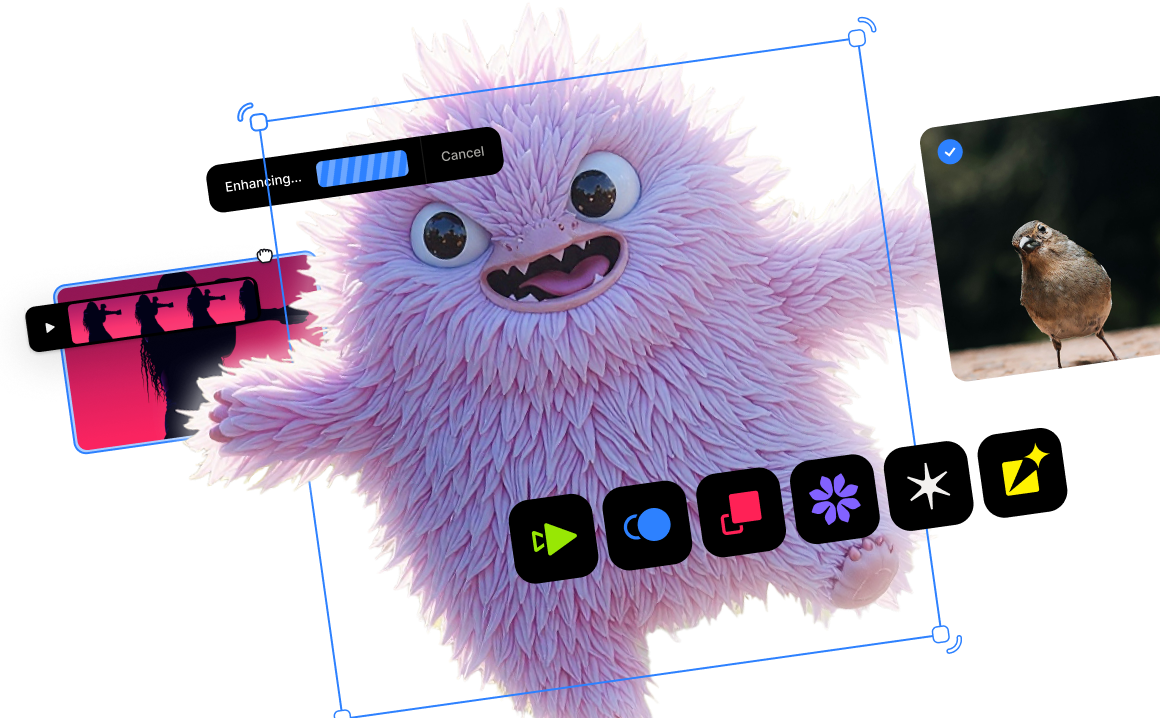
AI image and video enhancement built for enterprise and production workflows.
Desktop Apps
Cloud Apps
Enterprise
AI image and video enhancement built for enterprise and production workflows.
Tutorial: How to Sharpen & Upscale Videos with Topaz Video AI
Published
January 21, 2026
Summary
Here's how to enhance & upscale a video with Topaz Video AI

Let's imagine that the city is trying to produce a promotional video for investors. However, this video from 2019 is going to be used as quick b-roll. Simply looking at the first frame on the player, we can clearly see that this footage was zoomed in, so it's just a little soft around the edges. You can also see that there is some compression along the perimeter around here and, in addition, a lot of aliased edges, which is that kind of stepping look you see on these cables and these edges. Additionally, our client wants us to scale up this resolution to 4K UHD instead of this original 1920x1080 Full HD video. Luckily, playing the footage through, it's pretty consistent with what we need to do.
So let's get started on this. So now that we know what our task is, let's go ahead to enhancements and on output resolution, change this to twice the size, so two times upscale. And now let's go ahead and decide what AI models we want to use to enhance this footage. So remember, we want to be able to take care of some of this compression. Let me go ahead and zoom in. Let's take care of some of this compression going on. You can see this around these edges, and also, again, we want to take care of this stepping look from the aliased result, especially most notable on these wires. Other than that, it'll be nice just to get a little bit more details and things like that, but for b-roll, I think the main thing is to take care of those first few things we mentioned.
So let's start with Proteus. It's one of the most robust AI models we have, and it's great in most situations. So let's go ahead and just try it on auto. If we look at the upper left-hand corner, it's at Auto because I have not enabled any parameters. I'm going to render the first 5 seconds. This is not a very long clip; it's about 10 seconds, so about half of it. So let's do that.
So this is not looking bad at all, just even going on the auto settings. Here's our before; you could see the aliased edges and the compression, and look at that, nice and clean. So maybe 5 seconds is too much for our test. I'll just do two seconds and why not, let's use the mark in and mark out. Perfect. So we'll just focus on this.
So I'm pretty happy with the auto settings. I'm going to change this name to "Proteus Auto." Let's duplicate this, and I'm going to try some manual settings. So let's enable parameters. I'm going to stick with Dynamic, and I think the compression was really good already. We'll improve detail a little bit more. I'm not sure how much more it's going to grab, maybe something in the hills. I'm going to go ahead and sharpen and reduce the noise just a little bit. Same thing with de-compression, doesn't hurt. De-halo, there might be a little bit from the original source. You can see that's just the highlight of the wire. I will bring this down just a little bit. Anti-alias/deblur, I'm going to leave it where it's at. It looks like it was working perfectly fine. So let's go ahead and render this at 2 seconds, but I guess I'll do in and out now since I have a mark in/mark out that works for me.
All right, also looking pretty darn good. I want to move this one over just so we could do a comparison. Let's focus on the person here and yeah, look at that. We got a little bit more details out of our manual settings here. We got the solid line here is getting a little lost. This detail, I'm not even sure what this is, and it looks like there's some sort of detail there. So overall, it's giving me a little bit more values and something that's a little bit more realistic. I'm liking this one a little bit more. Even in the hills, we got a little more details. That is fantastic. Yeah, pretty good results. Very nice.
Cool. So I think I'm actually happy with that on the Proteus side, but it doesn't hurt to see what some of the other models have for us. So let me... let's give Rhea a try, see how that does. Since I'm liking the Proteus manual, maybe I'll have it compare to that one. So I'll do it on this side. We will switch this to two times upscale. I guess I could have duplicated that and kept it the same. Let's go to Rhea. Now, this is going to take a little bit longer, so Rhea is one of our heaviest models, so any test you do, just expect to wait a little bit for this one. Let me go ahead and render in and out and see how that goes. This is at Rhea Auto.
It looks like it finished. Let's see how it looks. Not bad at all. Certain features are a little bit better with Rhea, but certain features are still pretty good on Proteus. I do have a little more details here, a little less here, but there are certain features where you can see the shape of the guy's hat and hair looks a little bit better here than it does here. There's a couple of things better from one over the other. You do have a little bit more details here that looks nice. Let's see details on the hills. I kind of like the break up here, but I do like the fall-off here. See, a little more details. From a distance, this would look a lot better. I think this part of the building gets lost. It looks cleaner here. Honestly, you can't go wrong with either one. They're both really good candidates, especially if you're going to be watching it as a whole, not zoomed in as far as we were. Either of them are more than fine. All right, I'm pretty happy with that too. So, Rhea Auto.
All right, let's try one more. So let me duplicate the tab so I can keep the resolution, but I'm going to go ahead and try Nyx. And I might as well, so I don't confuse myself, name this "Nyx Auto." All right. So with Nyx, we're not going to enable parameters, we're just going to see what it gives us and let's rock and roll. Let's see. All right, not looking too bad. Compared to our Proteus manual, this one is still the winner. Between Rhea and Proteus manual, they're both looking really good.
I wonder if there are any manual settings that we could apply to this. So I'm just going to work off of this one since I know I'm not going to use the auto. Switch this to manual. Again, I'm going to stick to Dynamic. It's just nice and easy. Reduce noise, I thought it did all right with that already. I think we need to sharpen a little bit, maybe fix compression a little bit. Reduce grain, there really wasn't any to reduce, so maybe I'll go negative on this one. Reduce noise, I guess that's fine. Let's see what that gives us.
Let's see how things turned out. Well, it's definitely a little bit better than Auto, but it's still a little softer. So I think in this case, Nyx is usually really good for most situations. It handles smaller videos really well. In this case, I think Proteus is definitely the winner here. Let's compare against Rhea one more time. So all right, we got the new champions here, and there are a lot of details I do like about the Rhea model over the Proteus. There are certain small details that just look realistic. However, based on how long it took and the resources, I think I might actually end up with the Proteus one. Rhea did take a little while in comparison to Proteus, and I think I can add a little more enhancement features with this than if I was to add multiple here and then just let the time balloon.
So I'll go back to single mode. Let's switch this to Proteus manual. So let's take a look at this. Pretty good, but it's a little shaky. There's a little stuff going on. So let's see if we can stabilize this for this next section. Let me close this carousel here. I am fine with the frame rate and everything here. So let's look at stabilization. I want to be able to stabilize this shot.
If you have an older computer or you meet just the minimum requirements for Video AI, I think this would be a good point to export your video with the first enhancement and then go ahead and bring it in to start adding stabilization and anything else. So smaller render passes might be the best way if you have an older machine. Otherwise, if you have a newer machine that runs pretty fast and you have a lot of resources, then you can just go ahead and start adding a few more of these filters to it.
Generally, I have good luck between 25 and 50 strength. I almost never have to push it any further than that. I think I've only had one or two cases, but most of the time, I kind of stay within this range. Rolling shutter, jittery motion, as we went over that, I don't think this shot requires any of this. I think we'll be fine, especially for the distance, to just stick with strength. All right, let's see how that looks. I think in this case, I'm going to do the entire frame range just to really get a really good idea. Clear this out and I'm going to go ahead and render the entire thing with the enhancement and stabilization.
All right, looks like we finished. Let's see what this result looks like. Oh, that's so much better. Before, after. Before, after. And I'm content with that. It's already so much better. I could always push the strength a little bit more if I need to, but it handled for me the biggest problem over here. Look at that. Perfect.
I did skip SDR to HDR. Not every monitor will be able to see the results, but I think I'm going to see about getting a few more details out of these beams here. They're quite bright, and at face value, they're losing some details, so I want to see if I can bring some of those things back. Just exposure a little bit. Yeah, I'll leave that one alone. Turn off stabilization because otherwise, that might take a while. I'll do one second. Oh yeah, that's so much better already. So before, a little blown out. After. And it resolved some of the color, brought some lost details up and out. I'm not going to change anything. This is great. You can see these different values here. Yeah, that looks good.
I'm pretty happy. There's not enough motion for me to have motion deblur, so I'm not going to worry about that. I'm going to re-enable stabilization. Again, if your machine is unable to handle these, it might be good to just run these as passes. If you have the minimum requirements to run the tool or you have very low resources, I highly recommend maybe just running the enhancement first, then bringing that in, take the route of SDR to HDR, export that, and then bring it back in and put it to stabilization. You're going to get a very similar result. I know this machine can handle this, so I'm going to go ahead and run all three.
So we already went over the cloud export, export as, and quick export. In this case, I'm going to do export as. Save this as "Final." And now we're going to go look at our queue. It lets me know everything that I have going on with this. So I have the enhancement, I have SDR to HDR, I have stabilization, and the codec I'm using, and then I could close this. All right. I wanted to make sure that it's the full range, and it is, so I'm happy about that. So it's going to take a few minutes.
All right, it looks like we finished. So that's essentially it. If you have the right monitor to watch an SDR to HDR video, then it should play fine. Otherwise, like this example here, it's going to look a little washed out, and that's kind of expected. So just make sure you know what your intention is for the video. Since everybody does not have an HDR monitor, and this is for the city, it might be a good idea just to remove the SDR to HDR. So I provided a version with the HDR upgrade and one without. So I'm going to go ahead and export as "Final No HDR." And now we're rendering that out.
All right, looks like we just finished. Let's see the result. There you go. There's our "Final No HDR." That's fantastic. All right, and that concludes our "under construction" example.
new
Topaz Studio
Topaz Studio
All the apps. One low price.
Topaz Video, Topaz Photo, Topaz Gigapixel, Bloom, Astra, Express, Mosaic. All new apps on release. And more.
Cloud Apps
BloomAstraExpressGigapixel iOSMosaicCloud CreditsExpress Tools
New Video UpscaleProject Starlight4K Video ConverterHD Video ConverterVideo EnhancerVideo SharpenerFrame Interpolation3D Model UpscalerPhoto RestorationImage UnblurImage UpscaleImage DenoiseImage SharpenImage FacesImage LightingImage EnhancerImage EnlargerAI Art EnhancerAll Tools
Info
SupportNewsLearn PricingDownloadsResourcesPressUse Cases
For AI CreatorsFor PhotographersFor 3D CreatorsFor VideographersFor GenAI platforms
Sora 2 UpscalerVeo 3 UpscalerZ-Image UpscalerGrok Imagine UpscalerMidjourney Video UpscalerMidjourney Image UpscalerNano Banana Image Upscaler© 2005 - 2025 Topaz Labs. All rights reserved.
Close


Need product and account support?
Contact support team