


Article outline
- Introduction
- Tip #1: Plan to have the best possible conditions
- Tip #2: Use a sharp lens and a sturdy tripod
- Tip #3: Shoot using the shutter delay or a remote trigger
- Tip #4: Use the live view mode and the digital magnifier
- Tip #5: Focus manually on infinity (+ focus peaking)
- Tip #6: Adjust the right camera settings (Aperture, Speed, ISO)
- Tip #7: Play your image and zoom in the stars
- Conclusion
Getting sharp photos is relatively easy when there is plenty of light, but what happens when you are shooting in low-light?
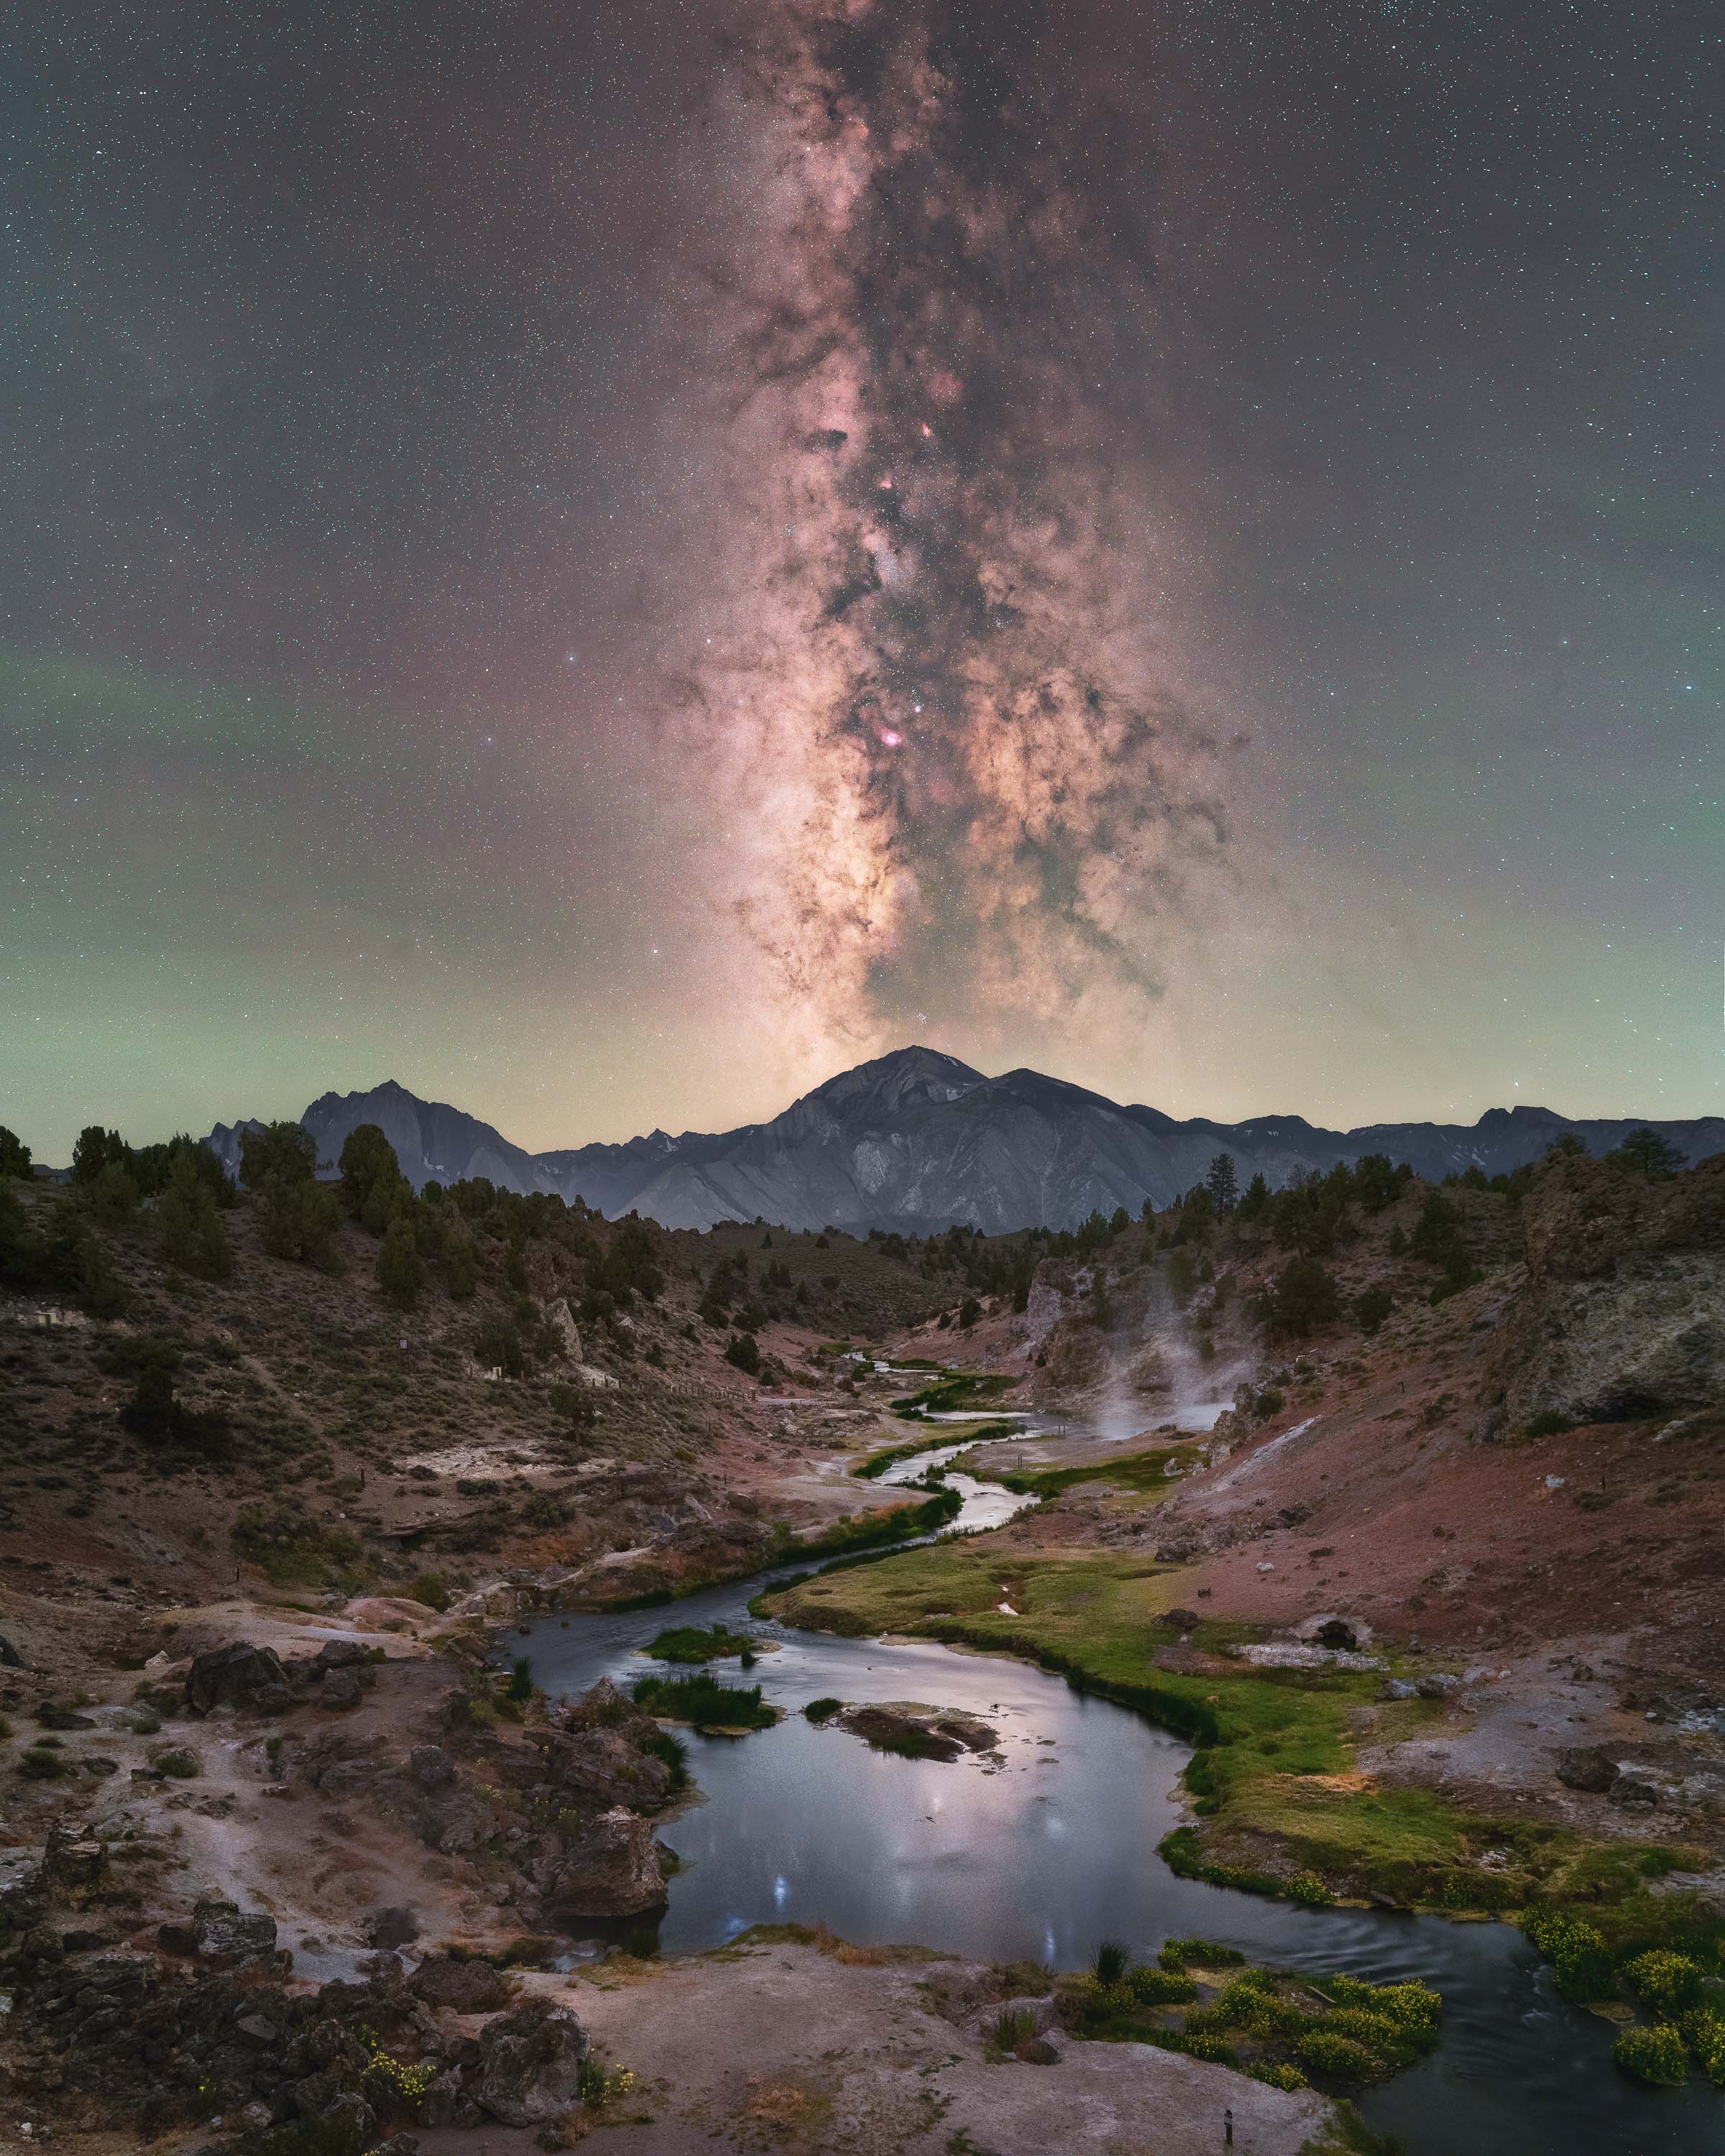
Taking tack-sharp photos of the Milky Way is a challenge for many photographers. Besides pushing the limits of your camera gear, it’s easy to struggle with some basics like focusing your lens or adjusting the best settings when you are in a dark environment.
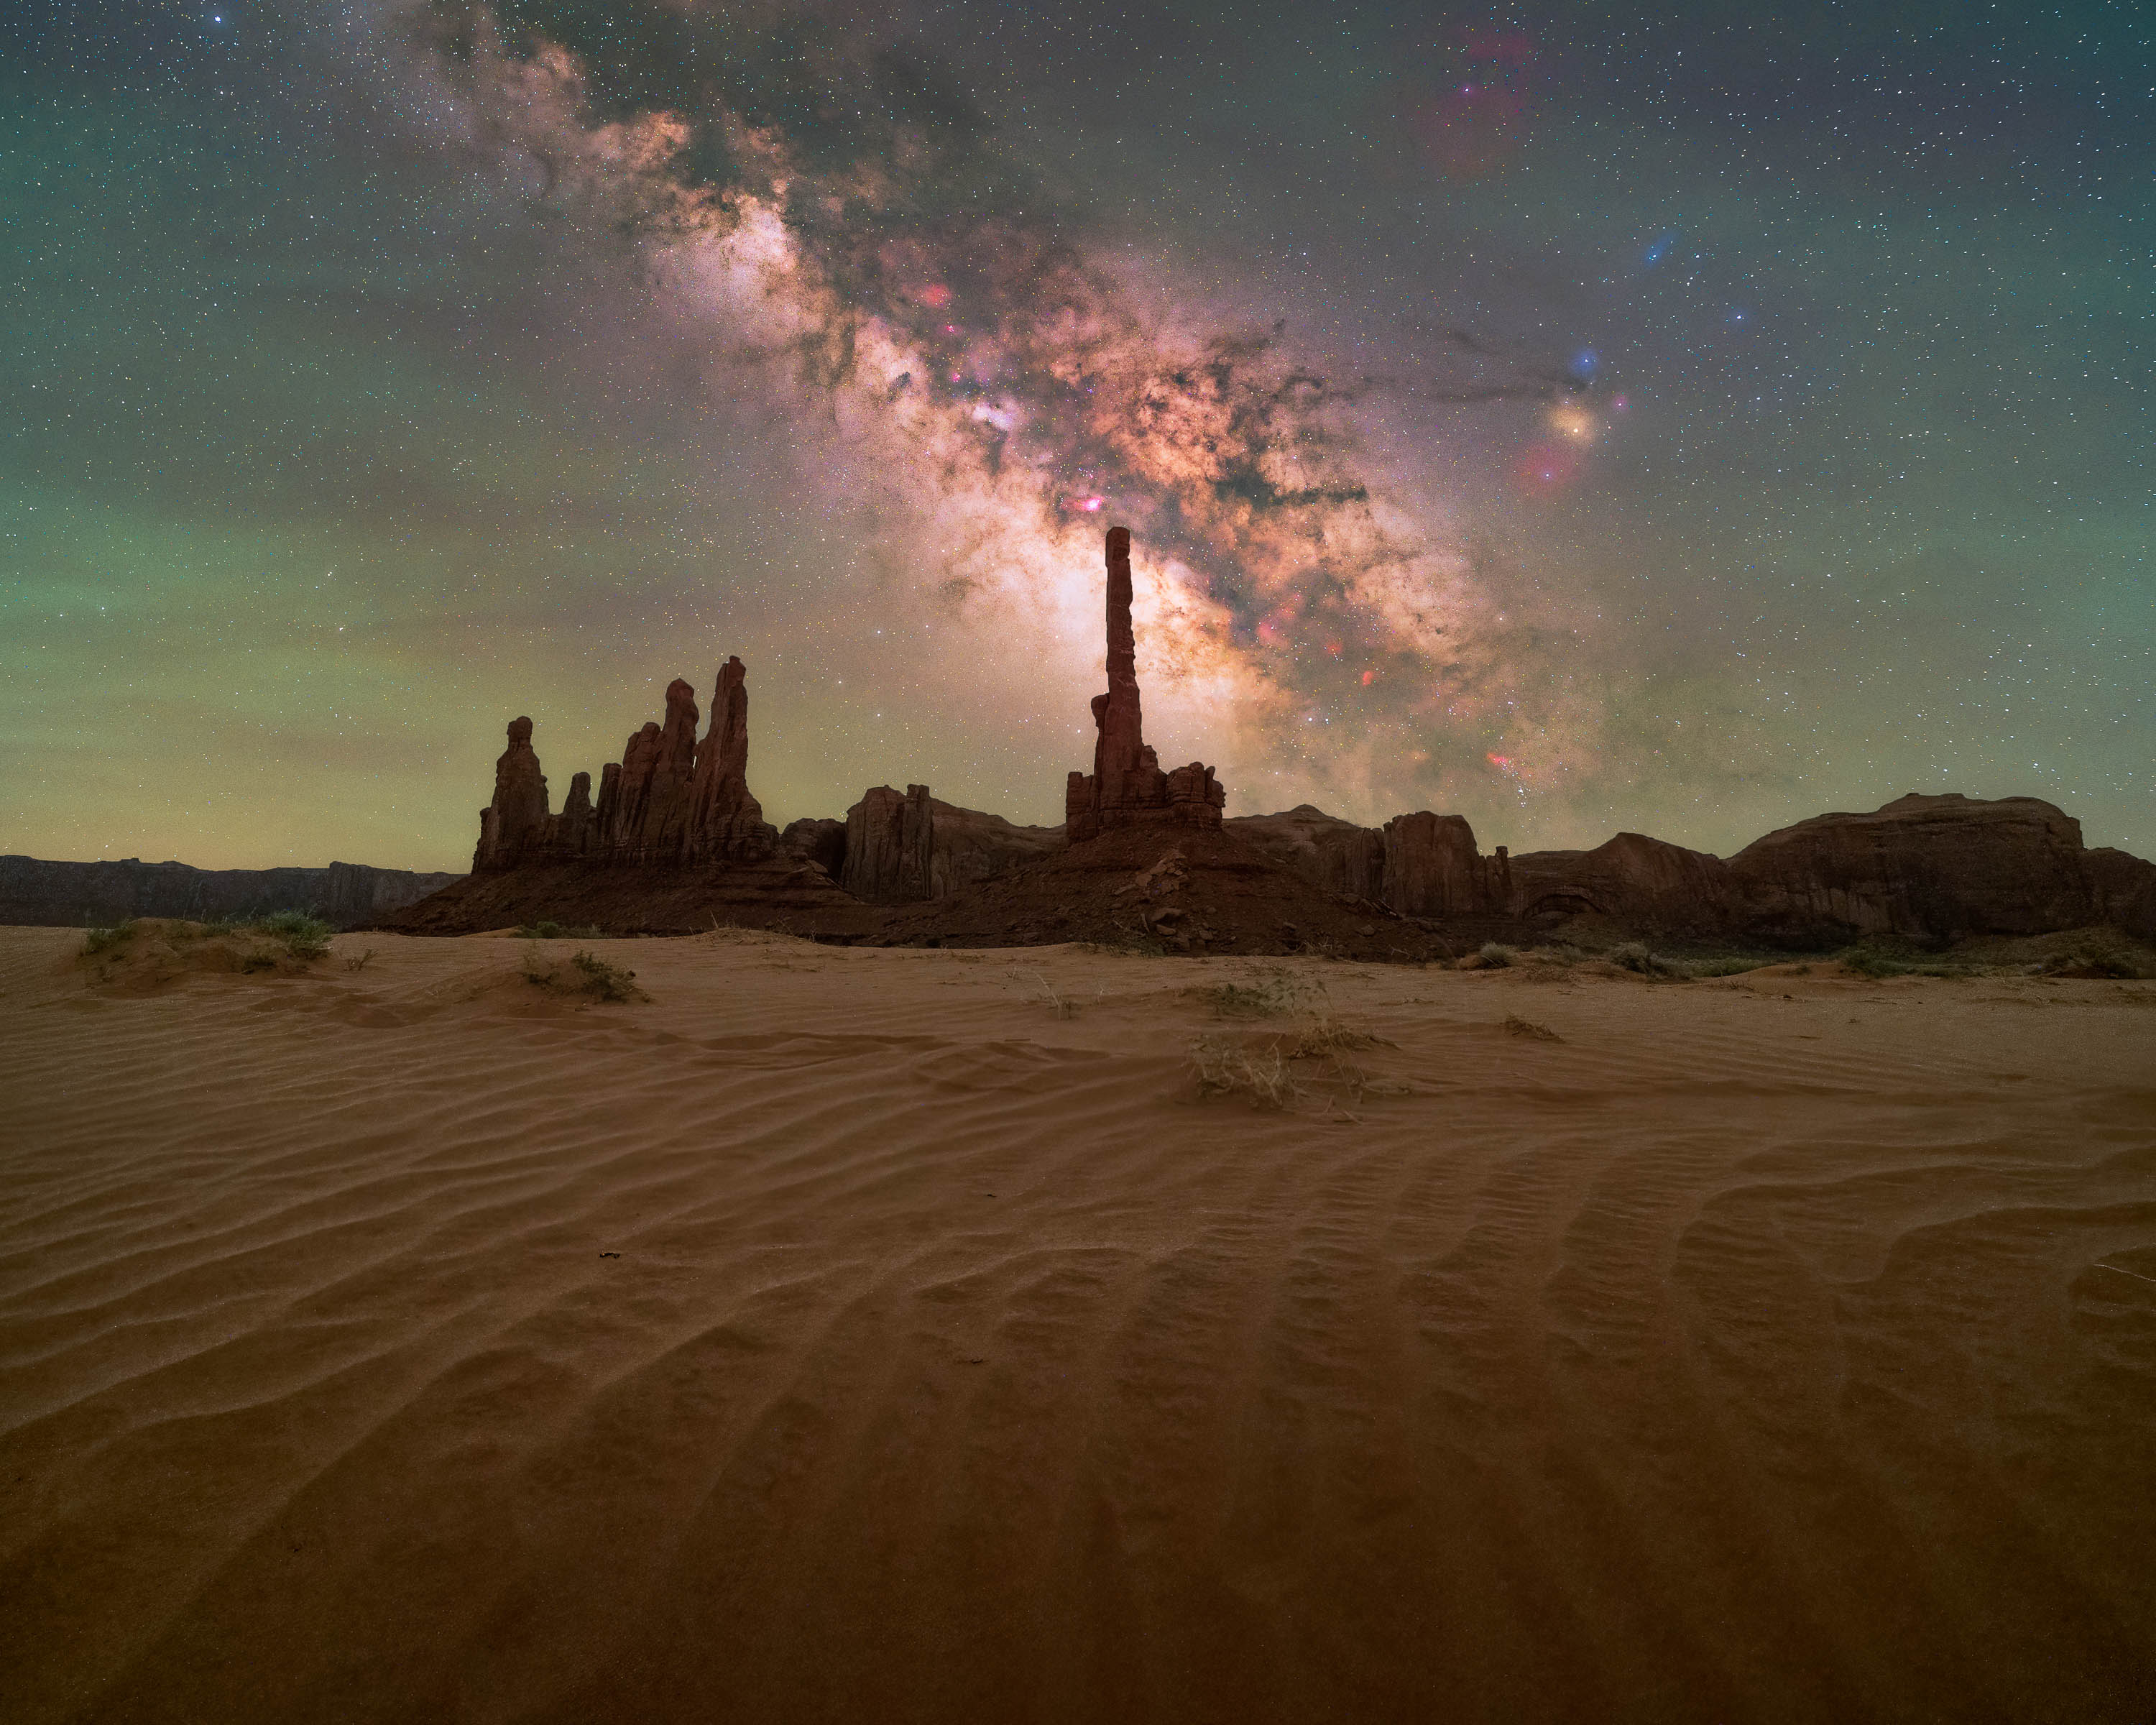
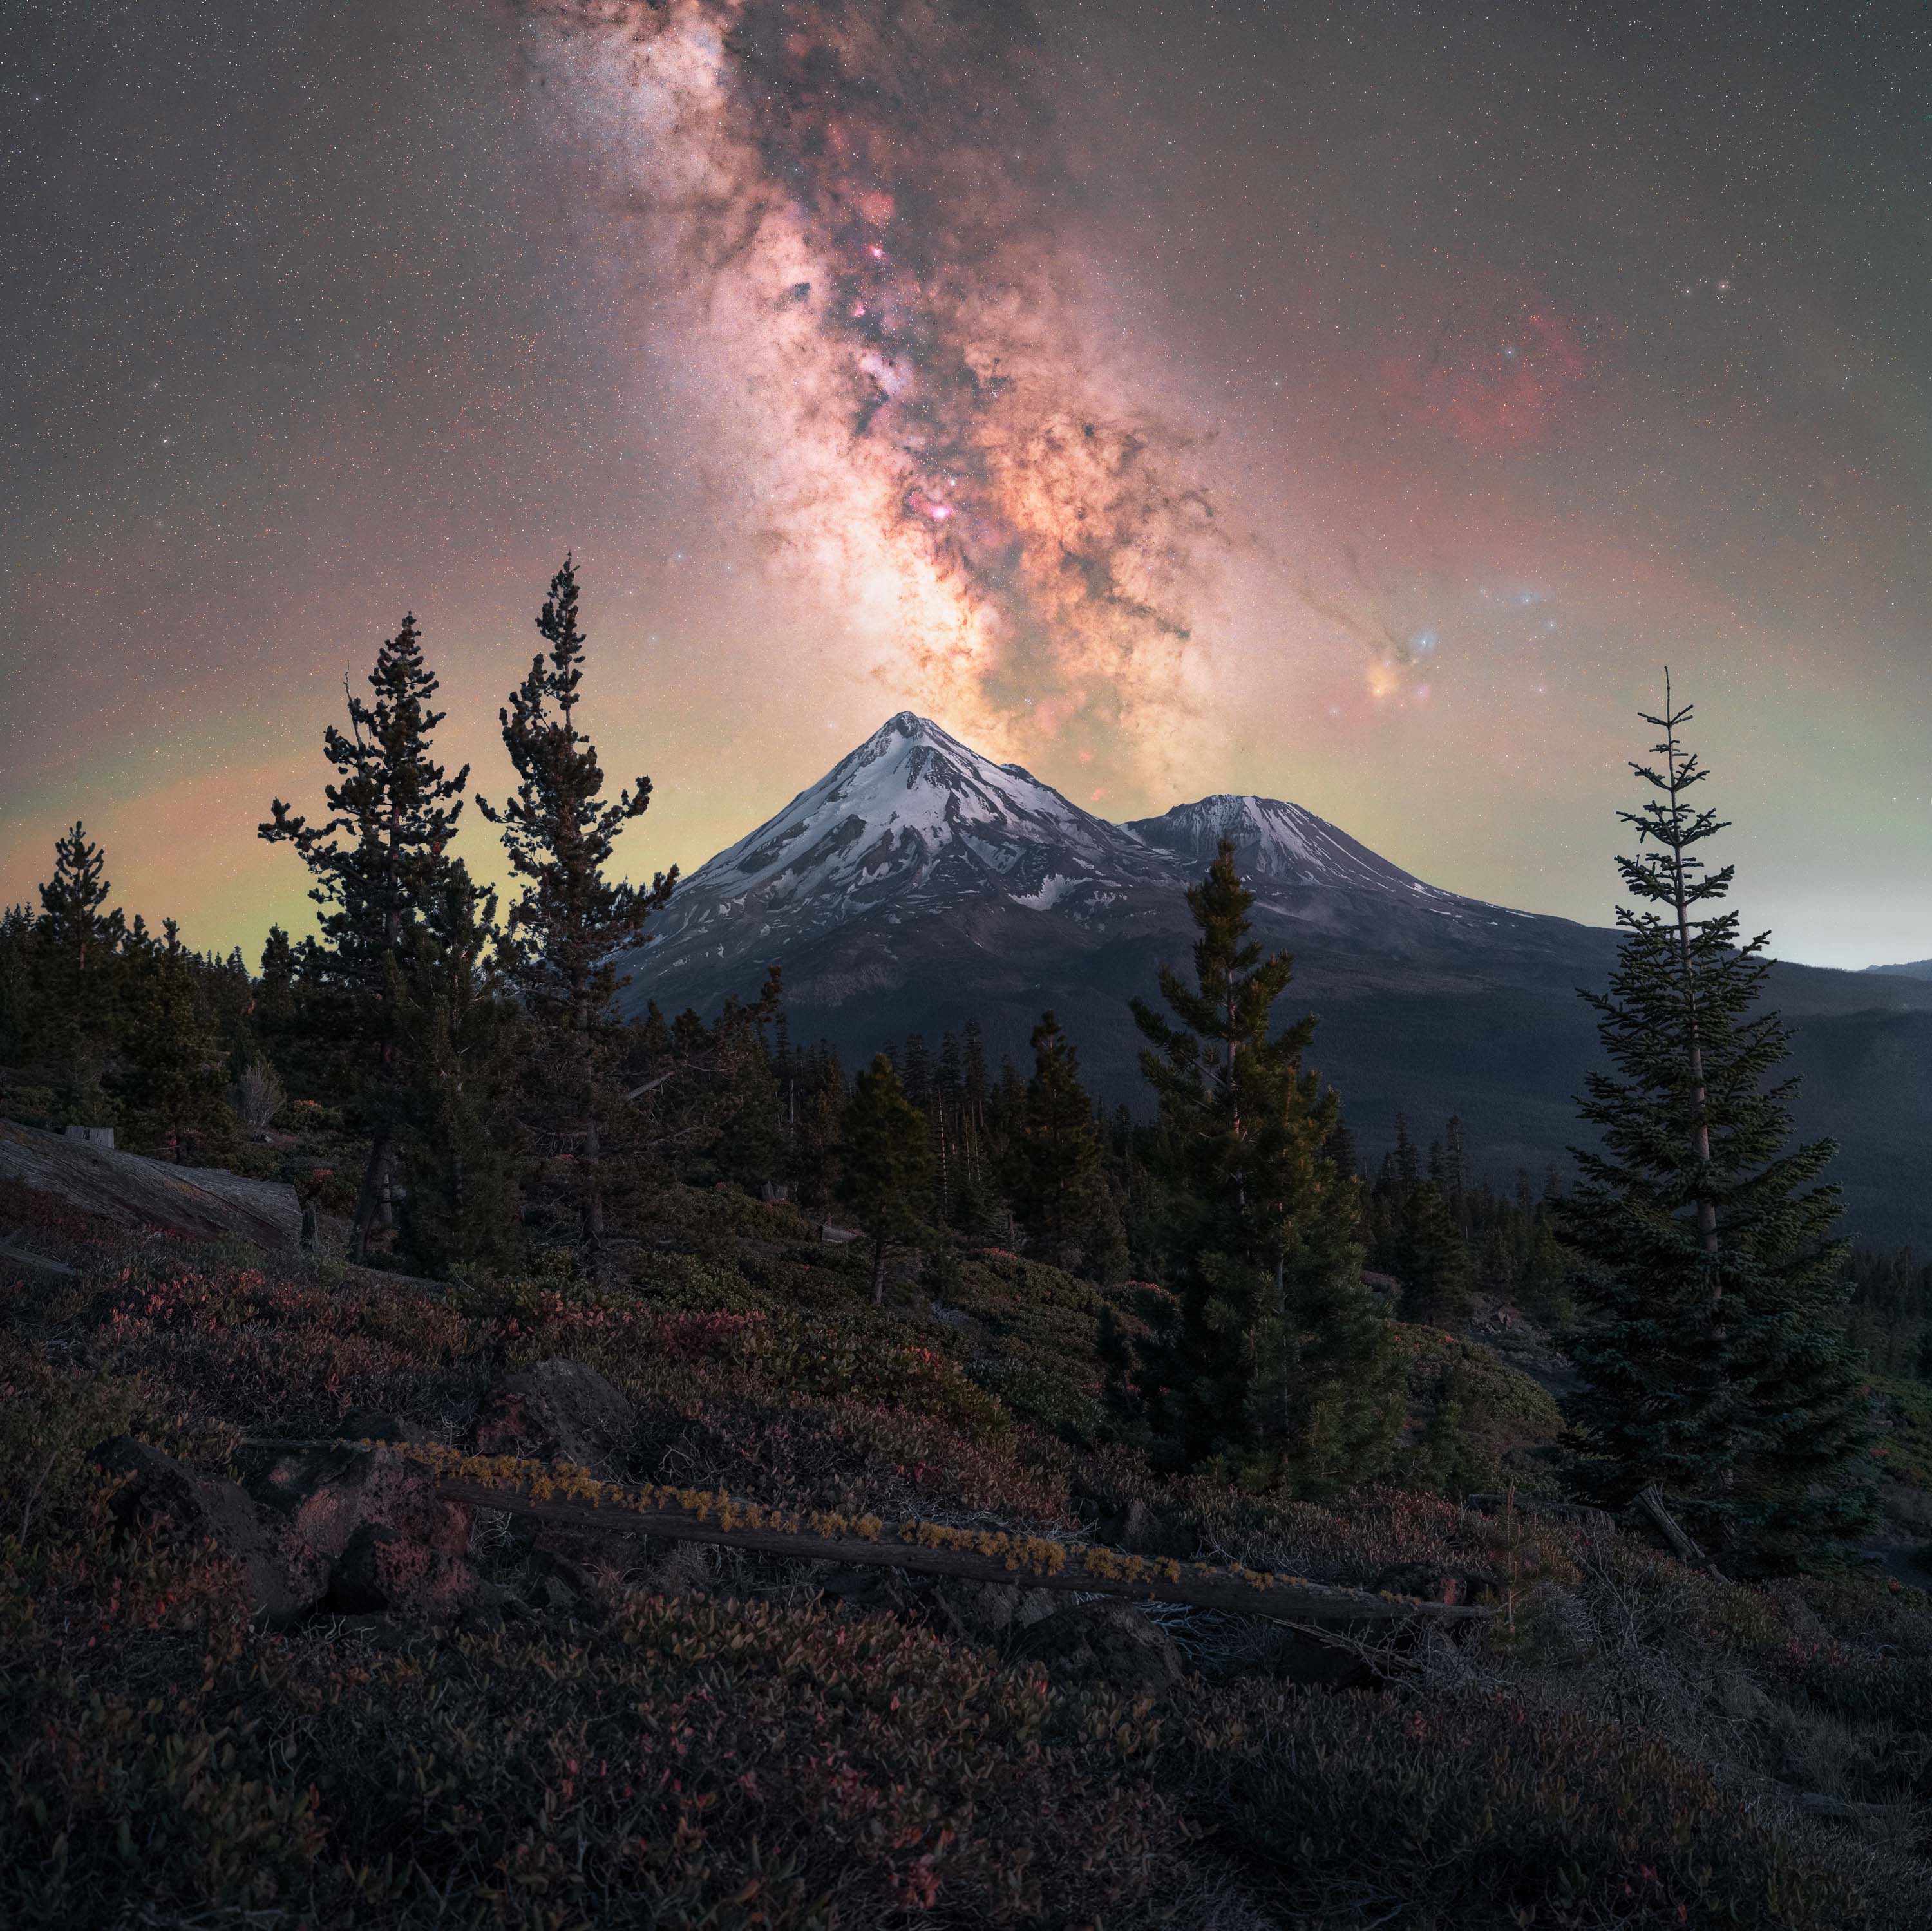
However, the rewards are high when you see a perfectly sharp image of our galaxy on your camera screen. I’m a professional landscape astrophotographer who shoots the Milky Way every new moon and, in this article, I’m gonna share with you 8 tips that will help you capture razor-sharp images of the Milky Way!
Before packing or shooting, there is a first key step to follow in night photography: plan to photograph under the best conditions.
The most crucial factor is the wind; strong wind gusts will shake all your gear, making it impossible to capture sharp photos. However, there are more factors to consider depending on your location: humidity, dust, or smoke; these are external factors that will make capturing sharp images impossible no matter how good you follow the next tips.
Make sure you check weather apps and local sites to see if it’s worth trying to shoot or not.
Gear doesn’t matter? Actually, it does in Milky Way photography, especially the next two items:
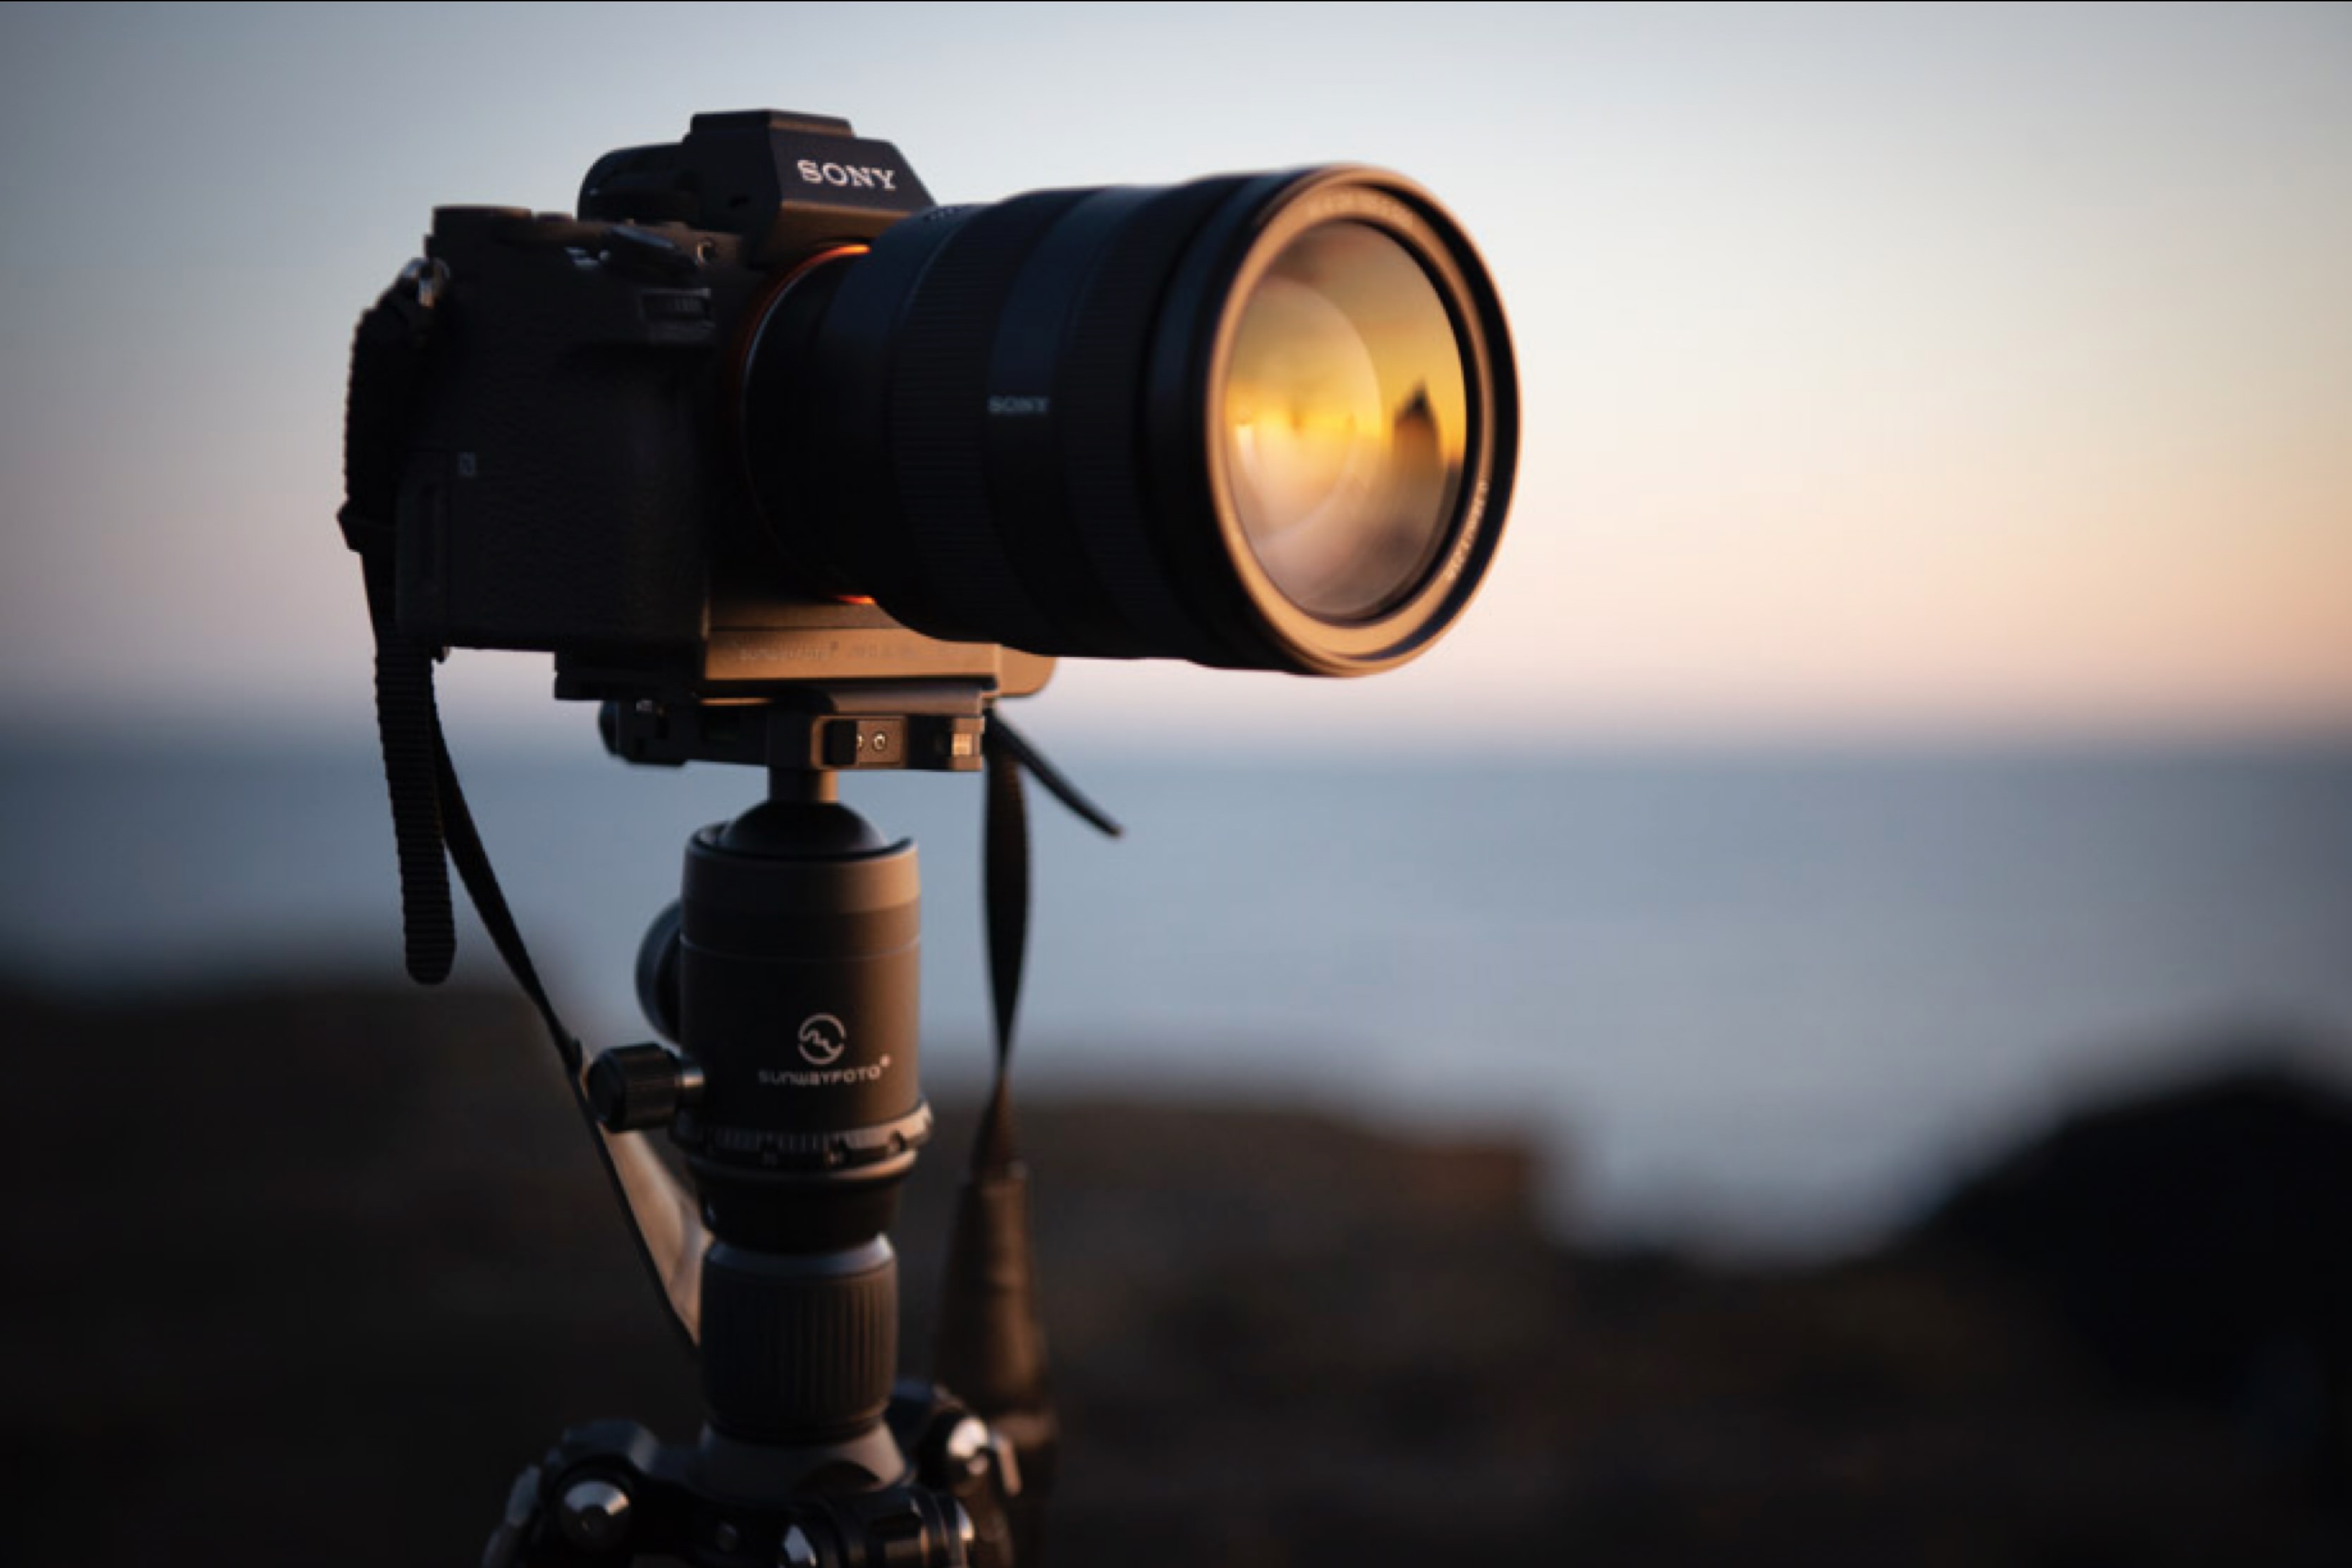
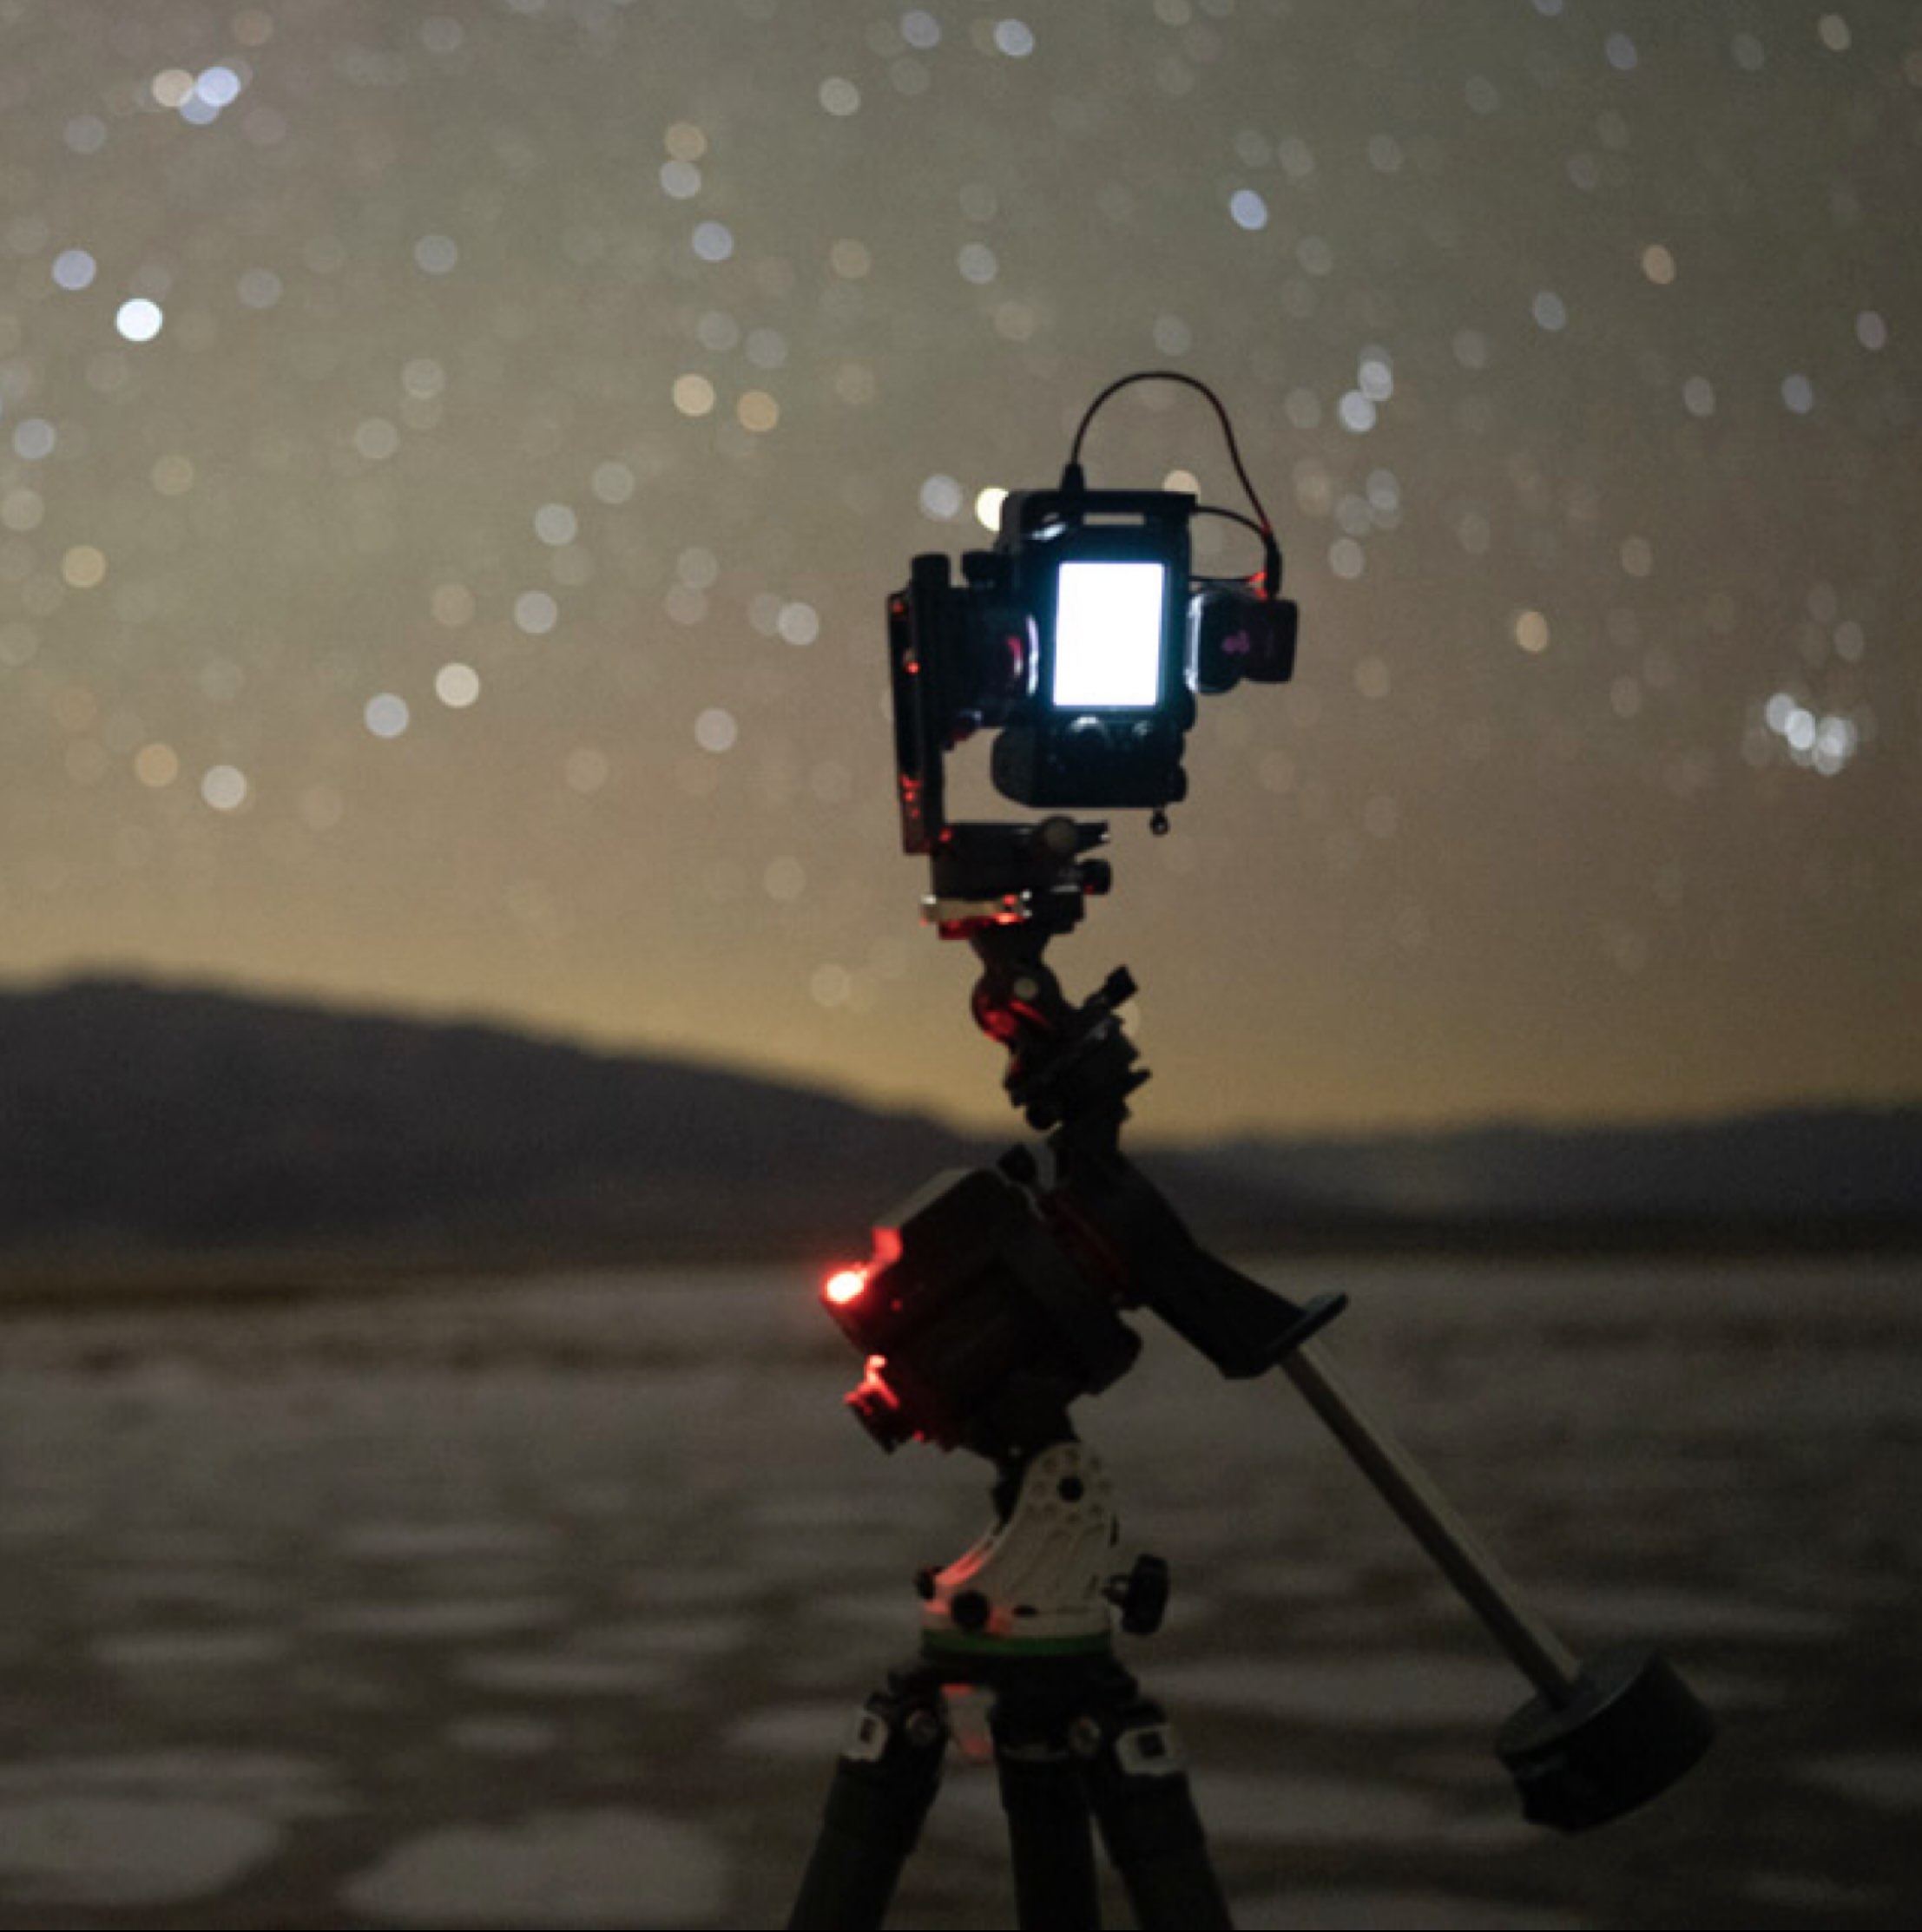
- A sturdy tripod: When you photograph in low-light, you’ll be shooting long exposures to capture enough light. The most fundamental piece of gear that you need besides your camera and lens is a tripod. There are many different types of tripods in the market according to your budget and goals. In night photography, there are two options: buy nice or buy twice. My recommendation is to go with the first! Don’t get cheap tripods that will pass vibrations to your camera.
- A sharp lens: Quality glass makes a difference in night photography. It’s tempting to save space and shoot with all-round lenses, but using a fast-quality lens will be a game-changer when it comes to capturing sharp photos of the Milky Way. My recommendation is to shoot with lenses from reputable brands that are f/2.8 or faster.
Even when shooting from a fixed tripod, it’s inevitable to pass vibrations to the camera when you are pressing the shutter release button.
To maximize sharpness in your night images, use the in-camera shutter delay to trigger the shutter without touching any button. Most cameras allow you to choose a 2, 5, or 10-second delay. If there is no wind, I recommend setting a 2-second delay to speed up the shooting.
Another popular option is using an external remote trigger. Using this shutter release, you can shoot without touching your camera and even standing a few feet away from it. There are two main options to choose between standard and wireless remotes. Personally, I prefer the wireless versions since they are handier, and they are also the best option if you want to introduce yourself in your image to give a sense of scale (aka taking Milky Way selfies).
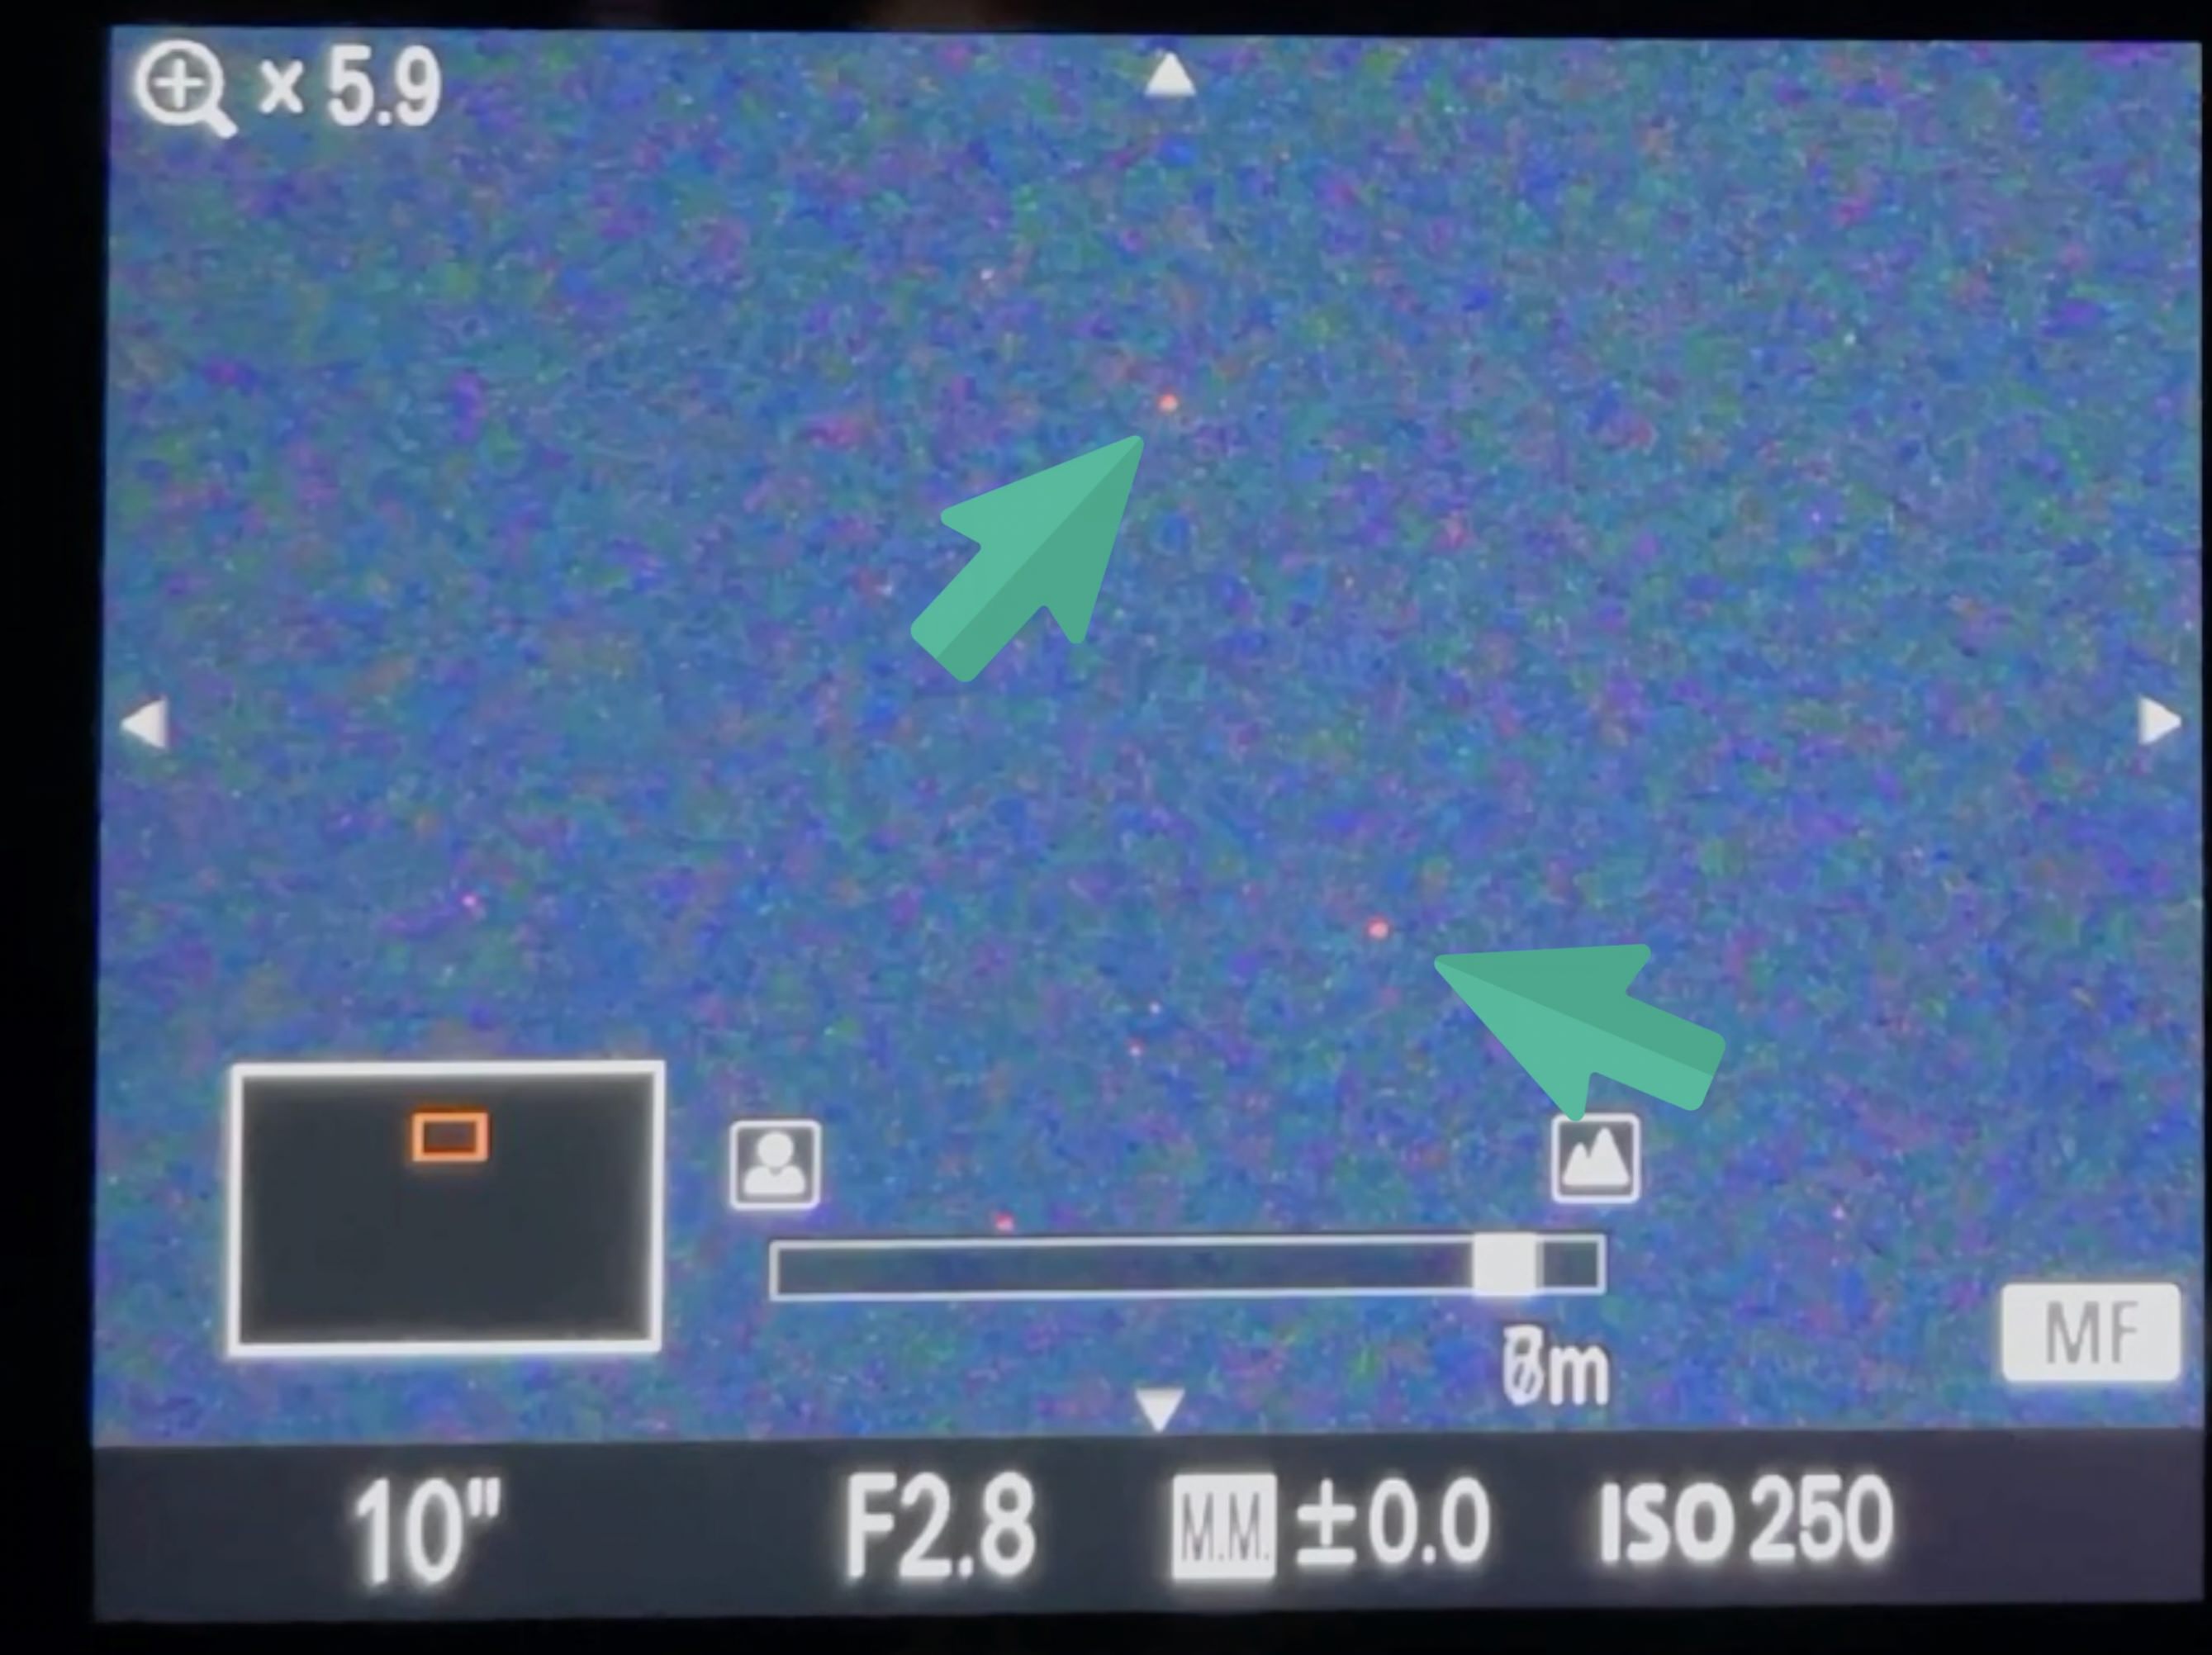
Don’t look through the viewfinder! All digital cameras have a live view mode which is our best tool when we shoot in low-light.
Turn on the live view mode (this is done automatically in mirrorless cameras unless you look through the viewfinder), and point your lens at the sky, looking for a bright star.
Now use the digital magnifier in your camera. If you don’t know how to do it, I strongly recommend checking the manual since this is one of the most important tools in night photography.
After picking a bright star, place it in the middle of your frame, which is the sharpest point in any lens, and use the digital zoom magnifier to see the star as big as possible. Most digital zooms offer different magnifications like X5, X12, etc.

Once you follow the previous step, turn on the manual focus on your camera/lens, keep your aperture wide open, and move your focus ring slowly back and forth until you see the sharpest point.
If you use a mirrorless or modern DSLR camera, most models offer a function called “focus peaking,” which is a manual focusing aid that will turn the stars in a custom color (such as red or blue) when they are in focus. Using this tool is one of the best tips to capture sharp photos of the Milky Way!
After focusing, don’t forget to take a test shot (you can use a higher ISO to do it faster) and see if your stars are perfectly sharp. If they aren’t, repeat this step again until they are in focus.
Some photographers prefer focusing automatically during the day and tape the focusing ring or simply focusing on the hyperfocal distance but, in my experience, I don’t recommend those methods.
You have perfect focus, and now it’s time to adjust the best settings for sharpness!
To capture sharp photos of our Milky Way galaxy, I recommend the following basic settings:
- Aperture: One of the most common Milky Way recommendations is to shoot wide-open. However, lenses are not as sharp when they are fully open, and they also have more aberrations. If possible, I recommend closing from 1/3 to half a stop to see sharper results
- Shutter speed: The popular 500 rule (500/focal length=max. exposure time) is no longer accurate with current modern sensors. I recommend using a different metric like the NPF rule.
- ISO: This depends on your camera, but don’t exceed the limitations of your sensor, or you’ll see more grain and lower-quality images.
If you are an advanced Milky Way photographer, my recommendation is to use a star tracker, which will allow you to adjust better settings resulting in sharper images.
There is no worse feeling for a night photographer than getting back home, opening your images on a big screen, and seeing that they are out of focus!
Even if you follow all the previous steps correctly, chances are that you can accidentally move the focus ring, or get a shaky tripod after a wind gust.
Always make sure that you play your image and zoom in to check if the stars are sharp. This step is critical if you are shooting a Milky Way panorama since an out of focus frame can force you to ditch the entire image.
As you see, taking sharp images of the night sky goes beyond gear or adjusting a few settings; it requires following all the mentioned recommendations, from the initial planning to the final post-processing.
Make sure that you follow all these tips to capture sharp Milky Way photos, and you’ll be amazed by the results.
If you have any questions, feel free to leave them in the comments, and I’ll be happy to help!