


Setting Up Your Enhancement
After importing your video into Topaz Video, turn on Enhancement in the settings panel. You'll see the current resolution displayed—in this example, the video is 322x240, which is very low resolution.
To set your output resolution, click one of the upscaling multipliers. For this demonstration, we'll use 2x upscaling, which will output at 644x480. If you're working with archival 4:3 footage, you may see a "square pixel" option—you can leave this enabled. Not all videos will display this option.
Choosing Your AI Model
Once you've set your output resolution, scroll down to the AI Model section. You'll have several models to choose from:
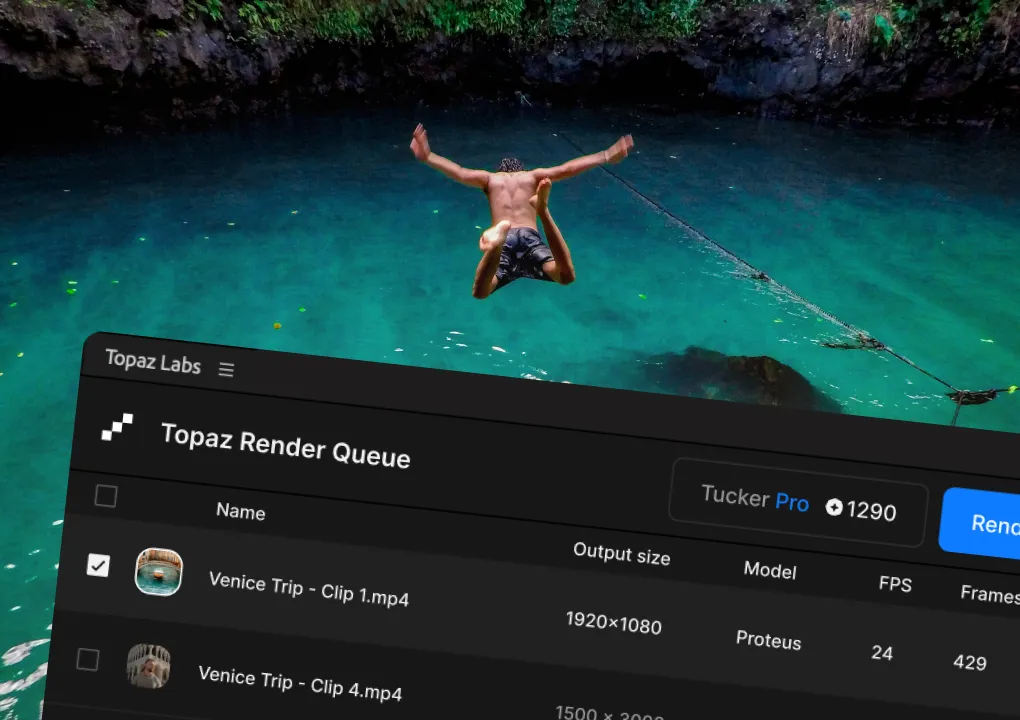
For this tutorial, we'll use Proteus and leave the settings on Auto without making any manual adjustments.
Previewing Your Results
Before processing your entire video, it's helpful to preview a short section. Click the blue Preview button at the bottom of the interface.
You can set your preview duration from 1 second to 30 seconds, or use in and out points to define a specific range. For this example, we'll run a quick 1-second preview. Move the playhead to the section you want to preview (around 3 seconds in this case), then click Preview.
You'll see a dark green line appear on the timeline indicating the preview is processing. When processing completes, the line turns bright green and you can view the results.
To compare the original and enhanced footage, enable the side-by-side view. The left side shows the original 322x240 resolution, while the right side displays the upscaled 644x480 version at full size.
Exporting Your Video
If you're satisfied with the preview results, you're ready to export. Click "Export As" at the bottom of the interface.
Export Settings
File Location: You can rename your file and choose to save it to the original location or browse to select a different folder on your desktop.
Codec: Choose from multiple codec options. The most commonly used are H.264 and H.265. Note that if you're upscaling to above 4K resolution, you'll need to use H.265.
Additional Settings: You can adjust bitrate, quality level, and audio settings. For audio, you can either directly copy the original audio or convert it to match your preferred format.
Container: For H.264, you can choose MOV, MKV, or MP4. To keep file size down, MP4 is recommended.
Once you've configured your settings, click "Start Export." A notification will appear in the bottom right corner showing your export progress. For short clips like this example, processing happens quickly. When complete, your upscaled video will be ready.
Cloud Export Alternative
If you're working with a very long file and want to avoid processing locally, you can use Cloud Export instead.
To use cloud processing, click the Cloud Export button. A dialog will appear showing:
- Estimated processing time
- Cloud credits required
Important Cloud Export Limitations:
- The time estimate only includes processing time, not upload or download time
- Total time may be longer if there are many videos in the queue
- Rotation and cropping adjustments are not applied during cloud export
- You must have sufficient cloud credits available
If you want to proceed, approve the cloud credit usage and click "Start Export." Your video will be added to the export queue, which you can monitor under the Cloud tab. The video will upload first, then processing will begin.
That's the complete process for upscaling video in Topaz Video—from setting your output resolution and choosing your AI model, to previewing results and exporting your final file.